Showing posts with label Conservatory Windows. Show all posts

Monday, December 1, 2014

Christmas Preparations


Every Little Bit Counts.....

The days are Flying by, Dear Readers, and the Christmas Countdown has begun in earnest here in the States. I am sure you have heard of "Black Friday" when everybody goes Christmas shopping all at once.....well, not Everybody, as I absolutely avoid shopping on Black Friday! But that does not mean I have done No Christmas shopping. I was at Michaels two weeks ago and spotted the lovely miniatures shown in this picture! The cakes were separate from the cake stand.... but they all were begging to come home with me! I keep telling myself I will learn to make tiny food..... but I have yet to do it.... and the little people in my houses are at risk of Starving unless I give in and Buy the food!

In my defense, I will point out that I am Rather Busy trying to just get the Houses built..... 
(don't remind me that I keep adding to the list of unfinished ones.....)
And the Real Life decorating and Christmas shopping has to be done too!
So I grabbed the goodies and brought them home!

 
 And while the Conservatory is still Far from Finished.....
I have made some progress!
As you can see, the side wall on this end swings open....

I apologize for the Darkness of the photos.....
It is very difficult to catch the sun these days!
Here you can see the end that is nearly complete...

And here you can sort of see the entire structure, 
with Both sides open!

The roofs are not yet attached, 
but the walls are all completed and glued in place!
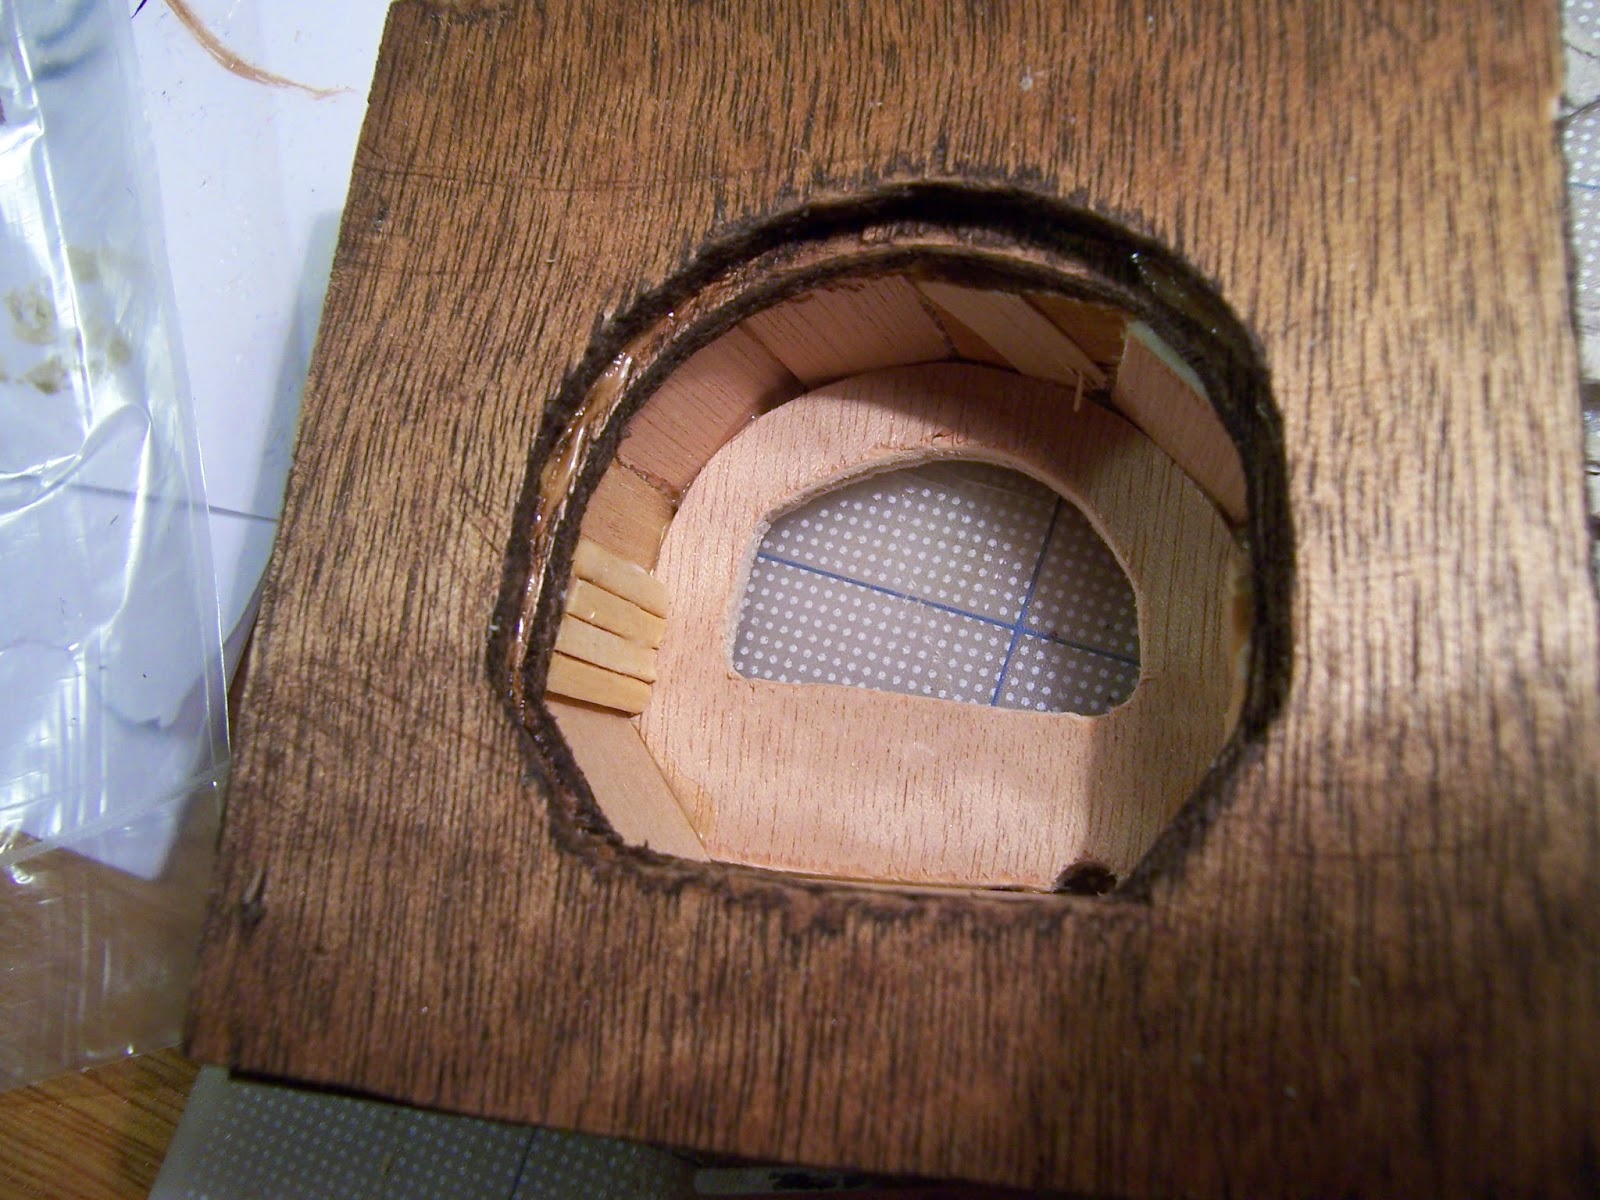
But the part I am the most excited about is the windows.....


Here you can see them (on a Sunny Saturday morning)
from the outside looking in.
Believe it or not,
I wanted at least Some of the windows to be able to open and close!
If you have ever been inside a conservatory on a sunny day 
you will know that it is essential that there be some means to Ventilate the room!
And with all the windows in this structure.... 
only the smaller ones would work to add hinges.

And even then, the way the walls joined at the corners 
did not allow room for the hinges.
But I was determined to try on the end wall!
I succeeded with the hinges once the corner "posts" were 
"strengthened" by adding strips of wood. 
This was necessary in order to build the framework 
that allows for the side to swing open.
And then, once the windows were successfully hinged, 
I was in need of a latching mechanism to keep them closed!
But they needed to be functional latches, not pretend ones!
So I decided to try using wire.....


Here you can see my latches in the open position.....

Here is a close-up view....
the wire pivots on a nail......


Here it is in the locked position.....
the "catch" is a piece of painted cardboard and a tiny bit of plastic 
from a clothing price tag (I am sorry I neglected to take a picture.)

And here is the window opening....!
The latches really work!

And the remaining door hardware has been attached too.
These are commercial lever-style door openers....
(but they don't really move or latch!)

Here you can see the completed end wall glued in place....
but the roof framework is still not finished.
There is a small amount of warping in the end wall 
that I need to solve before I can complete the roof framework.
It may not look like much, Dear Readers, 
but it is a Very Satisfying Little bit!

Oh, and just to reassure you that I have made a start 
on decorating the Real Life home....

The trees are up and have the lights on!
Here is the little tree in my upstairs studio...

And the bigger one in my downstairs "living room"....
really the corner of my "dining room"......
which is really my "Workroom"! 
So you can see, Dear Readers,
Christmas Preparations have begun in my Worlds,
Big and Small.....
And while not much has been done, 
Every little bit counts!


Tuesday, July 15, 2014

Sticks And Stones....


Distractions...... and A Teeny Tiny Fairy Tale....

Once again, Dear Readers, I am going to claim that I have accomplished Almost nothing in my Mini Worlds this week. I kept getting distracted and could not decide which of my Many projects should be worked on first... and ended up only making Very Little progress on any of them! But it is Summer, and even though it is wet and stormy here a lot this summer, it is impossible to ignore the beauty of Nature in all its splendor. Sometimes, just the way the sun shines on the dewy grass first thing in the morning is enough to make your heart sing! And so I have decided to share with you one or two pictures of a project I have been working on in the "background" for a while. But this is just a "teaser" so I will not explain....

Except to say that even though I intended to work 
on the Windows of the Conservatory....
I did not!
But I was a little surprised to see inside....

Someone has brought in a half dozen potted fruit trees!

Perhaps they are growing them for the Park?
Who knows?
And then there were the sticks I needed to cut....

For tree trunks......

And  even tinier sticks for "paneling" in the bed alcove 
on the door to the Tree House Nursery....

Cut from matchsticks.
Each one had to be carefully fitted....

A slow process... and still not done!
Because I got Distracted....

By the Stones that needed to be glued around 
all the Tree trunk bases.
Not a quick process...
and still not done...
Because I got Distracted....
With wondering Where the Tiniest Fairy went to!

Because, with the Conservatory windows taken out 
for working on, Dear Readers,
 I thought it would be a good idea to relocate the delicate fairies 
and the Tiny Bonsai Garden to the Cloud Palace for safekeeping.
But then I noticed that the Tiniest Fairy 
was no longer where I had left him in the hyacinth pot!

Where on Earth could he be???
I checked in the kitchen....
but did not see him in there....

So I went and asked Brother Beorn if he had seen a Tiny Fairy around....
Beorn had been reading Gulliver's Travels....
And was Clearly Dreaming of his own Travels....
but he said he had not seen any Tiny Fairies recently!
So I went back to Blue and Sir Orion....

They were not paying much attention to anything but each other!
They said they did not see any fairies.
That was no help at all!
But then something caught My attention....

 
What was that on the cupcake????
 
 The little Imp is trying to steal the Heart from the Cupcake!!!
Perhaps I will have to call him the "Thief of Hearts"!
 
Well, Dear Readers, I warned you 
that almost Nothing got accomplished this week....
Except for a few sticks and stones....
and a Teeny Tiny Fairy Tale!


Monday, January 20, 2014

More Bricks and Saints


Slow But Steady.....

It was easy enough, Dear Readers, to get the last few bricks attached to the chimney, (because there were so few still to add!) allowing for a brief sense of Euphoria that the Chimney was coming to Completion! All I had left to do was paint and grout the bricks and then attach it in place! Oh, and add the cap stones... and it would be done! So I set right to it! But I remembered that I would need to paint a coat of primer on it first... and while I was slowly painting it I remembered how fiddly it was to get the paint into All the cracks between the bricks... and ALL Four sides of the chimney! It took longer than I thought it would...

And then it needed to dry.... 
in all the cracks between all the bricks......
It took longer than I thought it would.....
And then the painting part....
I use acrylic artist paint and mix as I go....
It took longer than I thought it would....

 Because it needed two coats of paint on all four sides......
And then it needed more color and texture added in places....
(I forgot to take good pictures...)
And then it needed a coat of polyurethane sealer....
In all the cracks between all the bricks on all four sides....
Yeah, it took longer than I thought it would!
Above you can see it late Saturday night... 
painted but still no grout.... but progress had been made!

So Sunday morning I started right in with the grout.....
But first I took a Morning Light picture of the partly done chimney...
without the grout in place it is really difficult to tell whether the color of the bricks 
will match what has already been done.... so we just have to hope for the best!


And get started on the grout....

Section by section you push the grout into the cracks 
and wipe off the excess with a damp sponge....
The abrasion of the grout takes away the gloss of the polyurethane sealer...
In fact, it took away some of the skin on my fingers....
Which I didn't notice until later!
Hmmm... should I have used some gloves?


But eventually all the grout was applied....
And I just needed to wait while it dried....
And keep wiping off more of the dried loose grout.....
Yeah, It took longer than I thought it would!!!
But, Oh boy, the grout really makes it look like bricks!!!


Here you can see it in place....
And none of the bricks match very well....
But the Story is that it was constructed in several parts originally....
And it is very old so some of the bricks are more worn than others....
And it will be getting more "Aging" as we go....!


 So you can see that you will probably never even notice
 the different bricks when it is all finished....

Here you can see the end view.... 
without the cap stones....
 which I haven't made yet...
And which will be a whole other adventure....
But it is starting to look like I had imagined....

Here is the interior view....


I think those bricks look Amazingly real!!!
But before I can attach anything in place, 
I have also decided that the windows need interior muntins....
(All those little cross bars on the window panes)
It bothers me that they are only real on the outside....
So I stained a whole lot of thin strips.....

The window on the left is how the kit looks from the inside....
the one on the right has the interior vertical muntins 
but none of the horizontal ones....
(I forgot to take a picture of the completed window)
I have a Lot of windows to complete.....
but the one window didn't take as long as I thought it would!!

And last but not least, lest you think I was doing nothing 
while all that paint and grout was drying....
I started painting another Saint on the Castle Great Hall Ceiling....

This is Saint Cecilia.....
(Couldn't you tell...?)
She was surprisingly difficult to find ANY contemporary images to copy!
The only version I have is in the Hours of Catherine of Cleves, 
which has one of the most complete Hagiographic sections ever....
But I didn't like the image....
It didn't include any of her traditional attributes....
She is the patron Saint of Music.... and it showed her with a Hawk!
So I searched images of Rood Screens..
(Isn't the internet Awesome!)
And while I couldn't find an image that was hers for certain....
many of the surviving paintings are very badly damaged....
I found a pose and attributes I could use.....

But she is only just begun...
I have to invent most of how she is....

I apologize for the Lousy pictures... 
the lighting is so difficult at this time of year...
But you can see her in conjunction with the other saints.....

And here is a view with the ceiling in place...
Again, the lighting is difficult... 
it gives a much too orange cast to the painting...
And I have only one more Saint to begin!
But they ALL need tons of details to finish them!
So you can see, Dear Readers,
while it might take longer than I thought it would....
whether its Saints or Bricks....
Slowly but Steadily...
I have made Progress!