Showing posts with label Torches. Show all posts

Tuesday, August 22, 2023

Wiring Upgrades....


 Progress....

It had been a Very Long time, Dear Readers, since I had actually made any new "torches" for my castle! I had to research the methods I used when I first constructed them twelve years ago, digging back into my ancient blog posts. And I dug around in my boxes for all the likely jewelry findings to see which ones would fit together the best. The sculpey was still in good condition and didn't take long to bake up into a couple of "sticks" with a good hole down the middle to run the wire through. (This was made by wrapping the sculpey around a piece of coat hanger wire to shape it, then carefully sliding it off being careful not to collapse the central hole while baking.) Then the "sticks" got a coat of paint and the base jewelry finding "caps" glued in place. The bulb and socket piece needed to be threaded through the "torch" piece and into the "stick" before the "torch was glued in place without getting glue on the wire.


This is so the wire can be slid through the torch when needed to change bulbs.


Here it is getting tested in the Lord's Council Chamber. It works!


And both the new torches!


And in case you needed to "see" them... here with the flash...

 
Meanwhile, Dear Readers, the inside of the entry to the stables needed
 to be painted to resemble "rocks".
 
Sorry, I have to use the flash or you can't see much!
It is drearily dark here on a cloudy afternoon!
 

If you look carefully you will see all the wires are just temporarily "twisted" together.
 They all needed their joins "shrinktubed" to protect the joins.
 This took an entire day!
 

But it got done!
Notice all those wires with the shrinktubing at the joins!
The only light that is still in need of attention is the lantern in the Stables.
It has problems and will need to be completely dismantled.
 But considering that it was among the first lights in this Castle,
 I'd say that's not too bad!
Progress has been made, Dear Readers,
with the Wiring Upgrade!


Saturday, March 5, 2011

What I Did On My Vacation

The List

I began my Vacation, Dear Readers, with a List of things I hoped to accomplish in my Mini World. With a seemingly endless number of days stretching before me... well, at least it felt like numberless days at the BEGINNING of the Vacation, I had visions of making REAL progress on ALL my Dollhouses! The Joy of it was to be able to just jump in and make things without feeling any urgency about FINISHING things because I could just keep going Tomorrow .... and Tomorrow... and Tomorrow! The List had all sorts of Large projects on it, such as "Paint the Chapel Ceiling" and "Finish Wiring the Torches" and "Make a Wizard Doll", as well as smaller ongoing projects such as "Make Tiles for Hall Floor." Every day I spent as much time as I could working on one project or another. It was a wonderful feeling to just immerse myself in the creative flow! So you can imagine my surprise when at the END of my vacation I looked at the List and realized that I had NOT done ANY of the tasks on the LIST! Hmmmm....! So, I asked myself, WHAT had I spent my time DOING?
Well, for starters, I did get out the Sculpey and made a lot of "ironwork" for many of the doors that were still unfinished. I made some Elaborate Serpentine hinges for the Main Door of the Castle.... as you can see in the photo below.

And I attached door "hardware" made out of jewelry findings to many of the doors. I used a particularly fancy one on the main door, and simpler ones on the less important doors. And of, course, I didn't take many photos of such a mundane task.... but close examination of some of the photos will reveal door pulls where before there were none!
And inside, in the Guard Room I added torch sconces to the walls..... similar to the ones in the Great Hall, but rough and rustic rather than elaborate and decorated. I just LOVE the way the torch light makes the gilded border of the ceiling glitter!
In this view, you can see some of the Door Pulls on the Hall Doors....
And this view shows a bit more of the ceiling illuminated by the torches....
Here also you can see that I have Not yet added the window shutters or the inner Arch of stone that covers the crack where ceiling meets wall.......

And in this view you can see the fancy Door Hardware on the Inside of the Main door......

This photo shows the shutters have been added to the windows... although the hinges still have not been painted black so they shine too much! Also, if you look carefully you will see that the crack at the edge of the ceiling has been covered by the inner arch of "stone"...... just one of the many tiny details that takes a lot of time but adds enormously to the finished look!

And with slightly better lighting in this photo.... I apologize for the darkness of some of these photos... but I do like to take the nighttime torch-lit pictures! I ran out of the light bulb and socket units I am using for my torches, so I will have to wait for more to arrive before I complete the torches in this Guard Room.

Here is a view showing the door hardware on the Lower Privy door.... as well as the "iron" hinges that were added. It also shows that I AM making progress on the floor tiles too! These are not attached yet, but are laid out to see how well they fit.... and how many I still need to make!

The project that took the MOST time and provided the MOST satisfaction was building the Windows for the Great Hall! Below you can see the first stages where I had cut out the rough window shapes from thin Basswood and carefully sanded them until they JUST EXACTLY fit in the openings. (I really think it makes the Hall Look like a Great Beast with eyes!)

Here is a closer view of the window frames cut from Basswood. I needed two for each window, and the glass pane will sandwich between them.....

Here is a view with the carved "Stone" details added to the window frames and the painting done as well.

And here's a slightly closer view of the "Stone" window before the glass is added.

Here is the arrangement I used to paint the glass. I used glass paint with "lead" paint for the lines, and then a few colored panes of glass. This is a very typical window glass design from the fourteenth century.
Here you can see that I have taped the glass pane over the drawn pattern, carefully aligned so the panes will fit in the openings of the window frame......

And here is a view of the finished window in place. The alignment of the top rose window is just a little off center.... but it is not as noticeable in real life!

And another view....

And the whole Great Hall with both windows in place.....

And a closer view in daylight........

Oh, and AGAIN! Can you tell that I LOVE these windows? :)

And because I can get to the back of my Castle now I can see the light from outside at night....!

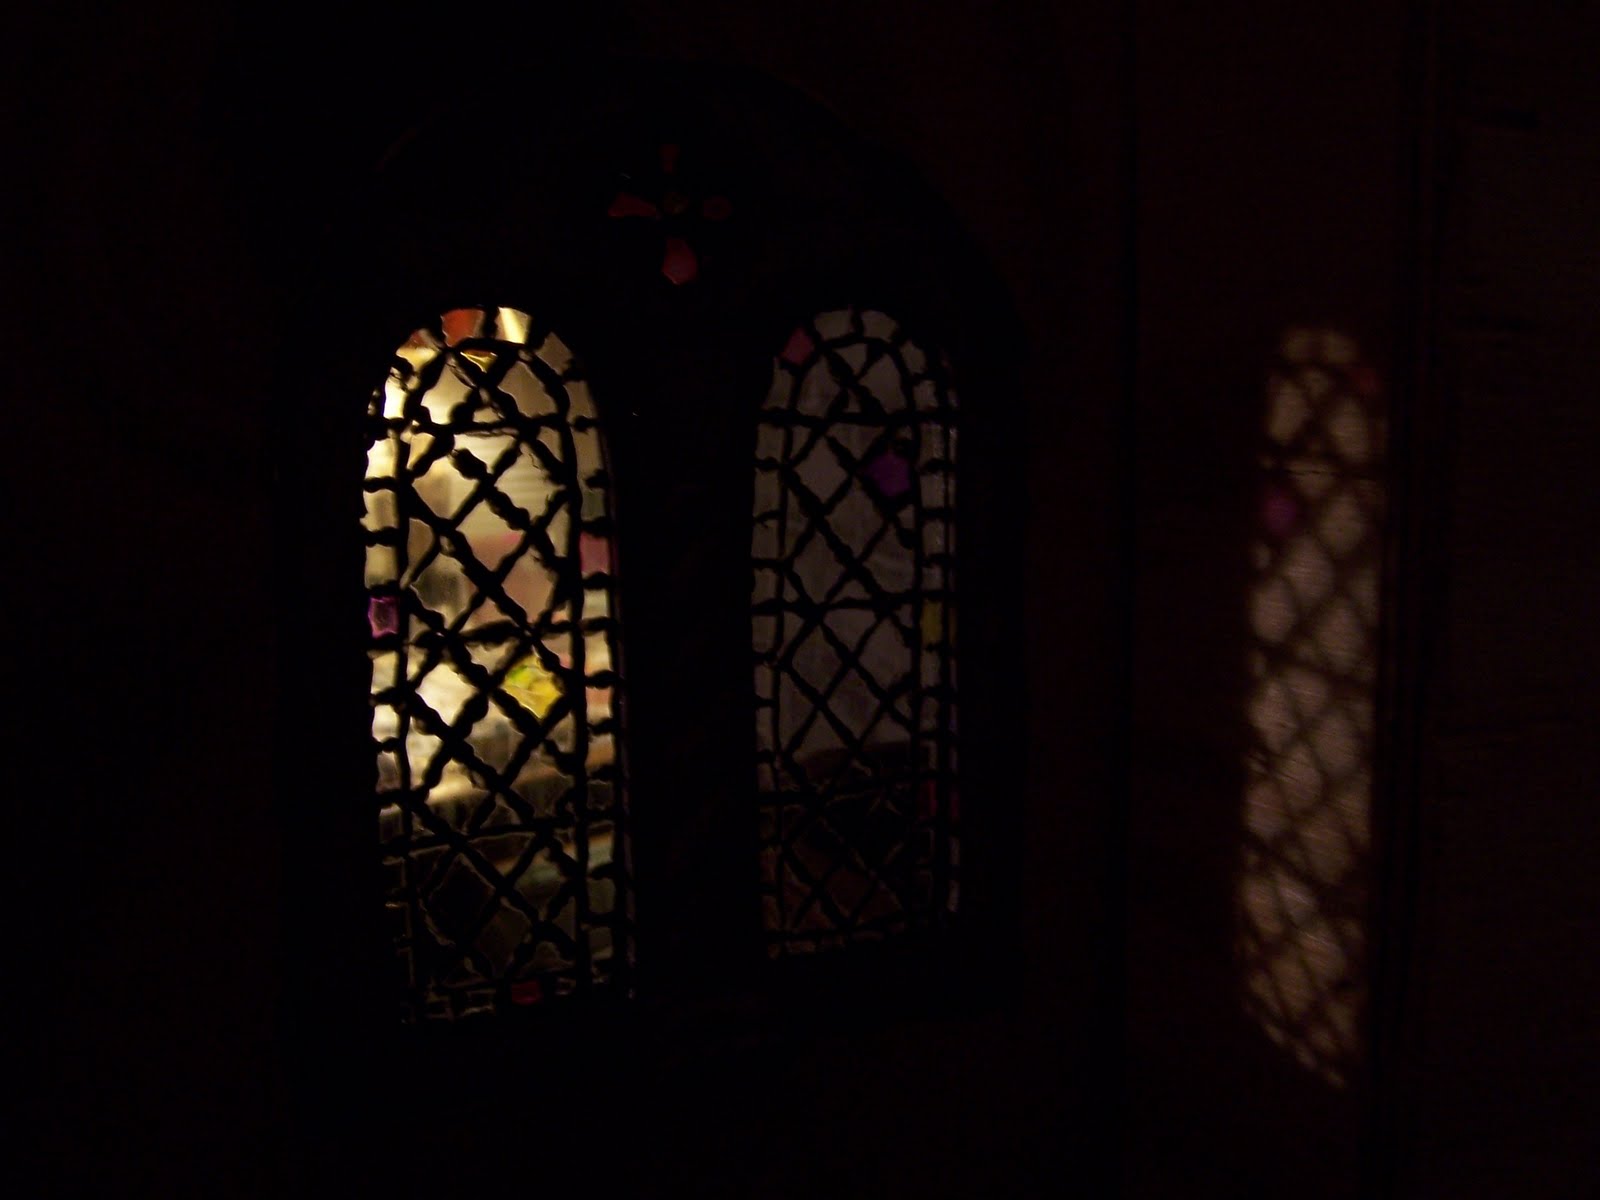
I Love the way the light shines through the glass and casts its image on the side wall outside!

NOT on the LIST.... but That's
What I Did On My Vacation

Friday, January 7, 2011

Lighting The Castle

Medieval Illumination (of the lighting kind)

In our Modern World we have come to take for granted the ability to light up the Night. This was not always so, and really only recently became the norm. Before the electric light was invented, there were only one or two options when it came to lighting the night. Candles, torches and oil lamps were the basic methods used for thousands of years. Primitive shell shaped oil lamps have been found in the stone age caves of Europe. Ceramic shell shaped oil lamps are still in use today in Temples in India. The oil used is mostly olive oil or the oil of various seeds. Perhaps the MOST primitive form of light is the torch, originally probably just a burning stick held aloft. The need to have reliable PORTABLE light gradually transformed the burning branch into a metal spike with flammable substance attached to one end.
As I began to think about the kinds of lights I would need for my Castle Dollhouse, I searched through all my Medieval Illuminated Manuscripts for examples that would be true to the era I am trying to portray. I was surprised at how FEW examples there are of lights of any kind! Because the Medieval artists were very focused on the little details of their worlds, I have to assume that they would have included lighting in their paintings if it were commonly present. And because they DIDN'T include it very often, I am going to assume that it was not as common as some would think. Perhaps the Kings and Lords would stay up late burning the oil, but the Common folk lived their lives in daylight with a curfew (cover fire) at dark. In the Northern countries in Winter there were surely hours spent awake after dark descended, but candles were expensive and used sparingly.
I have included a few pictures of the illuminations I found that DID show lighting in use. Here is one from my favorite Boccaccio's Decameron. It shows a night watchman with his lantern pursuing a couple of misbehaving gentlemen. While this is set at night, there is no attempt by the artist to make the scene look darkened.
Below is another painting that shows several types of illumination - lantern and torches. This type of torch, essentially a metal basket with fire in it hanging on a long metal pole, is shown often in this type of painting. The subject is the betrayal of Christ in the Garden, a scene that happens at night. Here again, the artist does not try to darken the picture. This illumination is from the Hours of Catherine of Cleves.
Here below is a scene with candles lighting a meal. This is from the Boccaccio's Decameron that I mentioned before, and is the only meal in the whole book that shows candles being used. The artist has clearly depicted all the various dishes and foods that were used.
Here is another dining scene. This is one of my favorites, and is actually quite late, almost not Medieval at all, but set in the early sixteenth century. Notice the beautiful brass chandelier hanging overhead with no candles, and only one lighted candle on the table.
Here below is another illumination from my favorite Boccaccio, showing a tiny chandelier hanging over the bed in a scene of seduction! This is one of the earliest portrayals I have found of a hanging chandelier! This manuscript was illuminated in the early fifteenth century.
Another illumination shows candles burning around the bier of a dead person of importance. As this is shown in many books for the Offices of the Dead, it is clearly an important part of the rituals.
One of the most common places where candles were shown in use were the altars in prayer scenes.
Below is another example of candles at an altar, this time in tall metal candle holders beside the altar.
Below is another scene showing the use of a torch at night to light the way outdoors. This is from the Boccaccio, and the torch appears to be a wooden pole with a flaming end. It is not quite clear to me what is used to make the burning part......
This one below shows more torches, both the pole type and the basket type, quite clearly.
And again, a similar scene with torches, but a later Medieval version where the artist is showing the realism of night illuminated by fire! This is from the Hours of Mary of Burgundy, painted in the late fifteenth century. For comparison, this is the same scene shown in the second picture (above) where Christ is betrayed in the Garden. There are conventions used in both, common to this subject, most notably the little lantern at the bottom that has been tipped over!
And below we have a scene where a torch is being used to light the way..... Oh, wait... That's Henry carrying a torch in my Castle Dollhouse!
He's on his way to the well and it is dark in that part of the Castle!
Having decided that I need to make torches for my Castle Dollhouse to light the more Common areas, like the Great Hall, and the Pantries, I came up with a combination of metal jewelry findings and some candle flame bulbs and sockets. I wanted to be able to replace burnt out bulbs and the whole unit needed to fit into the jewelry finding........ like this!
The wire is threaded out through the bottom of the "wooden" part made from sculpey. I also made a holder bracket out of black sculpey, to look like iron, with two eye screws to hold the torch. The wire will be threaded through a small hole in the wall at the base of the bracket and run behind the wall to the power strip.
The torches in the Great Hall are attached to the wall, but I still have to run the wires through the walls..... For the flame shaped bulb cover I raided a bunch of those LED tea-lights. I might paint some orangey yellowish streaks on them so they aren't so white.......
Here is a close-up of the bracket before the torch is added....
And a closer view of the lit torch in the bracket......
And another one....
Here is a shot of the torches, assembled from metal jewelry findings, with the wires from the bulb threaded through and out the bottom.....
Slightly closer view... Of course, I got carried away with the findings and these torches are WAAAAYY more ornate than anything a typical Castle would have.......
And while I had the jewelry findings out and my fingers were already sticking together from the super glue, I decided to make a pair of tall candlesticks for the Chapel. The candle part is from sculpey, and I had to bake it with the socket and wires (but not the bulb) in the clay! Please ignore the crooked misaligned findings! It was very tricky to get them glued together and even a little bit off center ends up being noticeable! I console myself with the thought that it is quite dim in the Chapel and noone will notice the crooked candlesticks.......
And here they are in the Chapel.... almost as good as real candle light!
I still have to run the wires through the floor and out the back wall.

Medieval Illumination - Uncommon Lights