Showing posts with label Windows. Show all posts

Wednesday, September 13, 2023

Tower Windows....


Details, Dithering Details...

It took me most of another day, Dear Readers, to finish painting the grout lines on the Tower wall and the crenelations. By the time I was done there was no daylight to see by, so I had to use flash to record the completed wall. It sure gives a hint of what the Castle will look like when it is done! I can't tell you how much I look forward to that eventual day! And I have to stand back so far to catch the whole Tower that you also can see the surrounding "neighborhood" and the mess of my workroom. But never mind.... that is what workrooms are for! And you might be forgiven for thinking this part of the Tower was now done, but alas, I still had to design and build all the trim for those Windows. The only one on this wall that had been completed was the trim around the Guard Room window beside the Main Door. And it was a very simple replication of the trim inside the room. But for the upper Chambers I wanted fancier details on the exterior of the Castle Windows. This Castle is meant to be in the early Norman style, and those Castles were very plain in their design. The only places where ornate stonework was used were on the window and door surrounds and on the main arches of the Great Hall and Hearths.

Here you can see I have begun the decorative frame
 for the window of the Lord's Council Chamber.
 I had already established the basic design for the framing
 on the rear wall window. 
It is simple "braided" columns and a "Sawtooth" arch  on the top.


But the rear wall window does not have an opening section,
while the side wall does.
It makes the resulting window frame
 need to be wider and a bit less graceful....


The window grout lines have not been painted yet.
It took me ages of Dithering to settle on this design.
Because in the old Castles the windows
 increased in ornateness the higher up they were.
The council Chamber is not the highest floor!
Would I be able to make a fancier window on the top floor
 and not exceed the simplicity of the styles at that time?
(I dithered a Lot!)
But one thing I was pretty certain about was
 the need for the Saw toothed arches over the windows.
If there can be said to be a defining "Norman Style", that was it!
But they are not that easy to make!


This is one of those annoying places where I have had to compromise
 my sense of "Realism" for this Dollhouse.... the Walls are not thick!
In the Norman Castles the window trim was recessed into the wall thickness.
Alas, on my Dollhouse Castle, it needs to protrude from the wall.
This is 1/4 inch thick plywood, thinner than the Walls,
 but thick enough to allow for the toothed design.
I sort of have to saw and cut and chip the distinctive diamond notches
 along the inside edge of the curved arch.
The saw doesn't always fit inside the tight curve... (at the right angle!)
 and there is no vise clamp to hold it at the right angle to saw.....
(Yes, it is the Middle Ages in my workroom too!)
But I managed to make a suitable approximation of the design.... 
one notch at a time.


Yes, the notches are not all exactly the same.... 
but that is also true of the originals.... 
(I looked closely at some old door frames.)
And I know some of this is boring,
 but there are no off the shelf windows 
for Dollhouse Castles to be bought anywhere!
 I have to make them myself.
And what of the Top floor Windows, Dear Readers?
Well, I dithered even More on those!


For starters, the back wall windows were highly irregular!
You might recall when I was building the Bedchamber,
 I wanted to add the spiral stairs in the inside corner
 and this required that I re-work the windows
 that had already been cut in the walls.
In order to fit under the stairs, 
the window needed to be much smaller.
 And then I wanted to add another that small size
 on the other back corner where no window had been planned.
I decided to make it look like the castle had been "retrofitted"
 and leave the original arched window frame
 where the first hole had been cut and
 "fill it in" to create the smaller window.
It has the notched Arch, but no decorative columns.


And where the window was cut that now had the spiral stairs climb past it, 
I decided there needed to be an arrow slit rather than a window with glass.
But should it have the same fancier treatment
 as the rest of the windows on this floor would have?
I dithered for ages on this!
But I reasoned that the arrow slit was probably also a "retrofit"
 and the original frame would have been fancier like it's neighbor.
And here I needed to make columns,
 similar but a tiny bit fancier 
than the ones on the lower level.
Since I had used the spiral carving on this room's Hearth details,
 I figured it would be appropriate on the window frames too.
But these more delicate "columns" needed
 a stronger base and "capital" piece.... 
it just looked wrong with out them.
And then I was sure it was too much... too ornate.... too unlikely....
But I had already used a similar Column
 on the windows of the Chapel and the Great Hall....
So I decided to just build them and if I hated them later....
 I could always "retrofit" a new design.


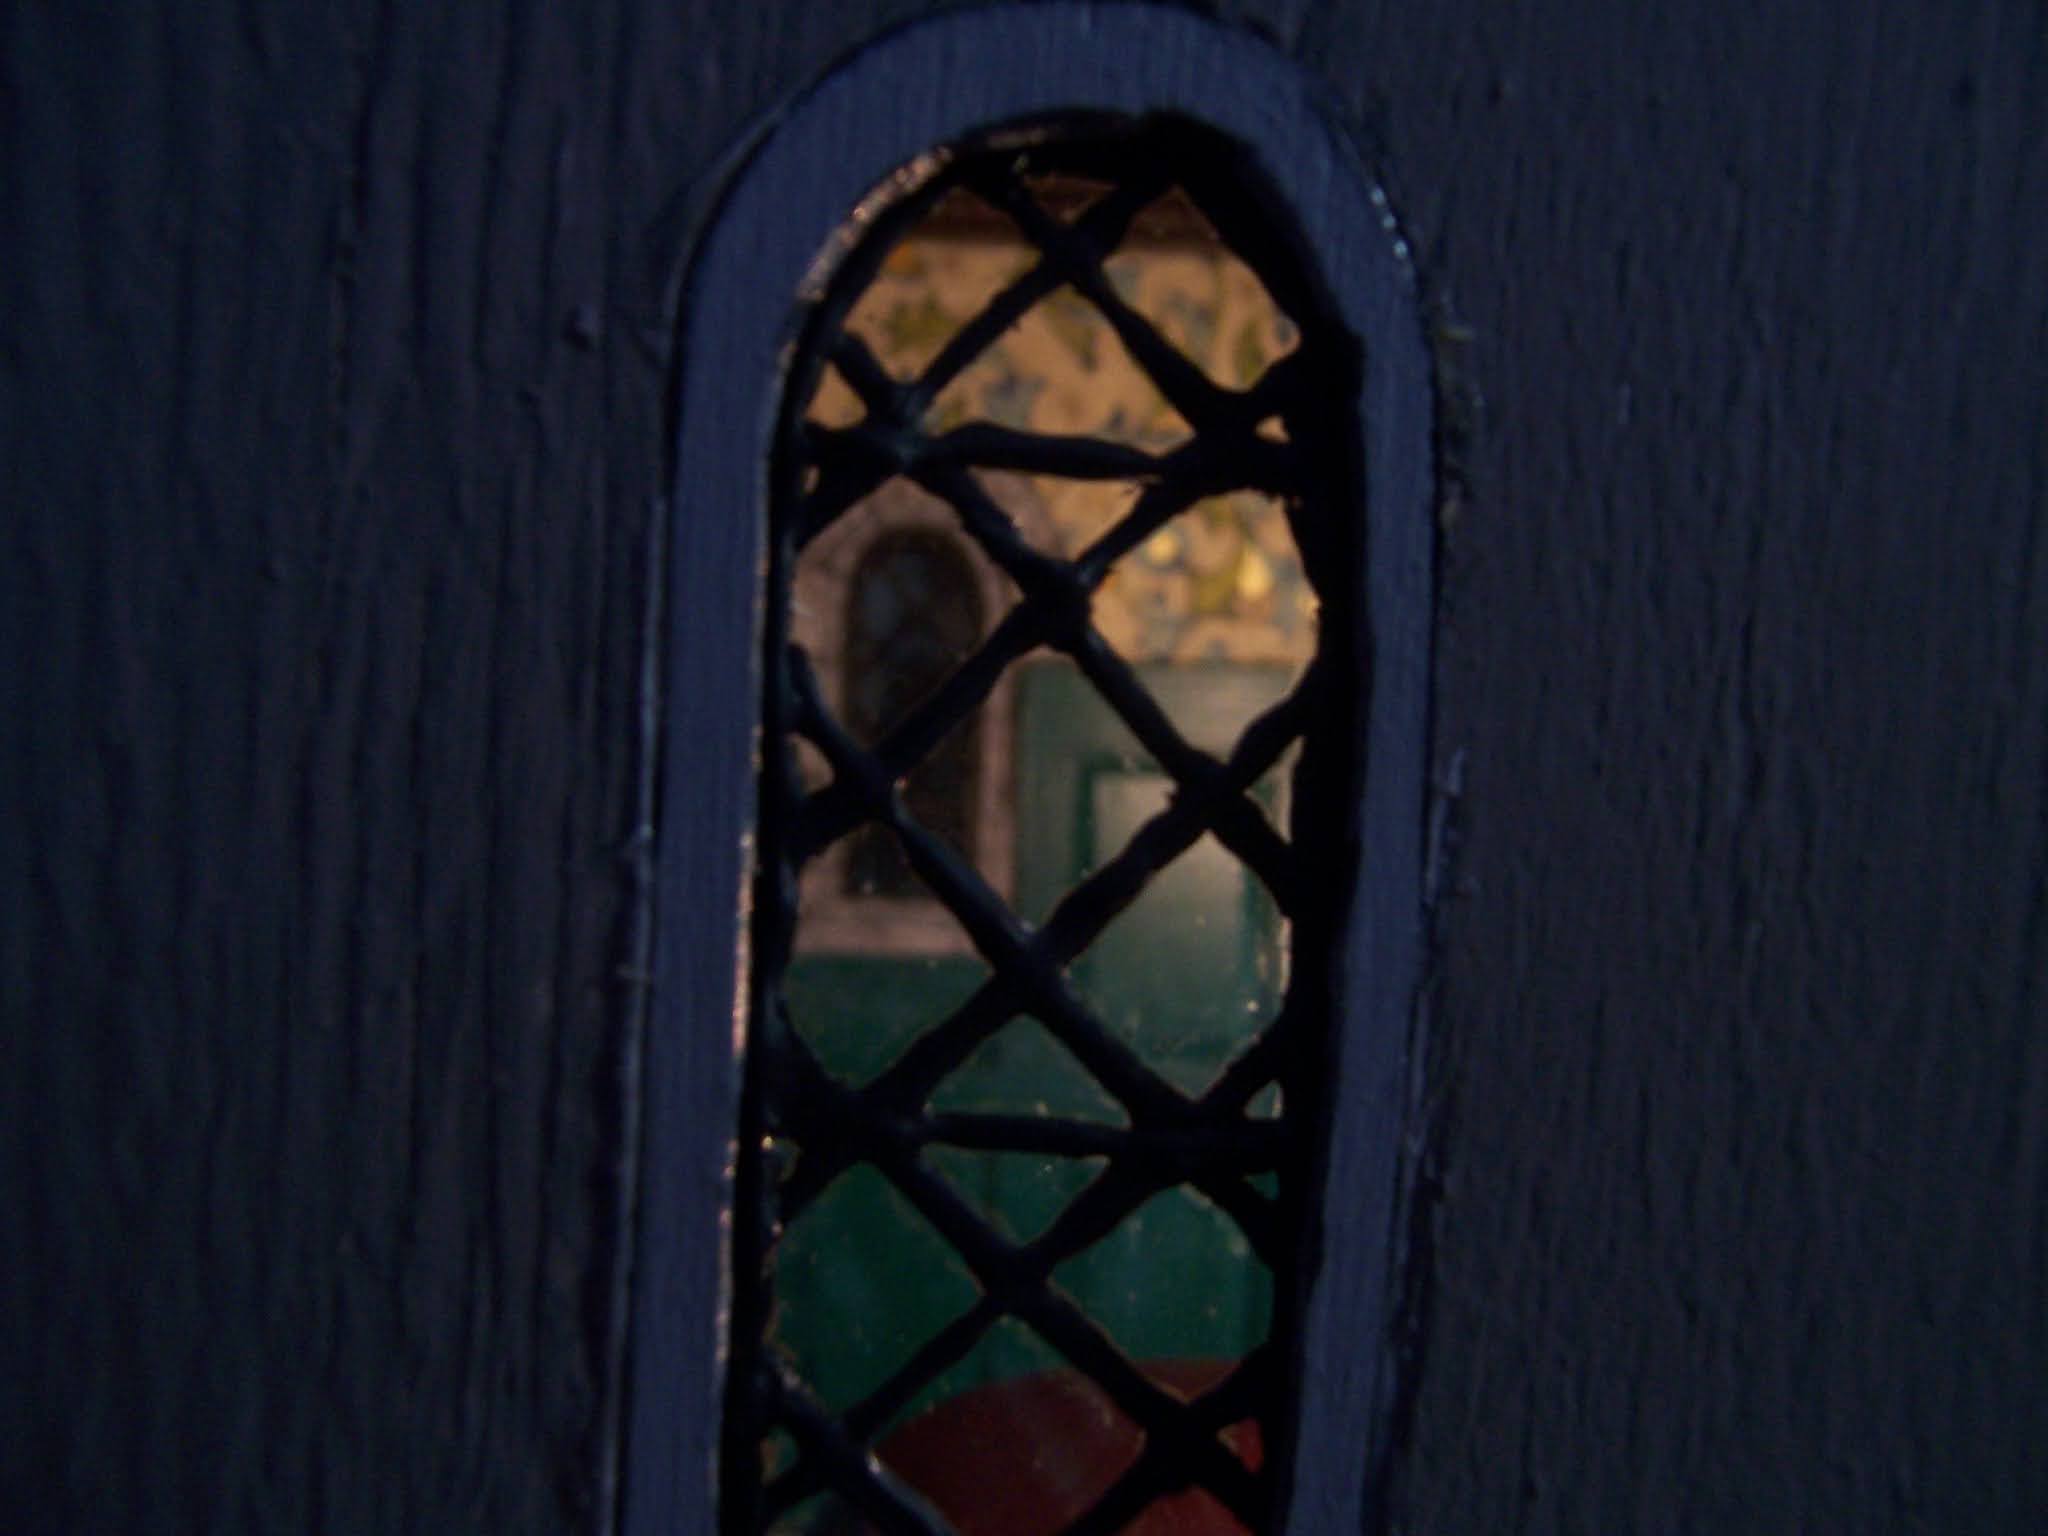
Here is the other Bedchamber window with the fancier trim... 
sorry for the dark picture..... it has been really gloomy!
But you can see the fancier capital here.


And with flash.... and the grout lines painted...


And the Tower Stairs window...
(flash is so brutal!)


The Council Chamber and the Bedchamber...


And the full Tower with flash.
I am sure, Dear Readers,
 I will have to "live" with the window frames
 for a while in order to know for sure
 whether I think they are the right frames.
But for now, I've Dithered enough on these Details!

Tuesday, February 16, 2021

More Windows.... And Wallpaper....


 It Always Takes Longer....

I Painted the window frames before gluing them in the openings, Dear Readers, because the interior side of the wall is already "finished" and I didn't want to mess it up. Fitting the glass panes in place was a little tricky and required that I turn the structure on its side to work on the back window. I needed gravity on my side! You can sort of see the pane in the window opening below.

The walls on this structure are thinner plywood than those of the castle,
 so for the inner layer of the window frame, 
I was planning to use two layers of cardboard.


Of course, carefully cutting and fitting each layer
 of card took more time than I thought!
The inner layer I painted black... 
where it would show would mimic the "leading"
 on the outer side of the glass.


I know it is difficult to see... 
It has been really gloomy around here for a while!
The card frame needed to be wide enough to cover the
 irregular shape of the glass pane to hold it in place.
And then I made the second inside layer...


This thinner frame is painted to resemble
 the stone surround of the window.
I know it is not perfect... 
And is difficult to see properly!


I took the outer door off the hinges to work on it
 so you can see the layers better.
I tell myself that the imperfections will be
 hardly noticed once the entire room is finished!

And then, because I had a three day weekend, Dear Readers,
 I decided to get Brave and tackle the wallpaper right away!


I don't know if I have shown you this paper before, 
but it is old Christmas wrapping paper that
 my Mom used many many years ago,
 and I saved it because it was so beautiful.
I only had a couple of scraps of it,
 and this small room seemed the perfect place to use it!


First I made the patterns for each wall... 
the areas were somewhat irregular
 so I didn't want to take any chances and ruin the paper!


I spent hours cutting and fitting each piece!
Of course, this is really too dark....


I'm not a fan of flash... but in this case
 it is necessary to get the effect of the lovely gold accents!


And with the open wall visible too.
I think it looks just like I hoped it would!

And then this morning I couldn't resist
 pulling out the electrical extension cords...


Don't you want to peek into those windows...?


Oooh... the window actually looks okay from here...!


But you want to see inside....


With just a hint of what it will look like with lights in place.....

 
And the fireplace wall.....
There is still so much to do... 
but I feel as though I am Finally
 getting a sense of this place!
 
And even though it always takes longer, Dear Readers,
The windows and walls are worth it!


Wednesday, February 10, 2021

Windows.....


 You Know How It Goes....

Do You even Remember The Doll Maker's Studio, Dear Readers? That Quick little project I was going to embark on to stave off insanity while building the Never ending lilac bushes? And which project went so quickly from little and quick to Complicated and Elaborate that even I was astonished at the transformation? Well, you can see in the above picture that not much has been accomplished on it in the past year or more! My excuse is that I couldn't decide what method to use for the little windows in the lowest section of the build... the part that is the old "stone" part of the structure. You can see here the unevenly cut shape of the window openings.... (cut in a hurry by me when adding this opening outer wall to the "room box " that was the initial expansion of the kit..... it's a long story..... see earlier posts!) And to tell the truth, it was my spending part of last summer working on the larger but similar windows of the Castle Dollhouse that led me to the decision about these windows! So there is some reason to the madness after all! It seems obvious now to use the same method of making a glass "sandwich" out of thin wooden frames that fit the window opening. This makes it so the glass cutting does not have to be very fancy. The frames cover the imperfections and wood is easier to shape than glass!

I begin by making a paper pattern that fits the opening as nearly as possible.
Then I trace it onto the thin plywood and cut the frame out.
 

Of course, the frame never fits right at first
 and requires a lot of careful sanding to get close enough.
The bottom section will be added when the glass is put in.

I had some scraps of glass that only needed
 a little trimming at the top, cutting the corners off 
to make them fit the arched openings.
I also needed to draw the exact shape of the openings in the frames
 so the lead lines would fit in the opening.

Here you can see I have added the carefully measured lead lines pattern.


Here I have started to add the "lead lines" paint
 to the glass which is carefully taped over the pattern.


And for the third, smaller window too.
I think my "leading" got better as I went along!
But it still needs a lot of trimming up
 once it has "cured" for a day or two.
(You might remember that I discovered I could do this
 while working on the castle windows!)

And that is as far as I got, Dear Readers,
 making the Windows for the Dollmaker's Studio.
But I am sure the rest will come together quickly.
You know how it goes with Kit Bashing and windows!


Monday, April 27, 2020

More Windows....


Giving It a Try....

I am Sure that Most of you, Dear Readers, will Not remember that I had boldly added a window to the bathroom of the Willowcrest all those years ago when I was about to glue the walls in place. I could not be happy with a room that had no window at all, and so at the last  minute I added one by cutting a hole in the wall. I chose an arched shape similar to the arched windows in the attic, but really it was a home made design. I also added an outer window frame once the walls were attached and the trim was being added....

And I had even constructed the window itself..... 
 (but couldn't find a picture of that in the unfinished state)
Because it languished unfinished and unattached for years and years!
Why? you might ask...
Well, because I wanted it to be "stained glass" 
like the upper portion of all the other windows in this house.....

But all those windows had been "finished" years ago...
And I would have to do the "leaded glass" paint....
So it languished.
But then last week when I was cleaning out the attic
 and dithering with the fireplace.... 
my eye fell on that window frame.... still waiting....
 and hadn't I just used the lead paint a few days ago...?
Wouldn't it be easy to add the lead to this window now?

It really didn't take me very long!
(Of course, this is plastic and not real glass)
Once the leaded lines had dried.... several days later, 
I needed to add the lead tape to the exterior side.

All the windows on Hardwick Hall have this lead tape
applied to the design on the exterior side of the windows.

It takes a little longer, but the effort is really worth it.
Next I painted the "Stained glass" colors...

Using nail polish... first a rosy red....

Then a lovely lilac....
 this goes only on the side with the painted lead lines.

And then glue it in the window opening...!

And from the exterior...!
Finally! All the windows in this house are done!
 
And I have to confess Dear Readers, 
all of that was really me dithering some more...
Because I couldn't decide how to construct 
the next window for the Lord's Council Chamber!
Didn't you Just make one? I hear you ask?
Yes... But, I wanted to try to make one that opened....
Just the lower portion, you understand.... 
because you wouldn't want to have no fresh air...!
And this would require hinges..! (A good thing..!)
And complicated framing... (not quite such a good thing...)
And me trying something I wasn't sure would work....
And then I realized that I would never know unless I tried! (Duh!)
So I got started!

I drew the pattern of the opening...
(Have I mentioned that this Self-built dollhouse
 has really uneven window openings?)
(See previous posts for disclaimers about the "builders"!)
This frame would need to be built in two sections.
I started with the lower part where I wanted the window to open.
 
It is built on the same theory as the rest of these windows
 (basically a glass sandwich)
But the frame needed inner panels that would 
keep the glass positioned when the frame swung open.
These are not necessary for the fixed windows, 
because the glass is held in place by the walls.
And the frame needed to be large enough and sturdy enough 
to take the weight of the glass, and the hinges
 needed to be able to be screwed on without hitting the glass.
I made the sides just a little wider than the previous window, 
3/8ths inch instead of 1/4 inch.
Imagine my Joy when I went to my glass scrap box 
and found two pieces already cut exactly the right size!
 
Here I am testing the frame "sandwich" in the window opening....

And seen from the exterior (where the light is better!)
Still a long way to go... but I'm encouraged!

Here the upper frames are cut and fitted too... 
and testing that they all fit together...
There will be lots of trimming still!

And with the cross bar sections added to the frames...

And drawing the leading on the glass... 
alas, my lines are still really blobby!

But I know I can trim them up later.

Painting the upper frame to resemble stone.... 
like the other windows in the Castle.
But then I realized the lower portion that hinges would never be stone... 
but I didn't want to paint it dark wood colored..... 
(still might change my mind...)
 
I stained it a blue-gray that I used on the Conservatory... 
I'm going to call it "weathered wood"
I will probably try to make it look more like weathered wood...
 but here I am still testing for fit!

And as the leading was getting dry
 I had to try to see how well it fit the frame....
But it was late and I was running out of time.

I couldn't wait to see how they would look in daylight....
Today was my day to go in to the Office... 
but I tried to grab a couple of shots...

Blobby paint and all!


I didn't even get as far as the hinges.... 
so I have no idea how they will work!
But I had to give it a Try, Dear Readers....!
'Cause how else would I ever find out?
(And now I have adding the hinges to look forward to....!)
And More Windows too!