Tuesday, August 31, 2021

Back to the Walls...


The Chapel Backside Continued....

By now you know the drill, Dear Readers, the long step by step process for making the illusion of rocks on the Castle walls, so you might find this post redundant. But I need to document the way the walls have been "finished" because it might be a long time before anybody sees them again! The next step required making the arched tops for the Chapel windows. This time I am leaving them very simple with no carved teeth. It is unlikely that such small windows would have been given such an ornamental detail (or maybe I am just in a hurry and will regret this one day!) And yet I have used a "carved stone" motif for the sides of the windows. My only excuse is that I have already attached this same trim to the sides of the other Chapel window which is on the outside wall and readily visible. I thought they should match and I really just wanted to get the back wall done!

Once the walls had been primed
 the next step was the lighter gray paint.


And then the outlining of the "rock" courses.
It went faster than I expected... 
I had already worked out many of the details
 on the more complicated back wall of The Great Hall.


I just needed to make the courses relatively consistent
 with those of The Great Hall... 
because they will stand side by side 
and those courses will be continued
 around to the front eventually!
 They needed to match!
(Another reason to get all the back walls done at once.)


The tower is quite tall... 
I needed to use a step ladder!


And then the "rocks" get painted...


Here you can see the window arches have been attached.


And the "rocks are all painted...
And it is dark and late....
And you can hardly see it back there!


In the morning light it is time to paint the grout.
Again, this went faster than I thought it would!


And again, it transforms the structure in a magical way!


I can't fit the entire Tower into one picture!


Here's the top with the crenelations.
This is the back wall that will hardly ever be seen!


I wanted to see the Chapel windows with the lights on...


Now you can really see them!
I have to confess, I just love the way it looks!


And because the back wall will not be visible.... 
but the side wall will be, where it rises above The Great Hall,
I needed to get the "rock" courses continued around to the side.
(Sorry for the blurry photo!)


Here the rocks have been painted....


And grouted. 
Again, it is getting late and dark.


And even though I really didn't want to...
I turned those painted sides back to the wall.
And you can see how little The Castle looks changed.
But now, Dear Readers, 
I know what it can look like... 
and will look like...
Someday...
 When I get the rest of those walls finished!
I will Dream of it...
 

Tuesday, August 24, 2021

The Chapel Tower...


 Do You Even Remember the Chapel....

You will have to forgive me, Dear Readers, because I do not even Remember the last time we really visited the Chapel, let alone accomplished any work on it! It was one of the first "rooms" of the Castle that I got really involved with decorating the interior, and as with so many of my projects... it is nowhere near finished! I would not even know where to look for good shots of the interior, and while the Castle is all pulled apart it is difficult to get any interior pictures. So for now I will just show you the progress on the exterior, because I have decided to paint it too while the sections are movable. As with the Lord's Tower (the other end of the Castle) the wall that faces the Great Hall has no wiring along the sides (because the stairs and doors run along the inside) so I could prime it and paint it fairly easily. But the Back wall was as unfinished as all the other ones.

Here I have primed the wall... 
(it is just behind the corner of the Great Hall 
which you see in the foreground with the crenelations getting painted).
 

Here is the back side of the Chapel. 
I have just added the base of the window frames.
That pin has been holding the glass window in place for Years!!


Here you can see those windows from the inside ...
 they are "stained" glass and represent 
The Archangel Gabriel and Saint Michael.
(Clumsily drawn by me with leaded glass paint.)


Again, from the outside, trying to get trim all around.
I will need to carve the arched tops.


But the really challenging task 
was carving those channels for the wires.


Here you can see I am slowly gluing them in.
The wood is very hard in the darker grain, 
and not too hard in the lighter parts...
But you need to make the channel relatively straight to the corner.
And the "electrical box" for this section of the Castle 
will eventually be built on the outer side wall where it is accessible.
For now I am just getting the wires buried
 on the back section and through the corner holes.


I even carved the channels for the upper rooms 
which I have not yet begun to construct, 
so I could get the primer on the whole back side wall.


And then we need to make sure the lights still work...!
Yay, They do!
Here is the view from the exterior with just the candle lights....

 
Here is the view from the interior....
I know it is barely visible... but so moody!


And with the flash turned on...
Way too bright....!
It shows clearly how much I still have to finish.

Alas, for now it will have to wait, Dear Readers,
 while I get the back wall of
 the Chapel Tower finished.
But at least now you will be able to say 
you Remember the Chapel!

Monday, August 16, 2021

Rocks We Got....


Quite A Lot...!

It took a couple of tries, Dear Readers, to get the Rocks for the Crenelations lined up in a good pattern. They needed to be smaller than the rest of the rocks on the Castle, in order to fall right around the gaps. I need my Rocks to look like they would in RL, that is to say they obey the laws of  physics... even though this is just a Miniature castle. Here you can see I have only the chimney rocks still to outline.

And I can't resist showing every step.... 
I hope it does not bore you!


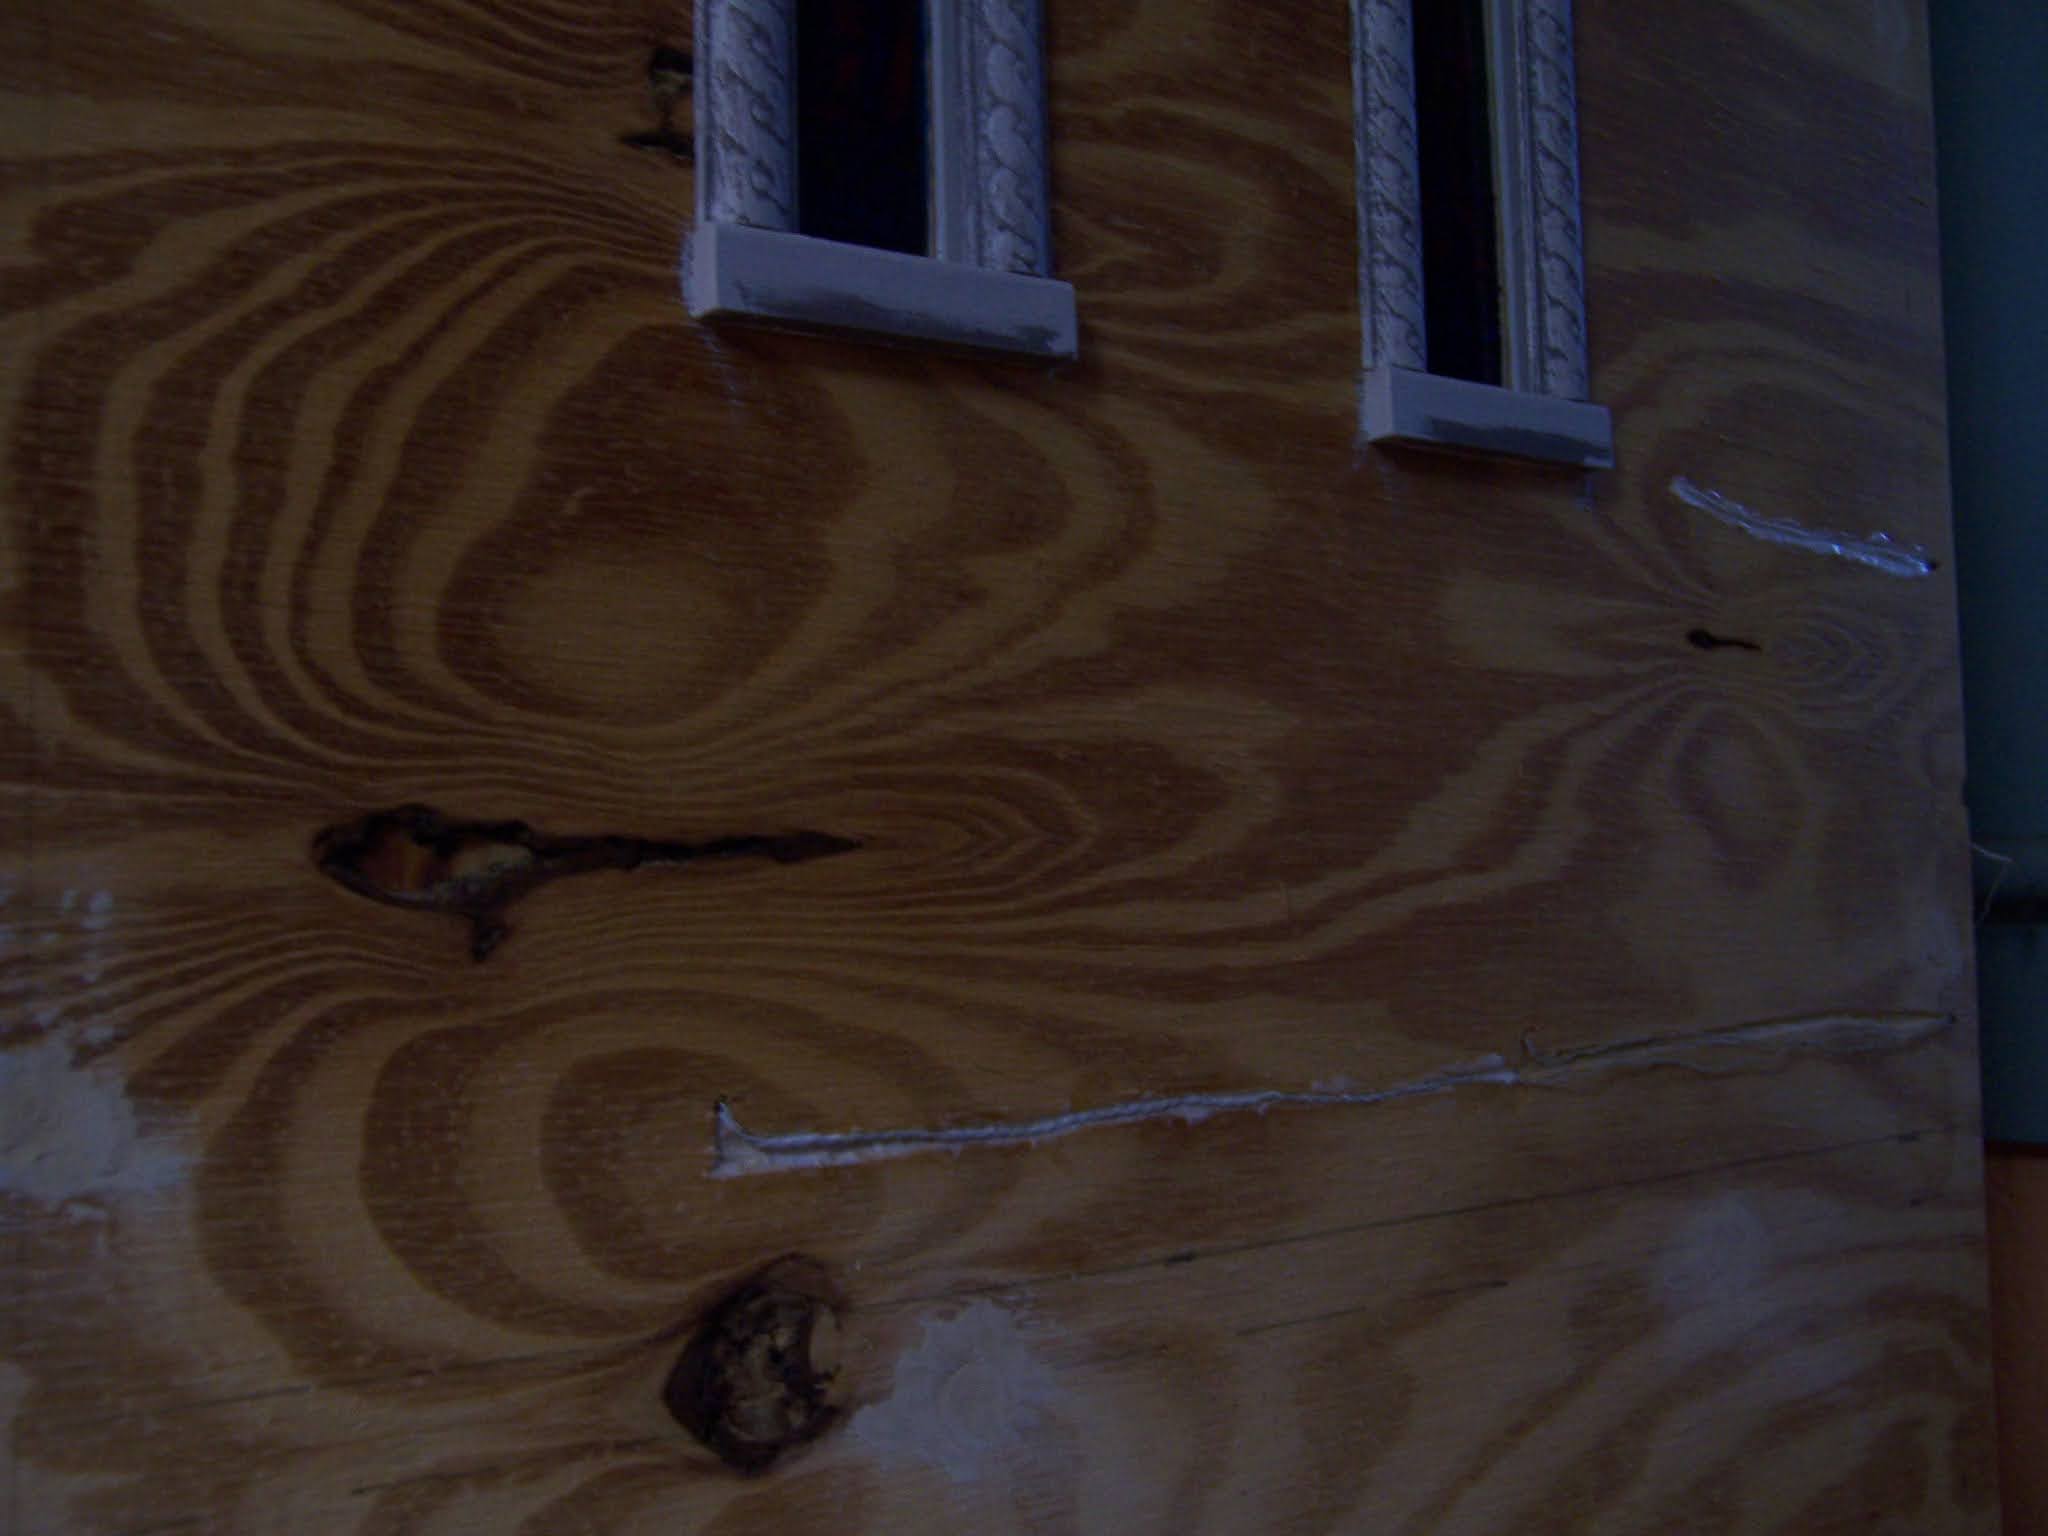
You might notice that I am not covering over the wiring
 that is "buried" in those channels. 
This is to be sure I can find the wires if they ever need repairing. 
This is the back side and will hardly ever be seen!


And Finally, it is time to start adding the "texture" to these "rocks"!


This is the "slap-dash" part.... 
I really do not spend time on the texture.
I am interested in the darkness of the "rock" more than anything else.
There needs to be some darker and some lighter rocks
 spread throughout the whole structure.


There needs to be some contrast, but not too much... 
just enough to differentiate the rocks from each other.


And the more "rocks" I painted....
The more I loved the look!


Oh my...! What a difference it makes!
Just the crenelations still to "rock"...!


And a closer view of the lower part....
(it is getting late and the light is fading...)


But... Oh my!
I just Love this Castle!
But we are not done yet......


We still have to add the grout.

But that needed to wait for morning......


In the fresh light of morning, Dear Readers,
 I almost talked myself out of adding the grout lines.
I just loved it so much as it was. 
But I checked my references....
(lots and lots of Castle picture books...)
And they agreed that Grout was needed!


This is Not a "slap-dash" process.
The very opposite, in fact.
It got off to a rough start...
 it is hard to reach carefully into this narrow space
 and lay a single white line down the center
 of all the gray outlines!
And not get the white paint anywhere else... 
even though the surface is rough
 and the paint line needs to be continuous, not full of gaps.
Slow but steady... with a lot of rests to stretch the legs...


Because it is hard to squeeze in where I have to work. 
I thought you might want to see...!


Slowly but surely.... here you can see the comparison... 
part with grout and part without!


Slowly... slowly transforming the walls...


I, myself can't believe the difference it makes!
But I know I say this every time!

 
Can you believe this is just plywood?


The electrical box has all but disappeared!
(See the cracks...?)


It has become Grand... and imposing.....!


I can't tell you how impressed I am!


And I cannot believe I will have to turn this to face the Wall!
But this is, after all, just the back side of the Great Hall!
And now that I know what it will look like when I finish the front....
Well, Dear Readers, I can Dream, can't I?
Because I still have an awful lot of Rocks to paint!