
Windows, Siding, Porches and Shingles....
With the basic Shell of the House completed, Dear Readers, It was time to add some of the Exterior artwork. Above you can see the house with the two pull-out sections showing the interior rooms before any of the exterior trims and artwork were added. The Tower rooms are not showing because it lifts out from the top. This does make it a bit awkward to display... but the Tower interiors have some really wonderful features! But first we must complete the exterior of the building, starting with adding the wonderful printed paper siding...

This step always makes me nervous...
getting glue on the outside of the paper is not a good idea,
so you have to be careful when applying it.
The fit of the cut out shapes is excellent
and requires virtually no trimming.

It looks wonderfully worn... I love the color!

And with the side pull-out wall done too!

Then all the delicate window frames are cut from their "motherboard".
The layers need to be glued together,
and each painted individually...
a slow and delicate process.
I neglected to take pictures...
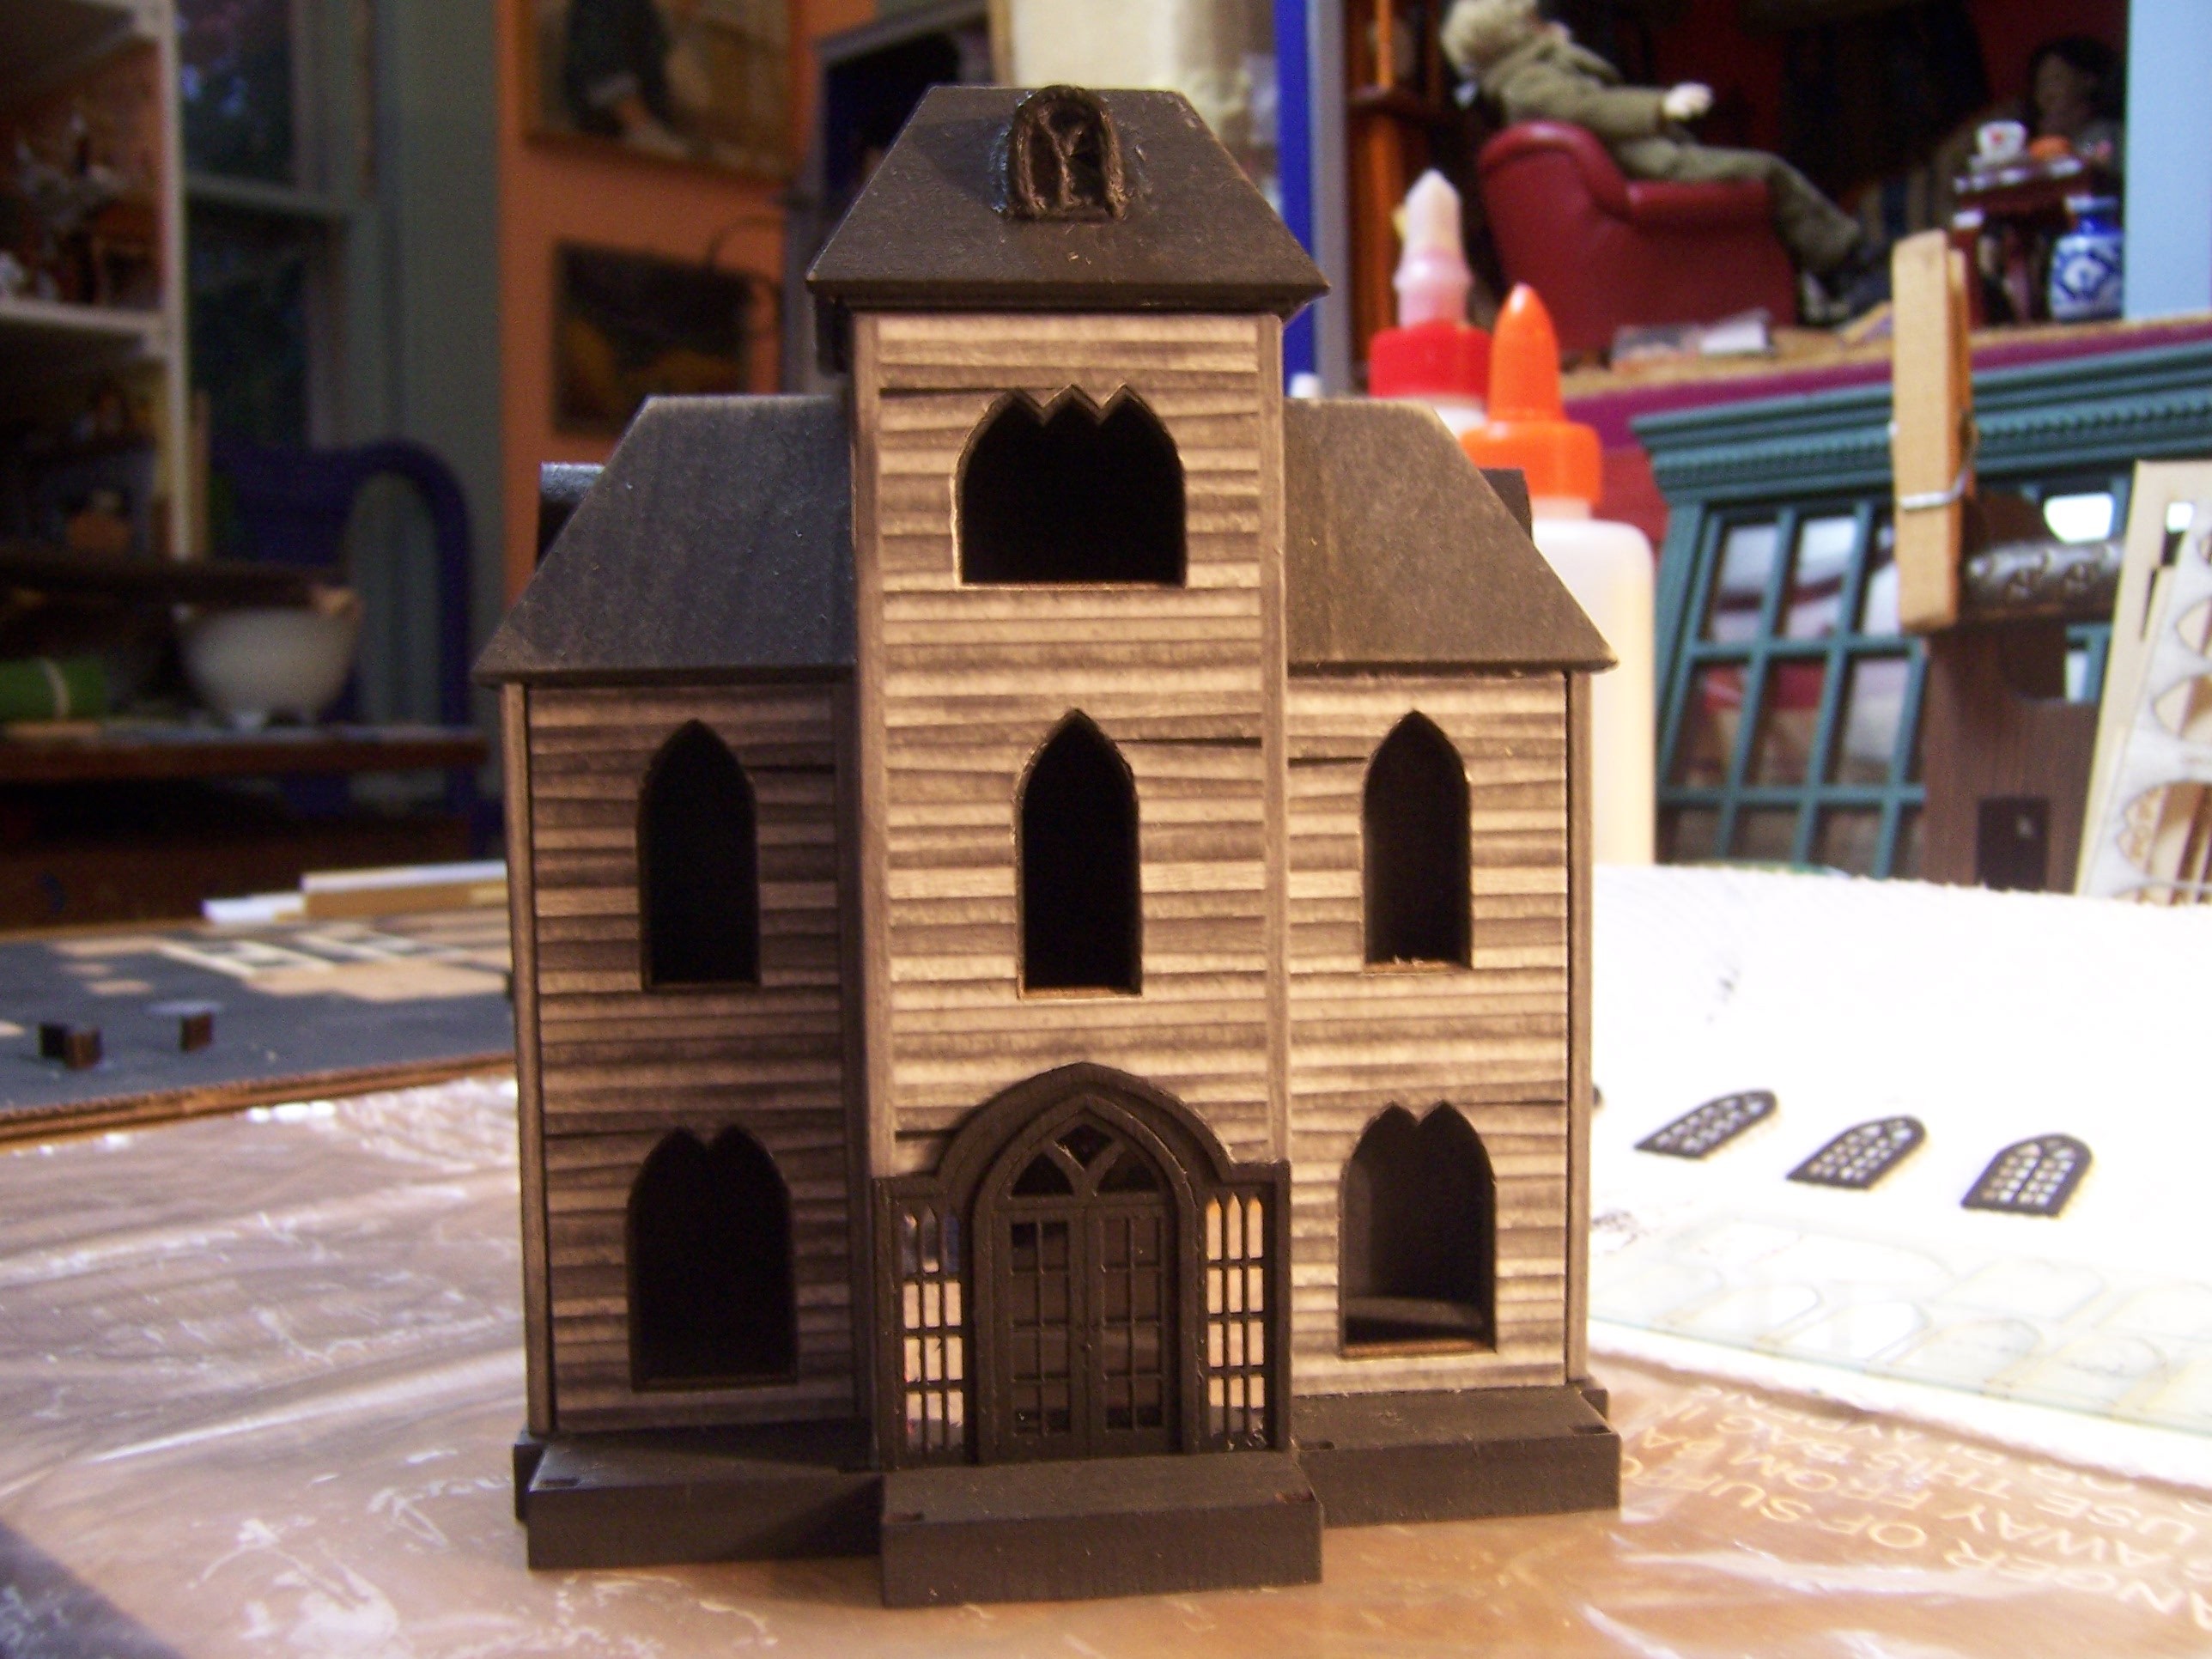
Here you can see the front door has been attached!
The frame holds the acrylic window in place in the opening.
I have put reflective glitter paper behind the window frames
on either side of the door. This is because they are not real windows...
and I wanted them to look more reflective and glittery.
If you look carefully at the earlier pictures,
you will see that the area behind these frames
was just a blurry gray tone.

I wanted it to glow... glitter.... shine....!

Especially as it will be tucked under the porch....
when we get to that!

Adding the rest of those lovely windows and frames went pretty quickly...
at least, I forgot to take any progress pictures!

The side pull-outs are finished too.

Here you can see a great comparison
of my added attic window with the kit version below...
But really, the house is supposed to be weathered and worn...
maybe I should have roughed up the window frames a bit...

The next step is adding the porches....
as with many of these tiny pieces
they are made of glued together layers
to achieve a three dimensional decorative relief.
Of course, I forgot to take any pictures
of the very tiny finicky pieces!

Here the porch roof railings and trims have been added.

Oh, what a wonderful spooky porch!

We are almost finished with the exterior details, Dear Readers,
but the next steps are complicated!
If you look closely at the edges of the roof in the above picture,
you will see the edge trim pieces have been added.
These are built of several layers glued together,
cut to the right length and attached along the outer edges of the roof.

It was really difficult to understand the directions
on how and where to apply the trim
until more than one piece was added...
they need to abut the correct way on the opening pull-out roofs.

because there is no side pull-out.
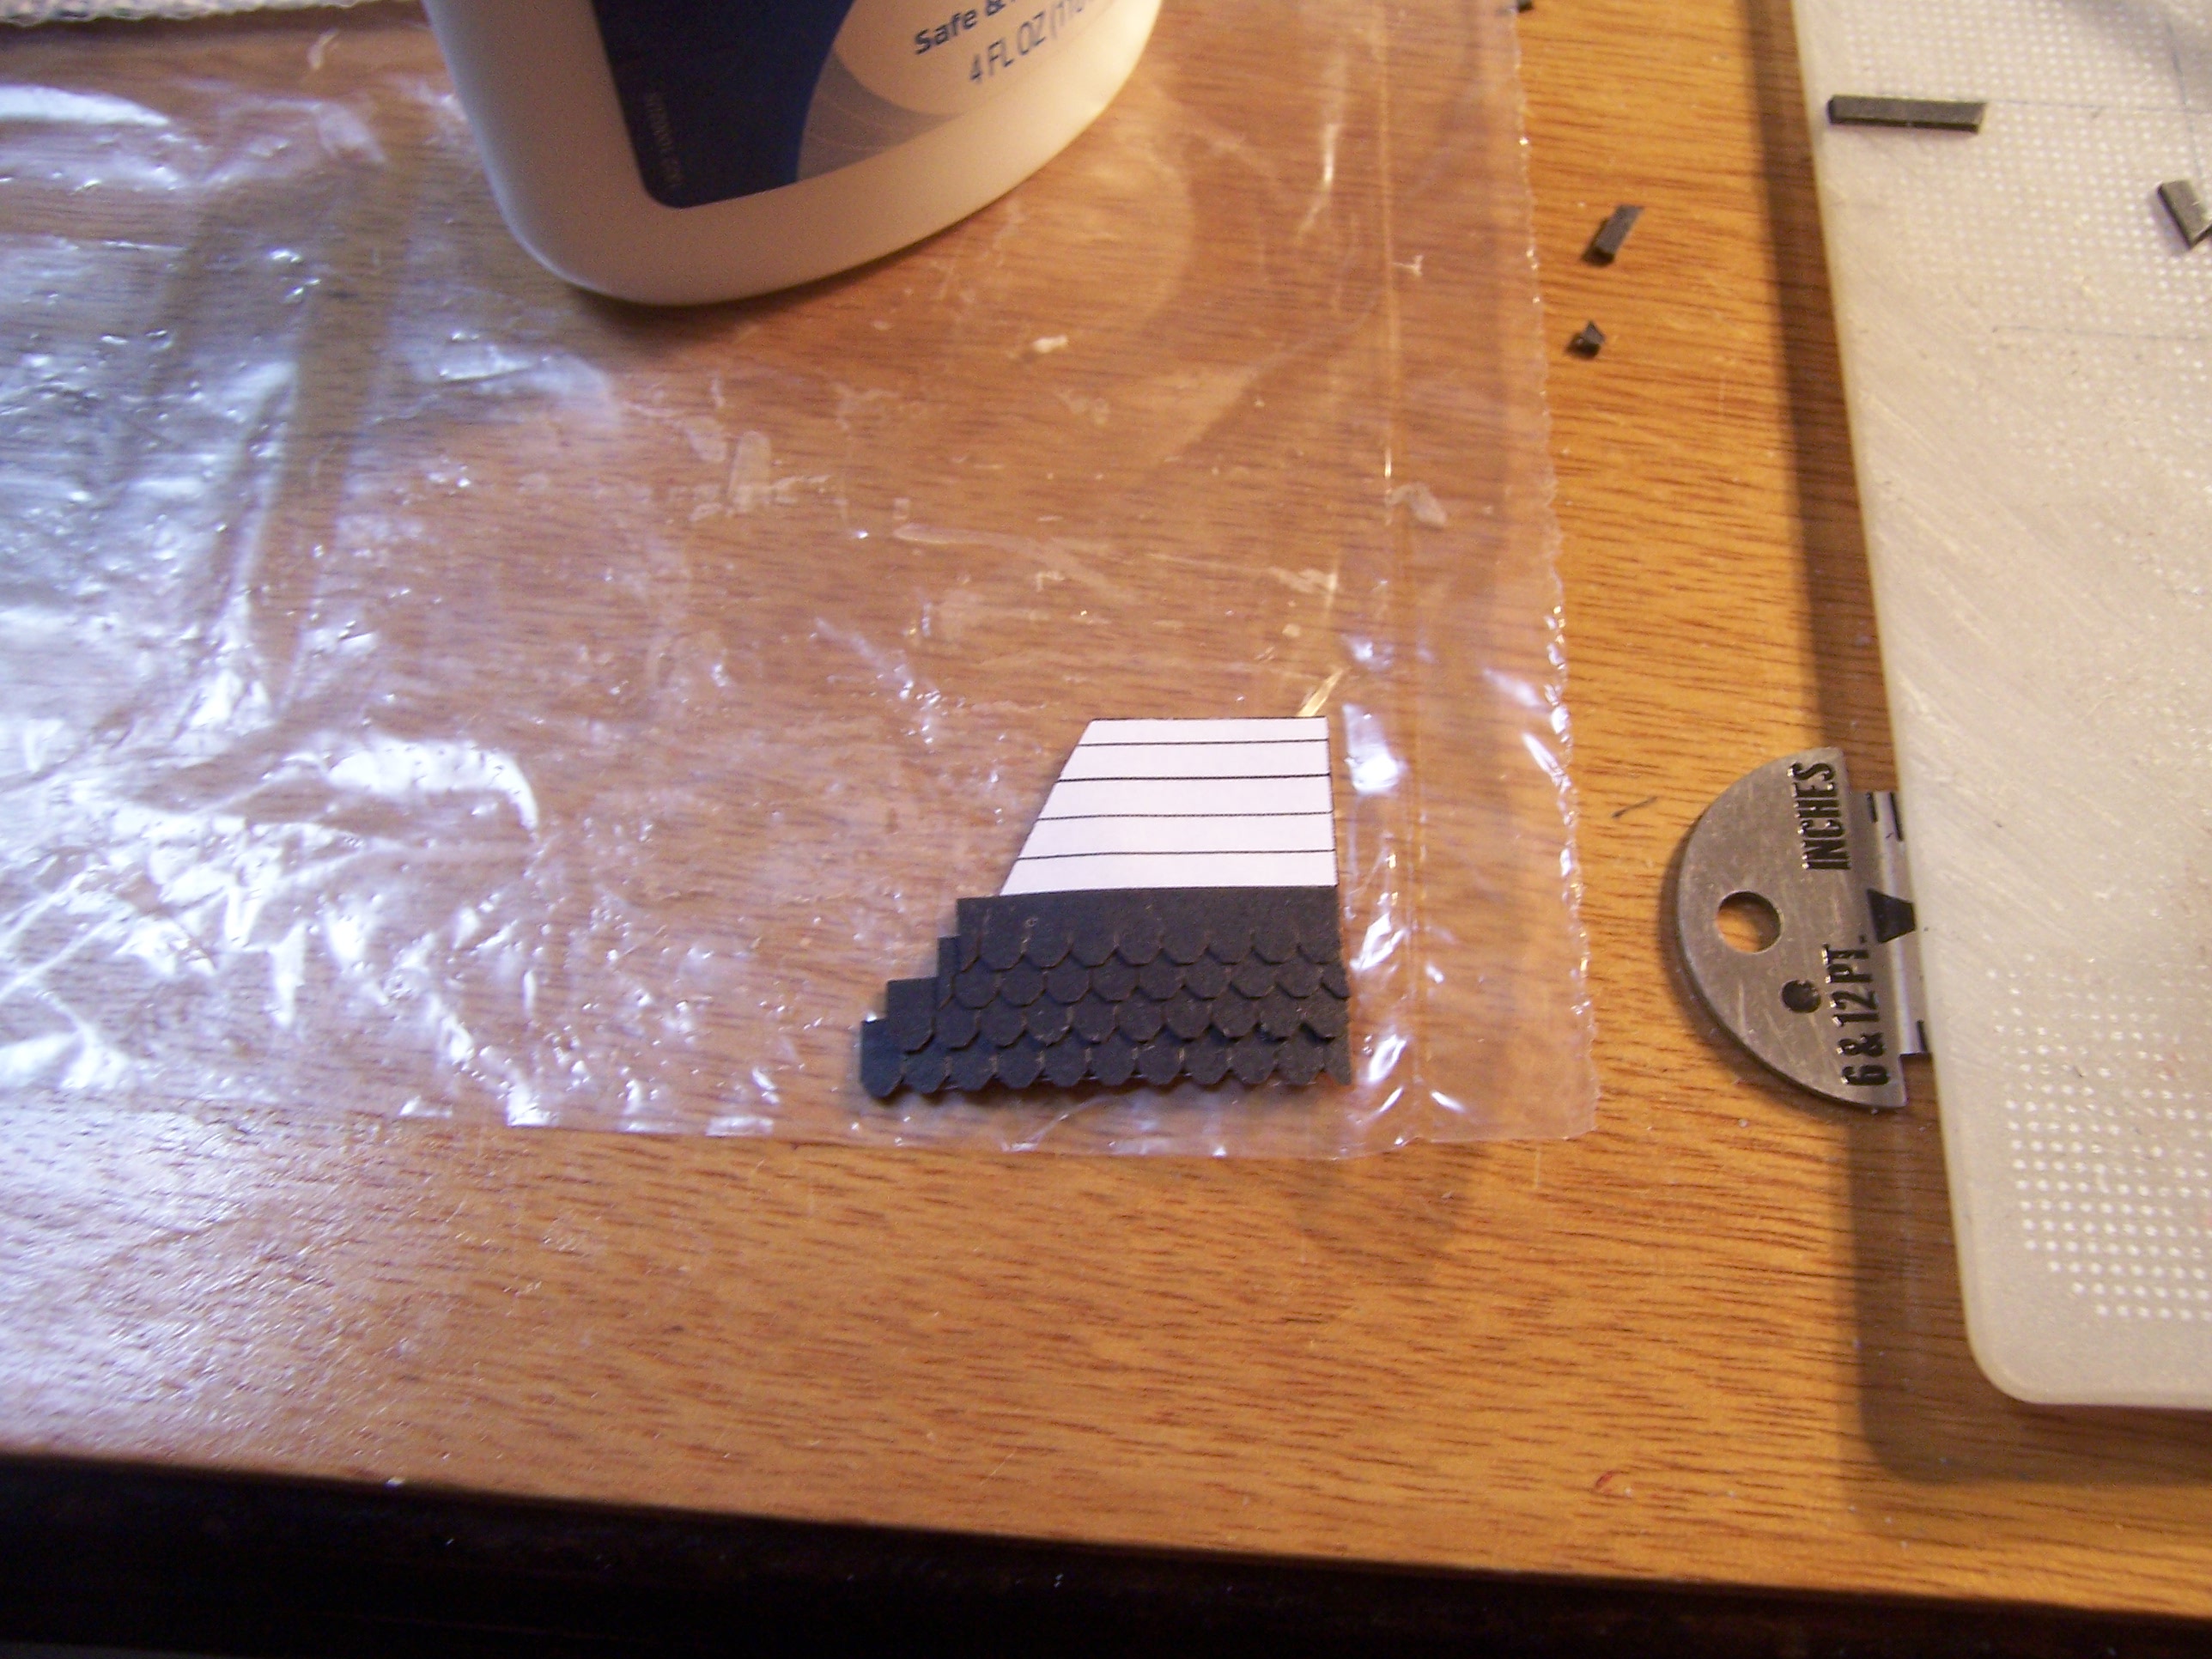
Laying the shingles was relatively easy.
The guide templates fit perfectly.

Plenty of shingles are supplied!

The first shingled roof is done...
and you can see how it fits up against the edge trim pieces.

Here I am adding shingles around the Tower window that I added...
so I needed to fit the template around the window before I added the shingles.

Once you have glued all the shingles to the template,
you cut the edges back to the opening.

Like this.

Then it slips neatly into place on the Tower,
between the edge trim pieces!
Doesn't that look as if it were part of the original design?

I did the Pull-out side roofs last.
They had the trickiest edge pieces....
And the fitting was trickier....

Again, the shingles were glued to the template,
then the window was cut away....

There is a strip of edge trim on both the
pull-out side and the front roof edge.

Here you can see how they align when the house is all closed.

I must say, Dear Readers,
with the windows, siding, porches and shingles,
all the extra little details on this kit
do make it look wonderfully realistic!
Just a few more little additions are still needed,
but the Ravenwood Exterior is nearly complete!
It’s looking so cute Betsy!! Good work on all those neat finishes along the edges. Explaining how to do something in instructions isn’t easy and the Betterley kits have been tricky for me at times.
ReplyDeleteIt's all those EXTRA TINY details which sets your work apart, Betsy!
ReplyDeleteRecalling the DARLING Christmas House which you kitted out So Amazingly and now this darker/moody mini habitation receiving its share of your famous Betsy-magic - Great Fun with Excellent Results!
I love how it looks!
ReplyDeleteIt is great to see the Ravenwood develop. Apart from your additions which enhance it even more, it looks like a real good kit to start with. I especially like the porches. They really make it gloomy!
ReplyDeleteI wonder what you will add next to the exterior to finish it off. It looks so good already like this.
Huibrecht
Se ve tan genial!! El kit es muy bonito, pero todas las adiciones que le has añadido, hacen que cobre más interés!!
ReplyDeleteBesos.
¡Es un trabajo muy minucioso!. Está quedando fantástico.
ReplyDeleteSorry, I'm really late this time... but I was busy putting up my Christmas stuff. Makes me wonder... did I ever mention before that I have much too much Christmas stuff??? *LOL* And in case you might wonder now... as we're already over with Advent 1st it's now allowed to say aloud what shall not be named during the rest of the year... ;O)
ReplyDeleteOh, I've enjoyed so much to study the progress you've made on Ravenwood! And what an amount of progress! And I have no doubt this is a very well made and explained kit (I could spot an instruction sheet) and I like the idea with attaching the shingles to a template. But what I love the most is this extra dose of that special Betsy touch turning any kit into an ooak. In this case it was the backing of those side wings of the entrance with the shimmering paper. I suppose this is where the ghosts enter or leave the house... ;O)
Hugs
Birgit