What's Under Foot
The old green curtains had to come down. Winter is dark enough without the heavy drapes blocking all the light. (What took you so long? Some of you must be wondering!) It is not quite Spring, but the urge to open up and re-do everything is starting to make itself felt, even in the dollhouse world. So FINALLY, I took the old drapes down! And the beautiful morning light can now shine into the Living Room of the Lovely Old Dollhouse! And once the Old drapes were down, it became obvious that it was time for some other changes and improvements in the decor! But BEFORE I show you those changes, I am going to take you on a little tour of the very basic BOTTOM layer of any decor: the Carpets! SOME of you out there have wondered about the obviously UNIQUE carpets in these rooms, so I will now satisfy your curiosity and tell you a little bit about the HISTORY of these rugs.
To Begin with, I must be honest and admit that I don't even REMEMBER where I got most of these "carpets"! I have been collecting and saving scraps of material that had a "dollhouse carpet" sort of look about them since before I can remember! In my family when I was growing up we had a mix of very worn Oriental carpets and inherited "hooked" rugs, so those were my models for appropriate dollhouse carpet scraps. Anything "Oriental" or tapestry-like was eagerly hoarded. And most of these never saw the inside of a dollhouse until I brought them out of hiding last year. They are all just "temporarily" where they are until I figure out what "REALLY" belongs in each room. So you can imagine my surprise at how PERFECT some of these scraps are for the rooms they are now in! I must also confess that I have not "made" any of them, with the exception of the small braided rug.... one of the two braided rugs I made in my teen years.... and that fits so well in the kitchen of the Folly.....
 I have no idea where I got the three tiny "scatter rugs" printed to look like small Oriental carpets.... but they, too, go just Perfectly in the Folly! Here in the upstairs hall.......
 And here in front of the fireplace.... it makes a perfect hearthrug! Even the colors are perfect!
 And the "carpet" in the Folly Living Room is another mystery to me! I THINK my Sister collected it...... but the SIZE and COLOR could Not be a more perfect fit for this room! I think it must have been designed to be a Table Scarf.... it is very nicely woven and the pattern is of Roosters.....
 Of course, the carpet was put in upside down, so I have turned it around so you can see the pattern more clearly...... it even has it's own fringe!
 And speaking of "Oriental" scatter rugs...... this one is actually a "Mouse pad" that was for sale in Staples a few years ago...... it is a little thick and fuzzy.... but the pattern and the fringe are Lovely! Here it is in the Hall of the Lovely Old Dollhouse.
 And while we are talking about "Oriental" carpets...... the "carpet" in the Chinoiserie Bedroom of the Lovely Old Dollhouse has a very "Eastern" look to it.... even though it is not at all "Oriental" in the more common sense of "Turkish" carpets. But the size and the pictorial motifs were all too irresistible to me..... so they became Dollhouse carpets. Once again, I think they were intended as table scarfs. They are Indian printed cotton and I have NO idea where I got them! But they look Wonderful in the Lovely Old Dollhouse.......
 Here is a closer look at the dancing maiden....
 And even closer.... you can see the weave of the cotton cloth....
 And On TOP of that carpet I have carelessly placed ANOTHER carpet that I DID buy...... I ordered it from an on-line supplier.....
 It is very nicely woven and shows a very "Oriental" hunting scene, and the colors go well in this room, but by itself it is a bit small for this room.......
 And the other Cotton "Oriental" carpet in the Master bedroom......
 Here you can see a closer view of the images..... and this one has a nicely knotted edging.....
 And an even closer view..... it looks like feasting with musicians......
 And here is a bit of "carpet" that I scavenged from a bunch of old Upholstery Fabric Sample Books...... I collected a whole pile of interesting small patterns that make Lovely little scatter rugs...... like this one....
 And this one.......
 And this one.......
 And in the Front Hall of the Lovely Old Dollhouse there is another slightly larger Fabric Sample "carpet" in a more traditional type of pattern.....
 Here you can see it more closely.... even the serrated edge that I have done nothing to.....
 And perhaps the ONLY carpet in the WHOLE bunch that is actually made for Dollhouse carpeting is the one in the Living Room of the Lovely Old Dollhouse! This one I bought at that very Dangerous to the Pocketbook miniatures store in the nearby town! The pattern is probably based on an "Oriental" design..... in fact I have a Book of Needlepoint Carpet designs for Dollhouse carpets that includes this very design! The Size and the Colors were just TOO perfect for this room for me to resist buying it..... and I Did get a discount..... so it was not as expensive as it SHOULD have been!
 And here is a closer view..... it looks as though it is stitched on 18 count canvas.... and I think it is done in cross-stitch........ but I did not stitch this carpet! That is a project I have yet to do....
 So now that the light is streaming in the window of the Living Room of the Lovely Old Dollhouse, it makes the bare walls look much too empty! So I have taken my courage in my hands and added DECOR to the walls!
 A Mirror in a heavily carved and gilded frame fits the space SO well..... but is it a bit too BOLD?
 And a MATCHING one on the other side of the Hearth....... but is it TOO MUCH?
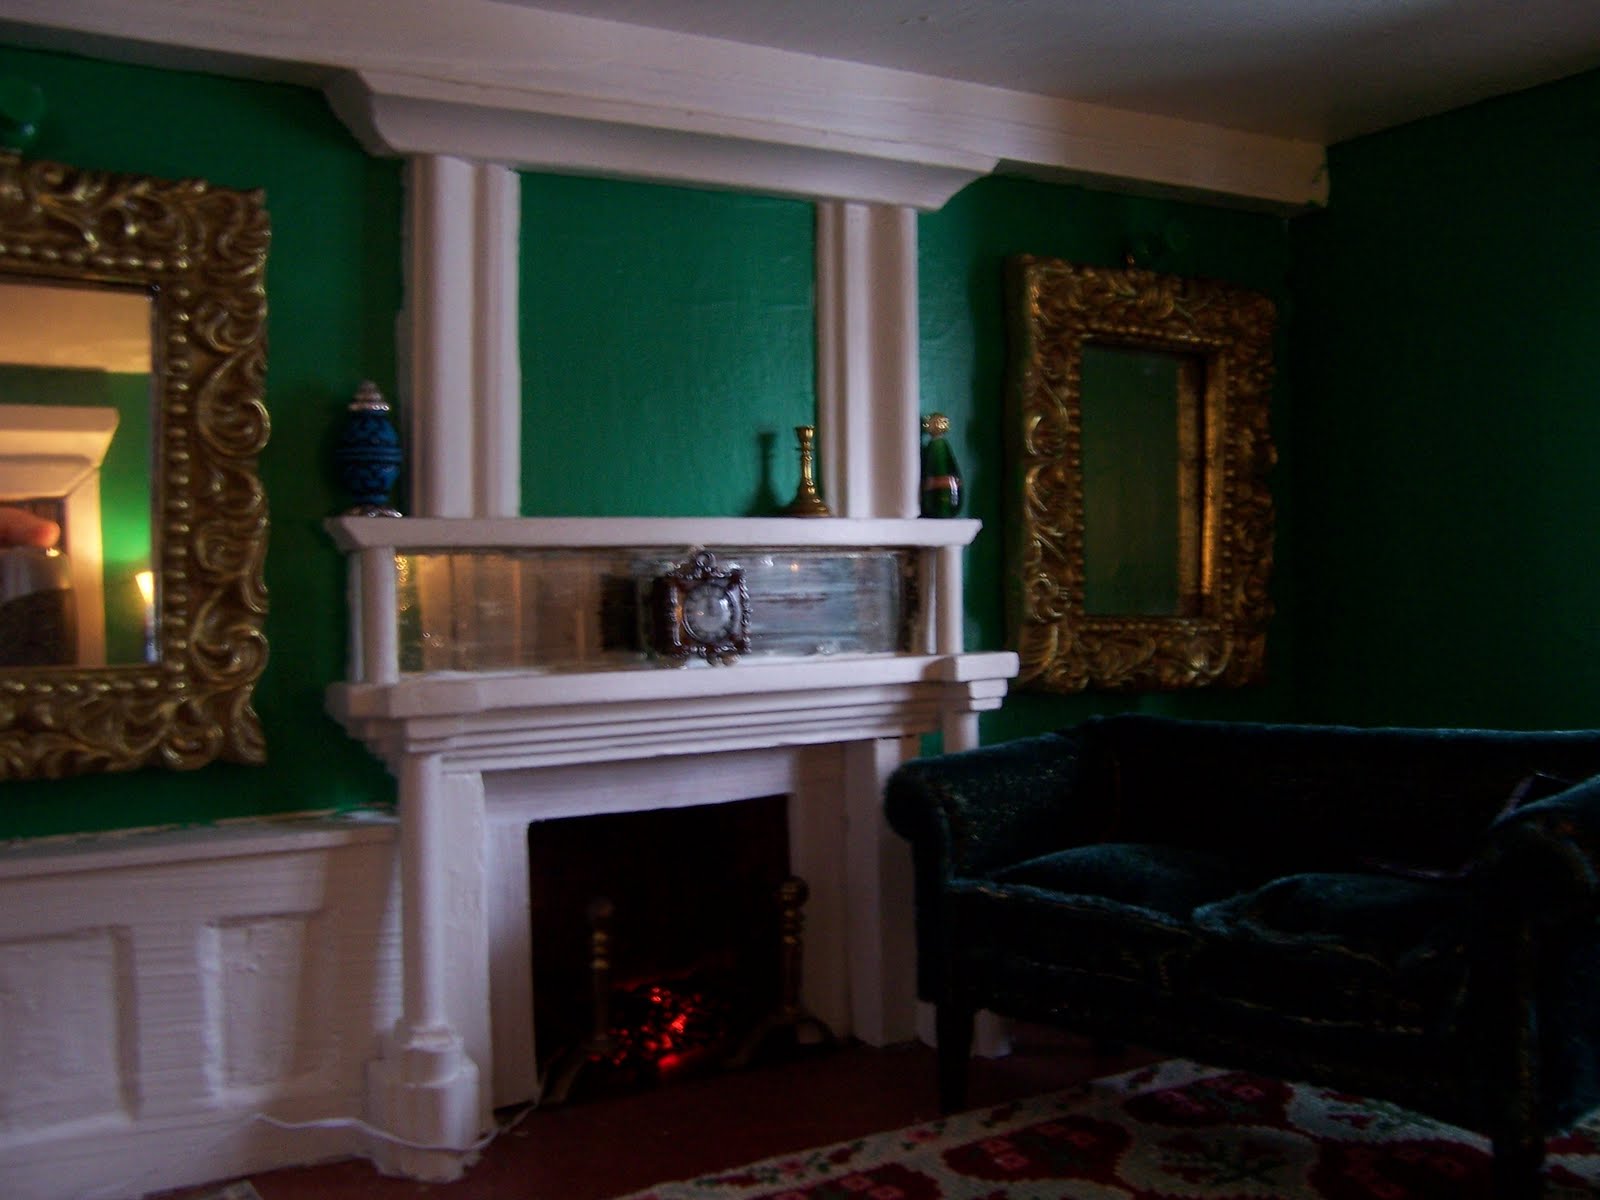 Dear Readers, these are Christmas Decorations, believe it or not! I saved them because I KNEW they were REALLY Dollhouse furnishings .... they are a tiny bit chunky in scale..... but I think I like them that way!
 And Yes, Pollyanna did go back to Will Peters Ott's Gallery and came home with this painting. I think it is PERFECT for this spot!
 So, here you have it... the Living Room of the Lovely Old Dollhouse has a NEW LOOK!
 Certainly not all done yet, but it's a start!
A New Look