Thursday, January 19, 2012

Two Steps Sideways!

Dithering Again.... Or Doing The Dual Dollhouse Dance!

It is Difficult to decide sometimes, Dear Readers, whether it is a Boon or a Bane that I have SO MANY Dollhouses that I am working on all at the same time! There is just SO MUCH that needs doing and the lists just go on getting longer! My Ideas jump from one project to the next ... to the NEXT without settling on anything for long enough to get it Finished! As frustrating as it seems to Jump around from one project to another.... I am realizing that it CAN be a Good thing .... especially when I am held up from progress due to lack of materials or Indecision about a certain step I need to make. Maybe my Motto should be "When in Doubt..... Go work on an Other dollhouse!" This seems to be what I have been doing at any rate! I have been held up on the Cupboard House for a number of reasons.... I need to get some stronger glue... (Go Shopping!)... I am not happy with the paper I started to use for the Hallway mural on the Curved wall... it is watercolor paper and is much too absorbent and has a heavy textured surface which doesn't match the rest of the wooden walls. So I need to get some new paper... or poster board large enough and start that part over again.... (Need to GO Shopping...!) And while I have made a start on the fireplace for the Dining Room, I am not sure I like my workmanship well enough..... at least it still needs a lot of work and I haven't been able to make up my mind about the Color that it wants to be...... And then there is the ceiling Trim for the Hallway.... I have started with this molding.... but it is too PLAIN for the Victorian era.... so I am thinking I need to add a border.....

Like this one... just below the molding at the top of the mural....
but I'm not sure whether it hides too much of the sky......

So I'm Dithering!
DARN!
So I found myself working on some really unrelated small projects for the Folly! "The Folly?" you ask? It's been SO long since I have done ANYTHING for the Folly (other than drag it around outside for Photo shoots!)... that you can be forgiven for not really Remembering the Folly at all! It's the little kit house...... and the upstairs has been divided so there is a SMALL area at the top of the stairs where I have built a small window seat tucked behind the stairs. I picture it as a great place to curl up and READ on rainy days... or snowy ones.... and all that is needed are some soft cushions and some bookshelves filled with books..... along the wall....
This is what it looks like before the shelves...... (just in case you couldn't remember!)

And just because we are JUMPING around from project to project..... this is a view of the Kitchen in the Folly.... actually a very early picture from before I papered the back wall.... but it shows a good shot of the Kitchen stove... an old fashioned sort of range..... which looks really sweet until you stand one of the dolls next to it.... and then it is Obviously TOO low to the ground! It Must have longer legs!

So here is an AFTER shot of the bookshelves .....
(nearly completed before I thought to take pictures!)

And a closer... better lit shot.....

And will you believe me when I tell you that the piece of molding trimming the top of the shelves was a scrap left from another project...... and it was EXACTLY the right size and shape for this bookshelf... requiring NO cutting or trimming of ANY kind! I LOVE it when that happens!

And here is a shot of the stove getting some longer leg "extensions"......

They are really very crudely made.....
but they serve the purpose!

And here is a shot showing the slow progress on the fireplace......
I added the trimming at the top to match the bottom......
and added some Sculpey to trim around the opening.....

And then I started to sculpt some "caryatids" to fit in the angled sides....

Like so........

One for each side.... and of course,
they are Similar but NOT identical......

And now I just need to decide what kind of Glue to use to attach them.......

And decide on the shape of the mantlepiece.....
and decide on the color to paint it...
and decide whether the design should be more complex and ornamental........


Here's a closer view of my funny looking Caryatid.....
so difficult to photograph details in the black.....

And to jump around again..... here is a view of the shelves painted...
I couldn't find the right color blue....
I might have run out and will need to GO SHOPPING....! ......
And there will need to be SO MANY books!
These are just a few that I bought quite a while ago!
I really need to learn to make my Own!

And of course, I need to make a seat cushion......
and a whole pile of soft pillows......
and figure out the lighting........

I can't Tell you how long I've been picturing this little reading corner!

And as for the range....
well, Daphne has come to show you how much easier it is to use now!

I painted the legs black to match the originals.....
it makes them hard to see in the evening light...

Maybe if we get even closer......

Nice Legs!

So in spite of everything...
I DID get some tiny things done.....
But I REALLY do need to GO SHOPPING!

Dithering Again!

Monday, January 9, 2012

Two Steps Forward and One Step Back

Behind Closed Doors

A closed door that WON'T open is something that I find to be Very annoying, Dear Readers, even though I am aware that the Illusion of Another World behind a door that is Closed can be very useful and Intriguing. I wanted that Illusion of More Space in my Cupboard House, and so I planned to put a door to "Nowhere" at the back of the Entry Hall just to suggest that there was more house behind it. But once I had put the door there.... I just Could NOT stand to have it glued shut forever! And since there really was NO ROOM beyond the door... I decided to paint a "trompe l'oeil" room behind the door...... so that when you open the door......

It APPEARS as if there is a room beyond......

That you could ALMOST imagine walking into.......

But really, if you look closely, or at the wrong angle....
you can tell it is just a painted wall!
Here below you can see the painted wall without the door frame in front of it....
(and the hallway partition is also removed....)

And here is a closer view of the painting......
Just so you can see all the faults and rough spots......
It is painted directly onto the back wall of the Cupboard.......

And a small panel of plywood the same thickness as the Hallway walls
has a cutout for the door frame to sit flush against, so that when it opens.....

There is a tiny amount of depth to the space behind the door.......
which only adds to the illusion....!
Such a silly little Hidden detail.... as the door will be Mostly SHUT.....
But I LOVE it!


On another note.... you May remember that I left you Hanging in Uncertainty about the level of Detail I was going to use for the Dining Room Floor! I got Very distracted by the Holidays..... but I DID manage to complete the floor! When you saw it last it looked as follows..... I had started the edges and then got entangled in the possibility of complex patterns..... and knowing NOTHING about the pitfalls of such patterns.... I Jumped in and let the pattern take over.....

I am Pleased and proud to say that I did NOT give up!
I made the pattern work for the Whole floor!
And THIS is what I ended up with..... it may be Unconventional.....
But I still think it is quite Handsome!

Here you can see it with the walls in place......

And Clarence even came to inspect the workmanship!
(I think he is wondering what is Taking SO LONG...!)

He has to make sure the Doors are Working too......

As soon as he was done with the Inspection.....
I was able to put on the dark Walnut stain....

Which I think just makes the floor so Gorgeously Dark and Victorian....
with that mysterious pattern shining through.....

I will ALMOST be sad to cover it with a carpet......
WHEN I get around to the Carpets.....
Which could be Quite a while.....

So I'm Really GLAD it is so Handsome in the meanwhile......!

I have also made a START....
a VERY Rough and Hesitant start on the Fireplace.....

It is going to be an elaborate marble fireplace surround.....
which I am making out of wood and sculpey.......
more details to follow........

But MEANWHILE, I have suffered a Setback on the Ceiling!

I had glued the elaborate decorative molding to the ceiling around the painted central section...
You can see it below as it was just after I put up the wallpapers...

And here is a closer shot of the ceiling right after assembly.....
back in the Humid days of August...
while Hurricane Irene was drenching our world......
You can see how smooth the gilded papers are.......

Well, the other day I heard a loud "THUNK" coming from the Cupboard House..... and upon investigation I found that a whole section of the ceiling trim had simply fallen off the ceiling!!! The carpenter's wood glue that I had used simply let go!
The air is Extremely dry here right now...
and the ceiling is made out of a large thick board....
so a good deal of shrinkage seems to have happened.....

Just LOOK at the wrinkles in the Gold paper!!!!
This is Really a Bit SHOCKING!
But Really, it is probably a GOOD thing to have it happen at THIS stage of the building rather than later on when it is so much harder to fix......
But I am become aware that I have to learn a LOT MORE about GLUE!!!

And Hopefully, NOT all the Hard way!

Two Steps Forward and One Step Back

Monday, January 2, 2012

Snowballs

Having A Ball!

Dear Readers, First I want to wish you all the Happiest of New Years! I hope you were not disappointed that there was no party at the Castle this year.... but Frankly, I was a bit tired of Parties... and there was no new work done on the Castle to show you.... and well, the TRUTH is I got Really absorbed in making the Tiny World of Santa's Parlor in my Snowball Ornaments! This was LONG overdue... and BEST done while the Christmas Spirit is still wafting in the Ether.... And while I know that the entire World has moved ON into the next Season..... Please Forgive me if I linger in Santa's World for a little while longer!
To Begin with, I will show you the tiny cat I made from Sculpey....
to curl up on the window seat at the back of the parlor....
His name is "Snowball"....
I forgot to upload his picture later so you will have to wait a bit to see him in place!

And since the fire in the fireplace had been only a pile of coals.... I added some flames
(painted on clear plastic packaging material and cut out to fit the hearth....) and I also added a Screen in front of the fire to keep the coals from rolling on the floor.....

Here below is a closer... moodier picture of the glittery sparks flying up from the fire.....

You may recall that Santa and Mrs. Claus were still just pipe-cleaner wire with a bit of Sculpey modeled in the shape of heads and hands and feet......
well I painted the Sculpey parts.....
and wound cotton tape around the pipe-cleaners to give them some substance......

And then I started on the clothes...
Pajamas in this case as Santa has returned from his LONG Night of Sleighing.......

And then I added his Snowy white beard...
which I cut from some of that polyester "snow" you can get to put as a skirt around Christmas Trees..... it has tiny bits of glitter in it....!

Here he is in his chair... Sound Asleep!

And Mrs. Claus had to have a Lace Nightgown under her Flannel Robe.......

And the Robe has to have some fancy trimming....
and I have added her hair too.......

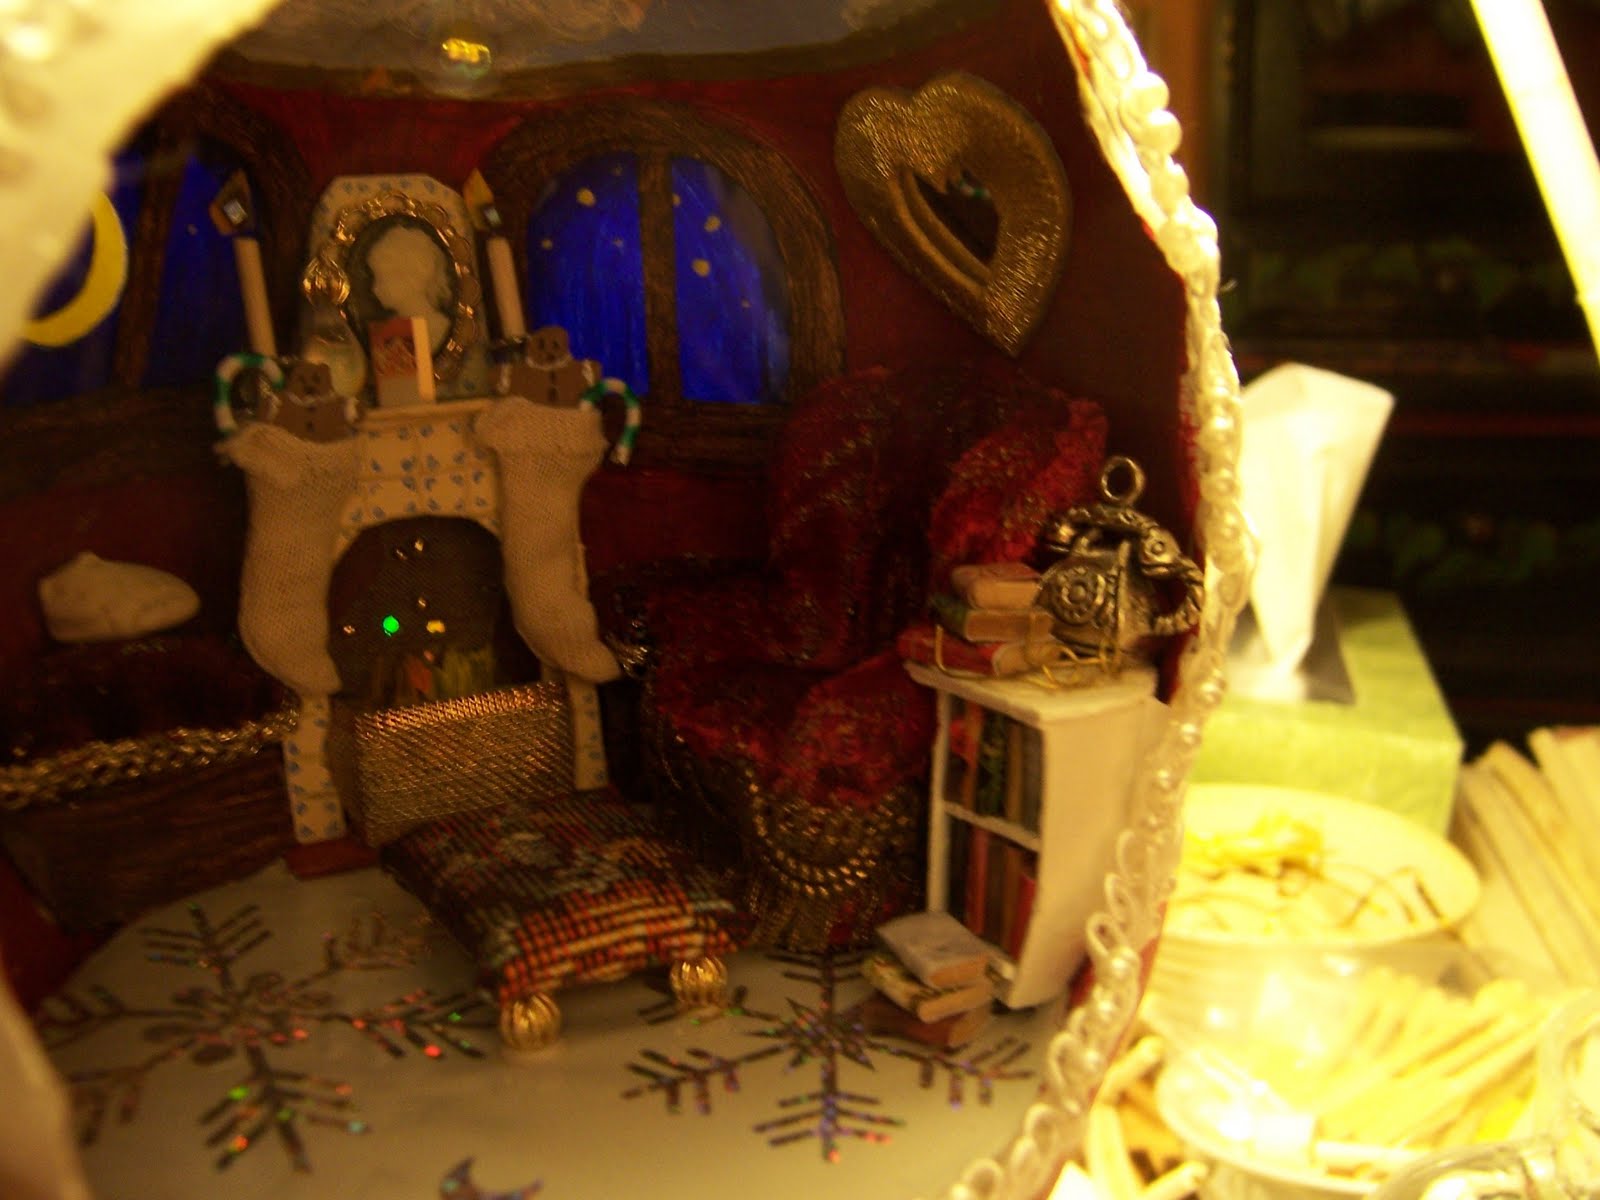
And then because the Parlor Mantle is SO bare of Homey decorations....
I had to make some tiny candles and bottles....

And Stockings to hang by the fire....
with Gingerbread and Candycanes...
(made from a fancy paperclip!)

And I was not content to let the candles be Simple....
but HAD to add Glittery Flames.......

And here you can see them in place on the Mantle.....
I tried to get the light right to show the glitter of the tiny flames..........

And a slightly different angle showing the whole globe......

And you can see two heart shaped Mirrors I added to the walls on either side.....

And a Closer view......

Then I made an Ottoman for their feet to rest on....
necessary as their feet don't reach the floor!

And then I started on a whole bunch of Tiny Books.......

I used bits of catalogs cut out for the covers and glued them onto the ends of the woodsies I used on the floor of the Cupboard House......

And I made a Tiny Bookshelf Table to sit beside Santa's Chair........
And filled it with the Tiny books.......
It had to have an oddly curved shape to fit into the curve of the Snowball......

Here below, you can see it in place ...
with Santa ....... and the ottoman......

And here is a closer view showing the Telephone
(this is a small metal charm bracelet charm...)
on the Table with a stack of books......
And Mrs. Claus in her chair too......
with a sewing basket on her lap..........

I didn't make the basket..... it is the TINIEST Basket I have EVER seen!!!!
And it is Perfect for Mrs. Claus.....
even has her favorite colors of red and green in the weave!
But I DID make the tiny spools of thread....
they are only painted on toothpicks and cut tiny....

And glued into the basket.......

And glued onto her lap......

Aren't they so Cute?
They are about two inches tall.....

The Snowball is getting close to being ready for them.....
"Snowball" is asleep on the window seat.....
Santa's glasses are on the Book Table...
There is a Christmas card on the Mantle.......
And I added a beaded edging to the opening in the Snowball......

Here is a closer view with the sparks from the fireplace shining......

And an overall view ... showing the Tree on the table....
decorated with golden beads.....

And a bit closer......
oh, you can see the glowing crystal hanging from the overhead light......

And a tiny crystal snowglobe on the table beside Mrs. Santa.....
and the Cup of Hot Chocolate....

And another view of Santa........
Snoring away.......

There are only a couple more tiny things needed and I will call this Finished! I have spent much of my Vacation making all these Tiny bits and pieces! After working in this scale... regular dollhouse items seem Huge!
And while we STILL have NO Snow here in our "Real" world......
I have been having a Ball playing with my little Snowball ornament!

Snowballs!