Friday, February 28, 2025

Progress....


Is Progress....

I am making good Progress, Dear Readers, with the tiny cushion stitching, in spite of only being able to stitch for a couple of hours a day. The stitches are so tiny, I have to have very good light, and around here that means for the morning. The days are getting longer, but the evenings are still pretty long and dark. I content myself with gluing Rhododendron leaves onto stems in the darker hours. In the above picture you can see I have outlined both the deer with the darker red color, as per instructions. I have also begun to stitch the flowers, starting with the ones on the original chart which I would not need to move! Also adding the new blossoms into the extra corner areas. Once I realized how many flowers I was going to have to move... I decided I needed to draw the chart for them, otherwise, I would be hopelessly lost when it came to the background stitching.


I started with drawing in a few of the small blue flowers that would not need to be moved.


And gradually adding more that needed to be moved from the original chart position.

 And began the stitching of all the flowers.

And here is a picture of the growing bunch of Rhodie stems with the leaves attached!


And I added the dark red outlining to the chart showing the new flower placement.

Here you can see the flowers and greenery have all been stitched!
 
And at this point, Dear Readers, all the flowers
 and greenery need to be outlined in the darker red!
And because in many places there is only one tiny stitch
 left between the flowers....
you need to follow the chart very closely, 
because that stitch needs to be in the bright red color!
I have yet to begin the bright red...

It is slow going... but it really clarifies the design!
 

 And this is as far as I got, Dear Readers,
Stitching a little bit every day..
Making good Progress... 
because Any progress is progress!


Wednesday, February 19, 2025

Are You Dreaming of Springtime....


In Spite of the Weather....

Have You noticed, Dear Readers, the gradual returning of the morning sunlight? The Conservatory has been asleep, it seems like forever... but a few weeks ago, I noticed the early rays of morning sunlight shining on a tiny pot of snowdrops! Oh, how I long to see some snowdrops! At the moment, they are buried under mountains of snow in my RL garden, so I will not be seeing them soon. This picture was taken a couple of days before "Groundhog Day" (which is really Candlemas but it is not known by that around here). In this part of the world, a very important Groundhog (woodchuck by another name) comes out of his burrow on February 2nd, and if he sees his shadow it will be six more weeks of Winter. If he doesn't see his shadow... it will be an early Spring! This year he saw his shadow... and yes, we are still being Slammed by Winter! We just endured a very windy three days and two nights, and we were lucky that all we got was lots and lots of snow and sleet... ice and freezing rain had been predicted, but we stayed just cold enough to spare us the ice!

The view from my window the morning after the sleet...

And I stepped outside to get a few pictures but it was very windy and very cold!

But inside the Conservatory.... we can Dream of Spring ...
 

 And perhaps begin to plan the tasks for this year....
 

 And even enjoy the sight of little bunnies frolicking in the flowers...
Even though in RL they are an annoying pest in the Gardens!
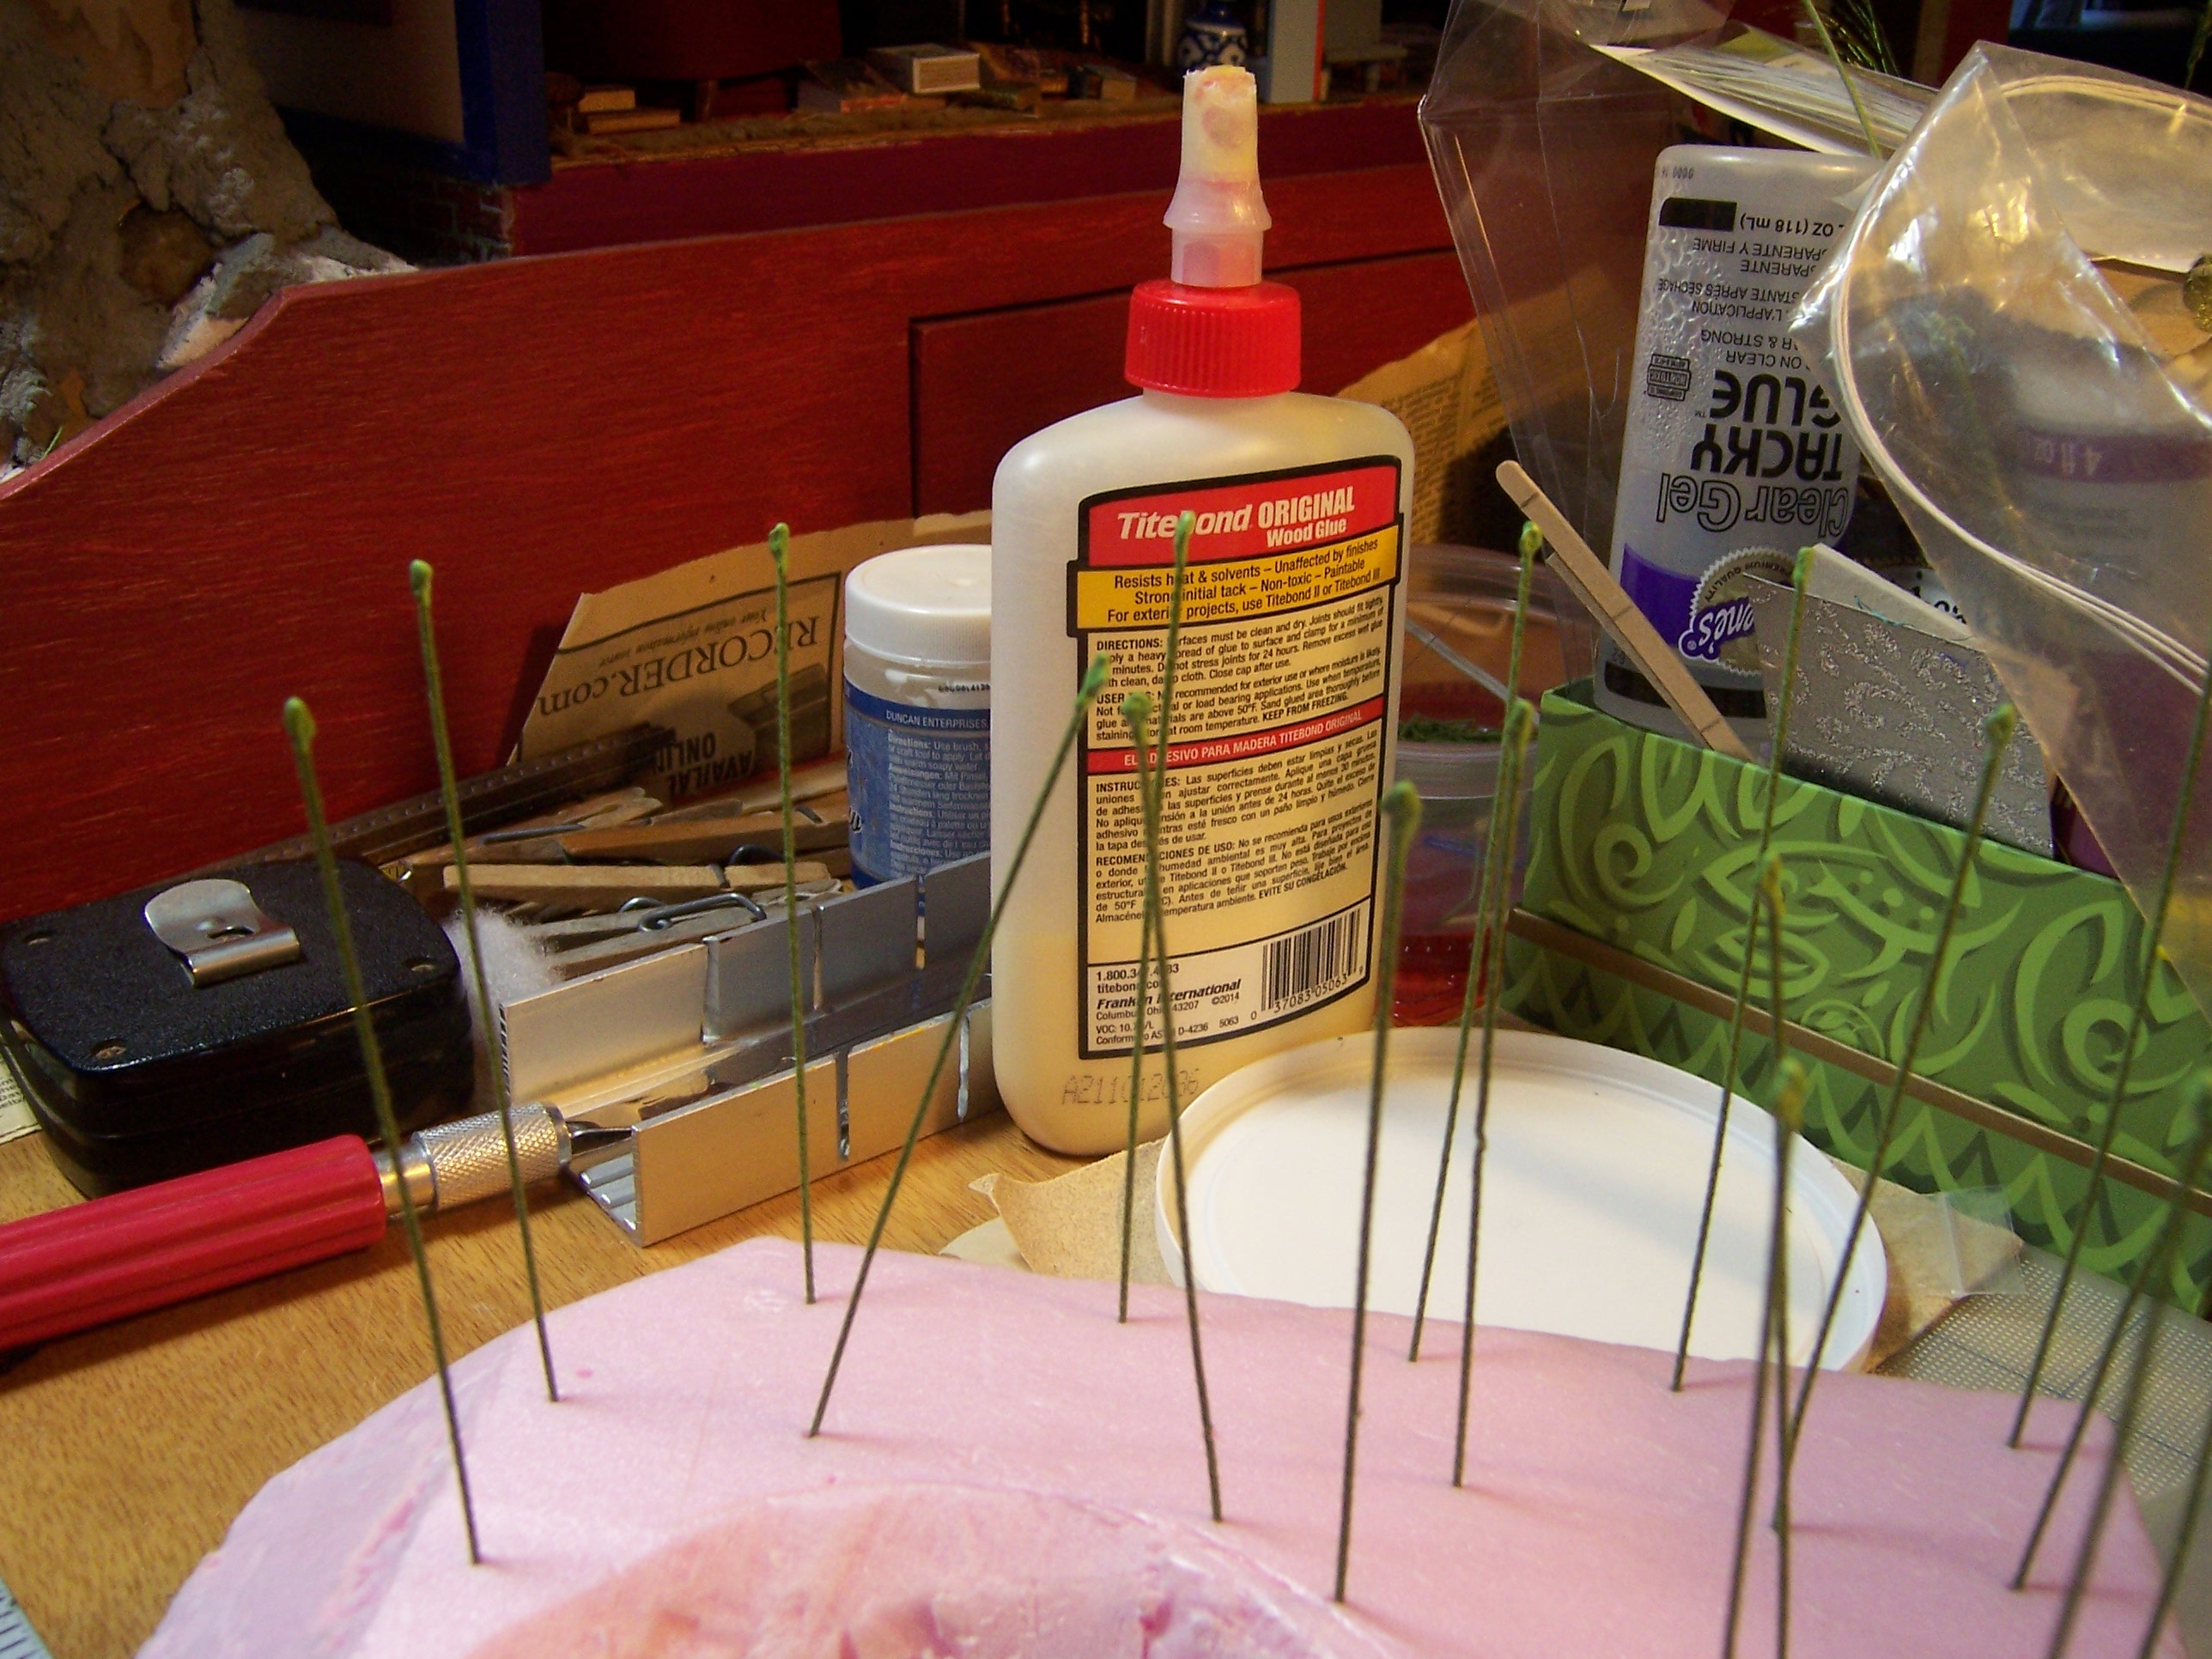
It has been so cold in RL, that it is a bit chilly to work in my downstairs studio... 
so I have focused on the stitching (when I wasn't cowering from the Storm!).
I have made good progress!
 

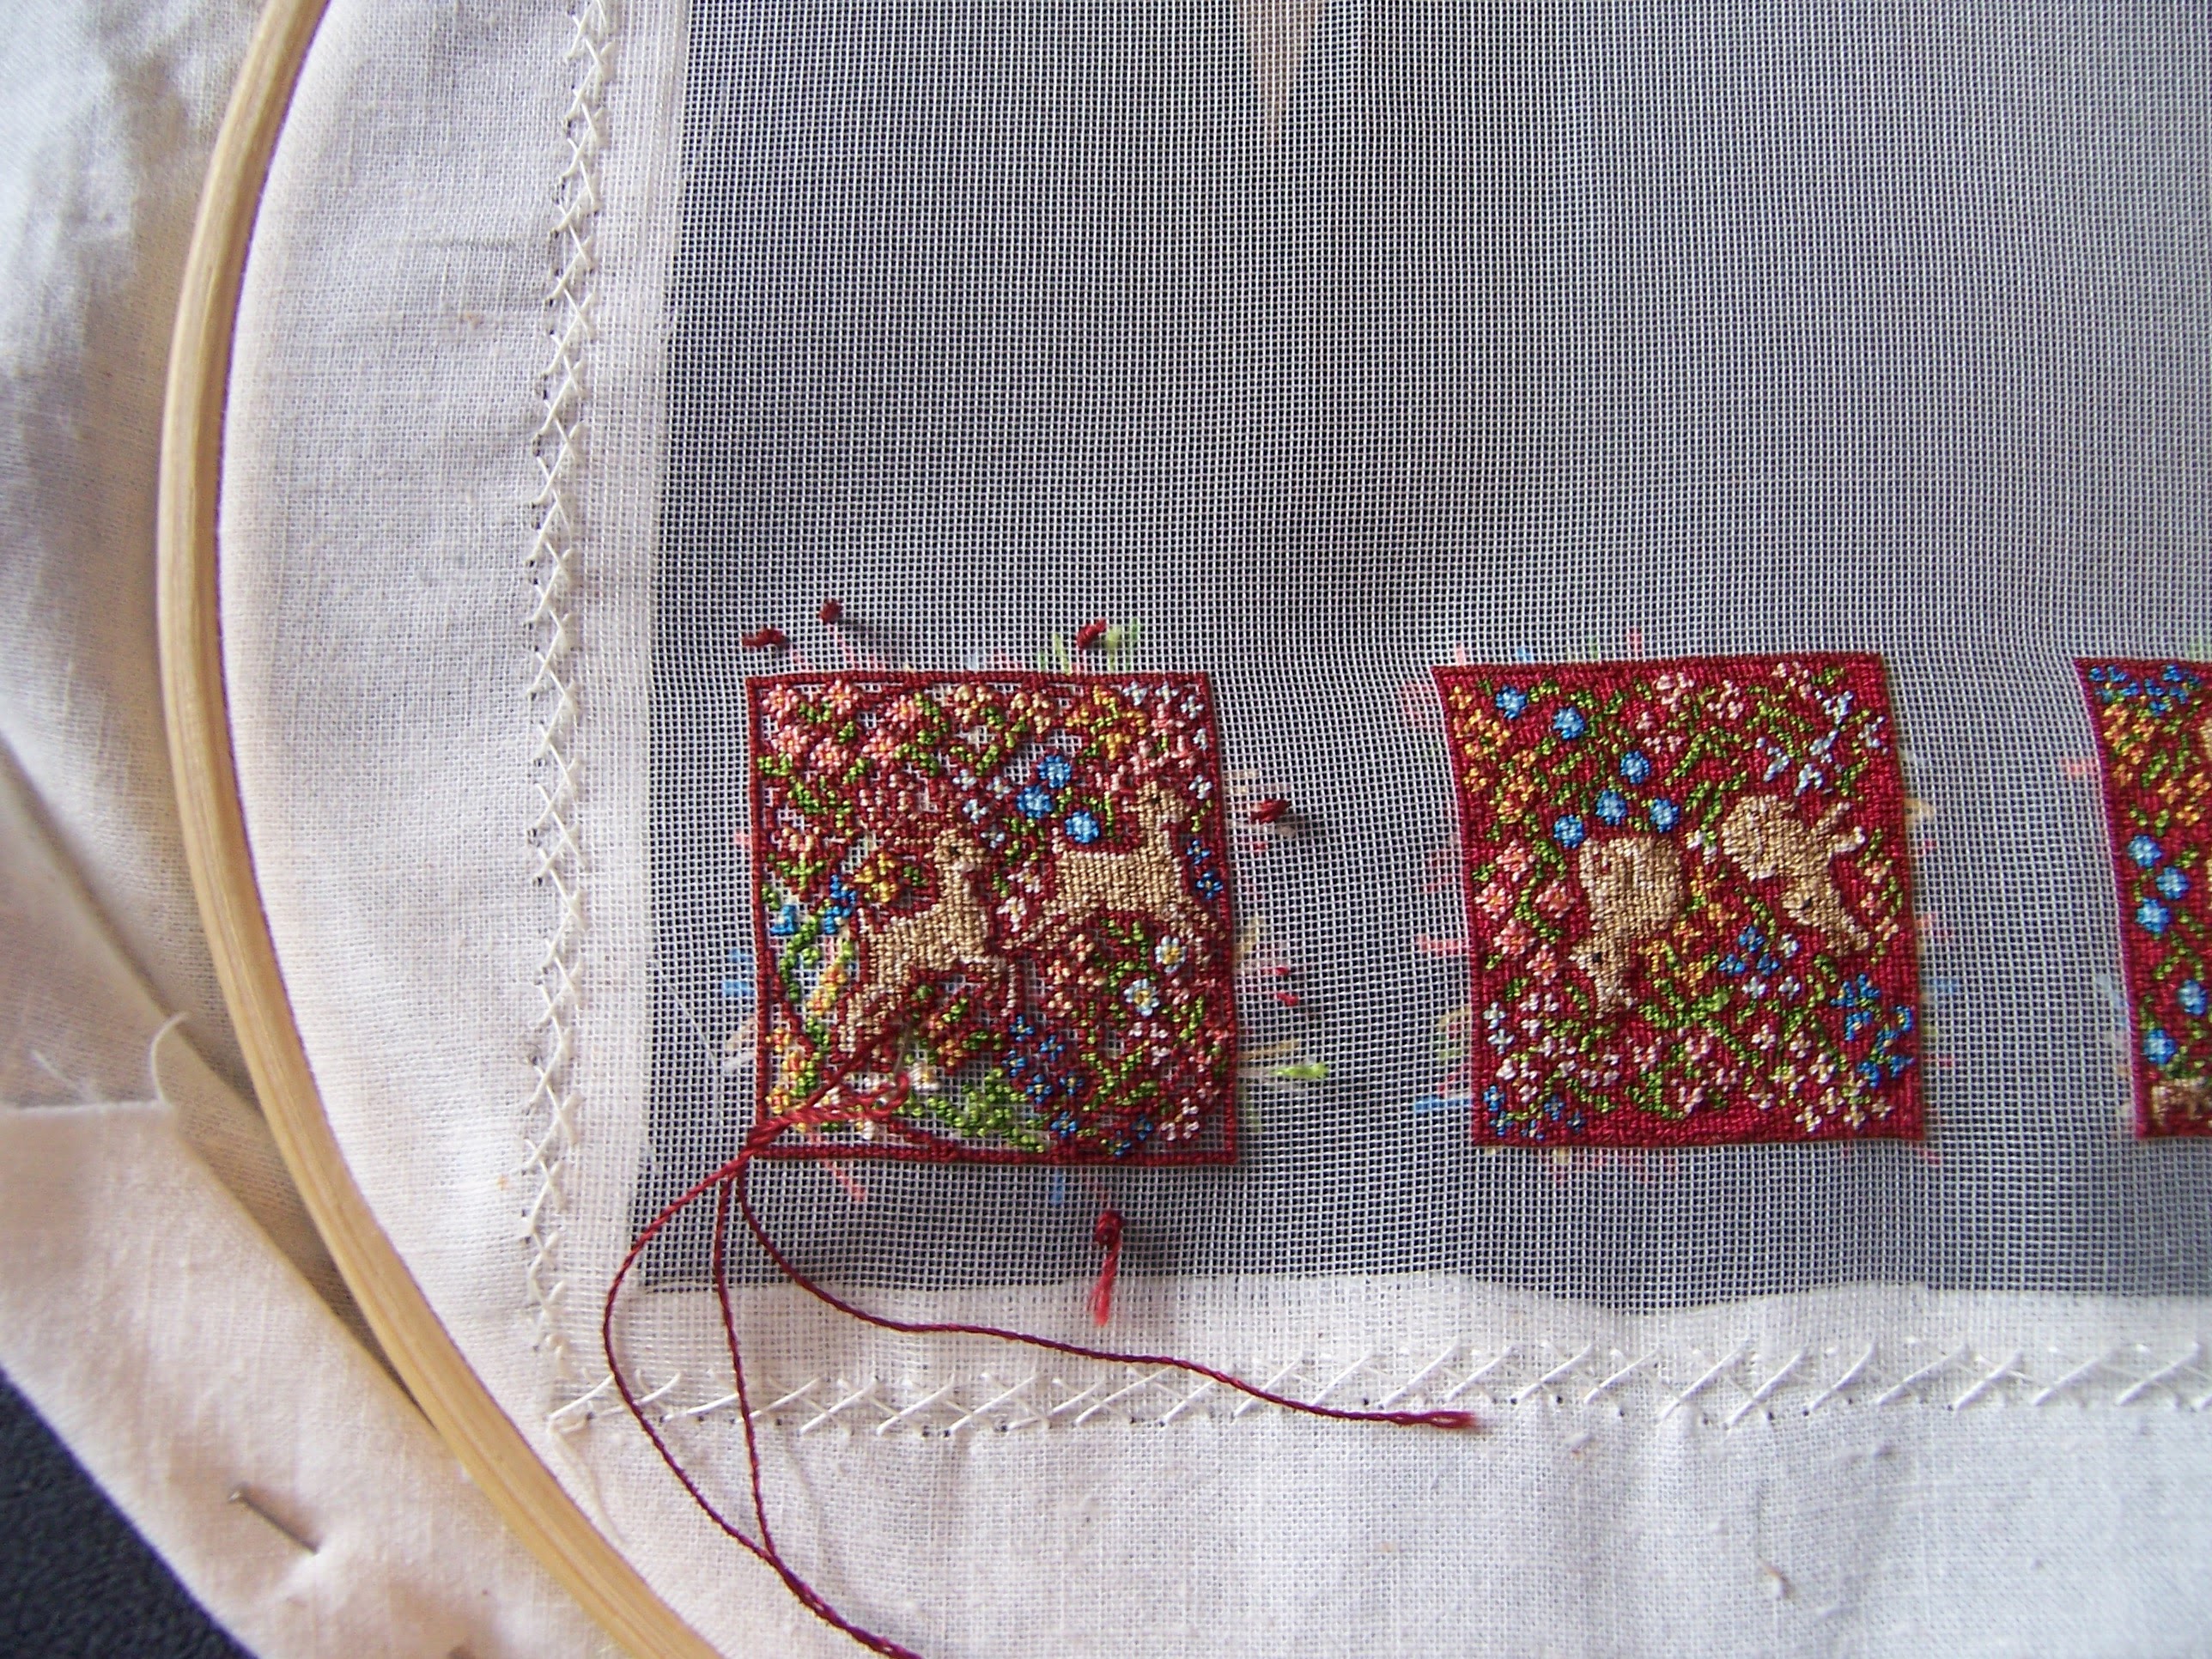
 Here you can see the first two cushions are completed!
(At least, the stitching part is.)
And I am starting the outline for the third cushion!
There were four designs in the original set,
 and then Mary Corbet designed a fifth one
 which, of course, I had to have too! 


I started the next one right away! 
And I am stitching the Deer Cushion... 
mostly because it is the one I have already printed the chart.
You can see I am making it "upside-down"
 compared to the other two... 
this is strictly because it is easier for my hand
 to reach the stitching area in this direction...!
It is an 8" hoop and reaching all the way across is challenging!
 
And I just Know you will not be surprised that I had to add another Deer!
 
I tried to tell myself that I should just go with the design as it is....
but there is all that room....!
I took out my graph paper and colored pencils
 to see if it would work.....
 

 I needed it to look a little different... 
but tried to keep it really similar to the first one.....
 

 I cut it out and tried to find the right position on the printed chart...
 

 And decided pretty quickly that She was a Doe...
so no antlers were needed!
And I decided it was a "go"
 and all I needed to do was carefully mark
 where it sat on the chart...
(I ended up taping it in place....  carefully so as not to damage the chart)
And got right to the stitching!
 
Of course, I made an error early on with the counting... 
and didn't catch it until waaay too late to unstitch...
something about the position of her neck...
which means the whole rest of her body 
ended up being farther to the left than the design had suggested...
but no matter, she fits! 
(I was going to have to adjust the placement of the blossoms anyway!)
And that's as far as I got, Dear Readers,
Stitching Millefleurs and Bunnies and Does,
And Dreaming of Springtime
 in Spite of the Weather!
 

Monday, February 10, 2025

Rhododendron Shrub # 3...


Green Leafy Shrub Take 2.... 

It Was just about a year ago, Dear Readers, that I was contemplating the feasibility and wisdom of launching the Rhododendron Shrubs in Three Seasons Project! I was making rough calculations about how long it took to make the blossom clusters and the leaves, too, and trying to calculate whether there was enough Time to complete the Summer Blooming Rhododendron by blossom season at the end of May. As you are probably aware, I figured it was a "go" if I got on it right away and did almost nothing else til the Blossoming Shrub was complete. And I did succeed! Along with constructing the basic shrub skeletons for the remaining two Seasonal versions. And you might even remember that I made a mistake when attaching the shrub skeletons to their bases.... accidentally putting #2 Skeleton on base #3, and #3 Skeleton on base #2... causing a bit of an identity crisis for these remaining shrubs! And you are probably aware that I sort of completed the Green Leafy Shrub.... (the all year 'round version....) at the end of July. But I wasn't happy with the density of the leaf placement and so I "converted" it to the Winter Snowy Shrub a few weeks ago. (You tell me which it is... shrub #2 or Shrub #3!) Which leaves me needing to re-make the Green Leafy version... hopefully with a better leaf density result! I know I showed you the container full of all the leaves I had made last Fall, knowing I was going to have to just keep producing leaves if I was ever going to get the final product made! Here it is again, in case you missed it!

 It is 50 batches of leaves... each batch having forty leaves, for a total of 2000 leaves!

 This is more than I used in either of the previous versions.

Here I am starting the process of making the stem tips (the buds) using the "glue trick".

Once the glue is dry the tips need to be painted a light green.
I know my mixture is a little less "yellow" than I think it should be... 
I am running low on the yellow paint and need to remix the batch.
 

Here I am starting to glue the leaves on a batch of stems. 
The single leaf doesn't want to stay put very well unless the stem is lying flat.
 
Here I am adding the second leaf. 
Once these are very securely dried...
 (don't rush this or they fall off!)
then the next two can be added
 to each stem at the same time.
At this point they need to be vertical while they dry.
 And I forgot to take pictures to show you...!
I also decided I needed to try to "map" the shrub skeleton
 to get a good count of the branches. 

I counted the different limbs and branches and
 came up with about 100 stem tips to which I will attach
 all the leaf clusters I will be assembling!
I still need to test my construction for these... 
because rather than glue each cluster to a branch one stem at a time...
 I plan to try to add a "grouping" of two or three leaf clusters
 that have already been "combined".
This is because I realized my real problem last year 
was that I forgot that the Rhododendron
 never drops all it's leaves at once!
 It keeps most of them for two years,
 and a few for three and maybe even one or two 
are four years back along those growing stems.
 They produce the denser leaf cover I am wanting! 
I need to make the grouped stems 
with the previous year's leaves still attached!
I know I have taken pictures to show you of my RL shrub... 
but I can't find them in my photos
 and it is too dark to go get new ones.... 
so you will just have to trust me on this! 
And of course, I haven't yet tested my construction methods.... 
but that is coming next!
So, Dear Readers,
 I am tip-toeing my way into the
 Rhododendron Shrub #3, 
also known as the Green Leafy Shrub.... 
take two!