All Over Again.....
The mistake in the stitching, Dear Readers, was even farther back than I had thought! I unpicked the stitching all the way back to the spot where it branches off for a little bud, where I was absolutely Certain the count was correct and started over again. Yes it is amazing the difference one tiny stitch can make in the entire pattern! It was not difficult to re-do the vine to the correct position for the blossom. This time I had got it right!

You can see how the curve of the vines run much closer
to each other and have a more harmonious feel to them...
(go ahead and look at the picture from my last post....)

Here I have begun the blue blossom over again
and this time it is centered right in the vine....

Here you can see I have completed all the blossoms
on this piece and now all I have left to do
are the leaves on the lower vines and then the background.
I am sort of dreading working the background
as it is cream colored which is difficult to sew on a white mesh....
but I will persevere!
And the Other blossoms that I have been dreading for a while,
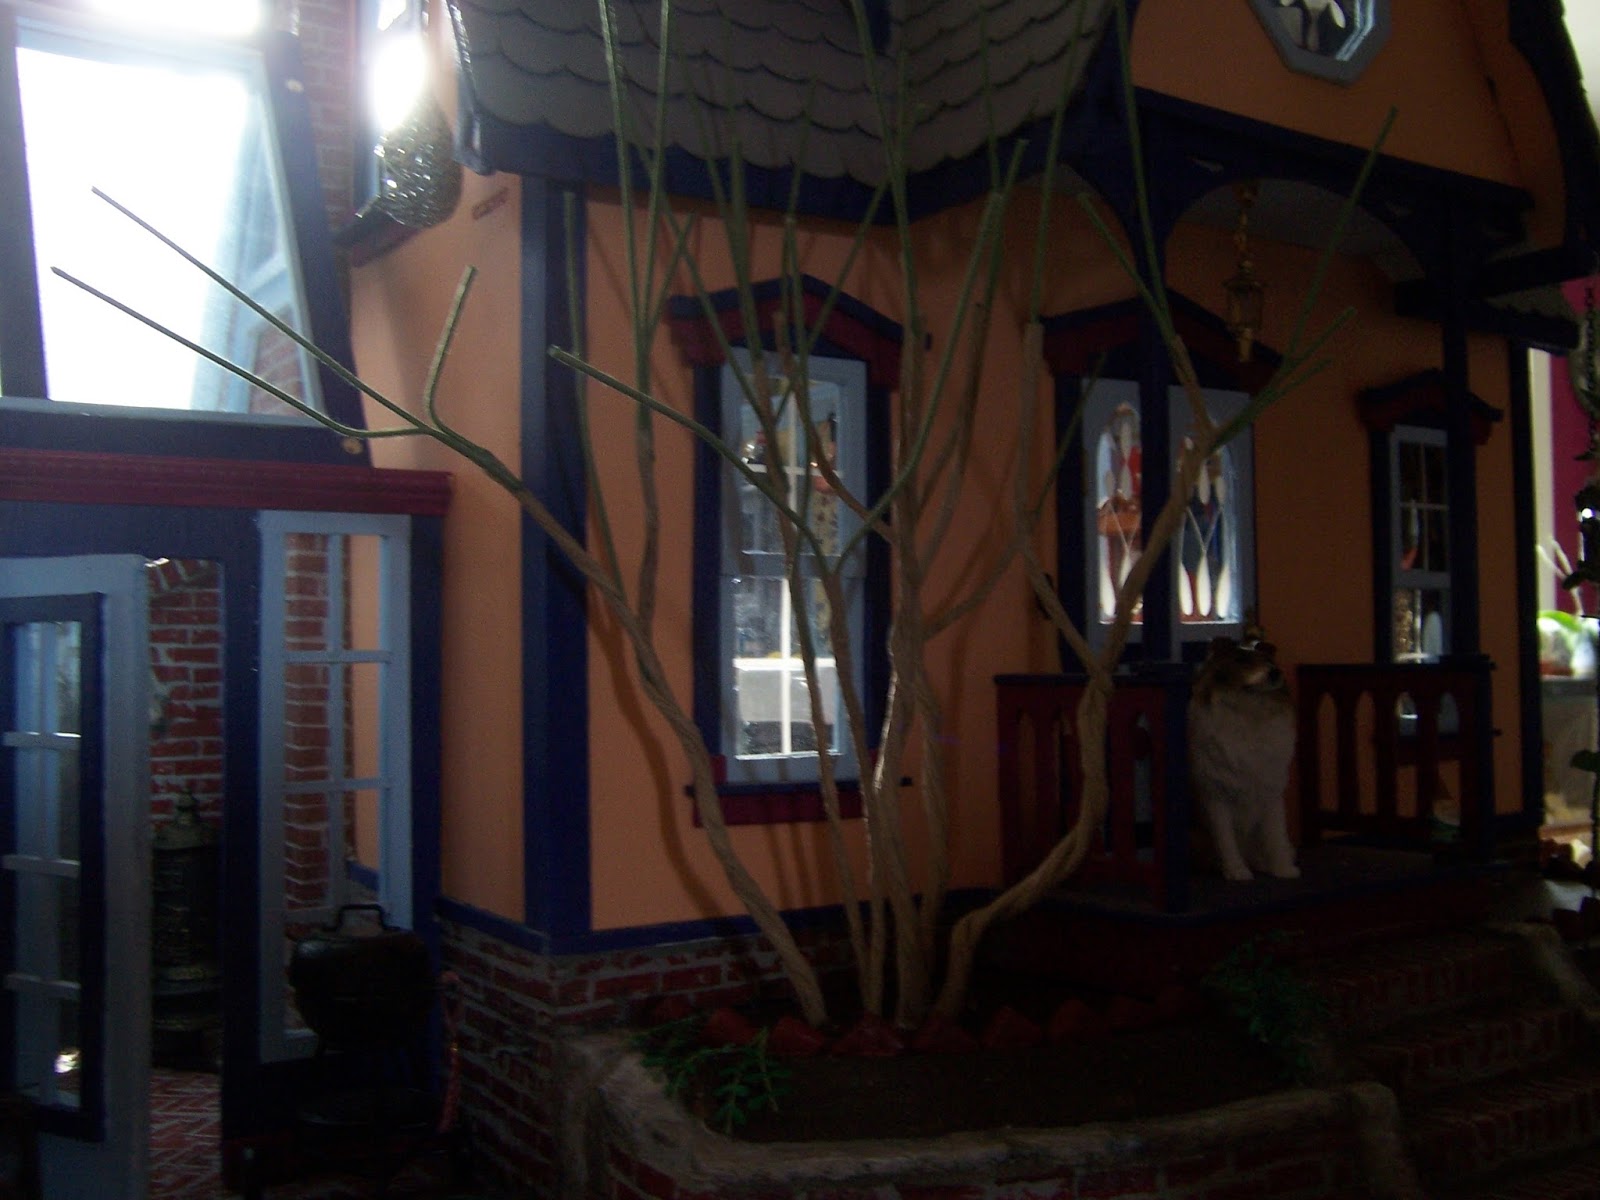
Dear Readers, are the Lilac blossoms for my Lilac shrub!
Some of you might remember that it was several years ago
that I first started to work on my lilac shrubs for The Folly Garden.
I had started with making the blossoms partly because
it was Lilac season and I wanted to see if I Could make them...
and partly because I had not yet figured out
how I was going to make the shrub part.
(You can read about those first blossoms HERE)

Here you can see an example of one of the blossoms I made.
At first I thought the blossoms were wonderful.....
but the longer I worked at them the less I liked
the way the florets were joined to the stem...
and I realized I should have been using green thread instead of white....
and while I pondered this stem problem.... several years went by!
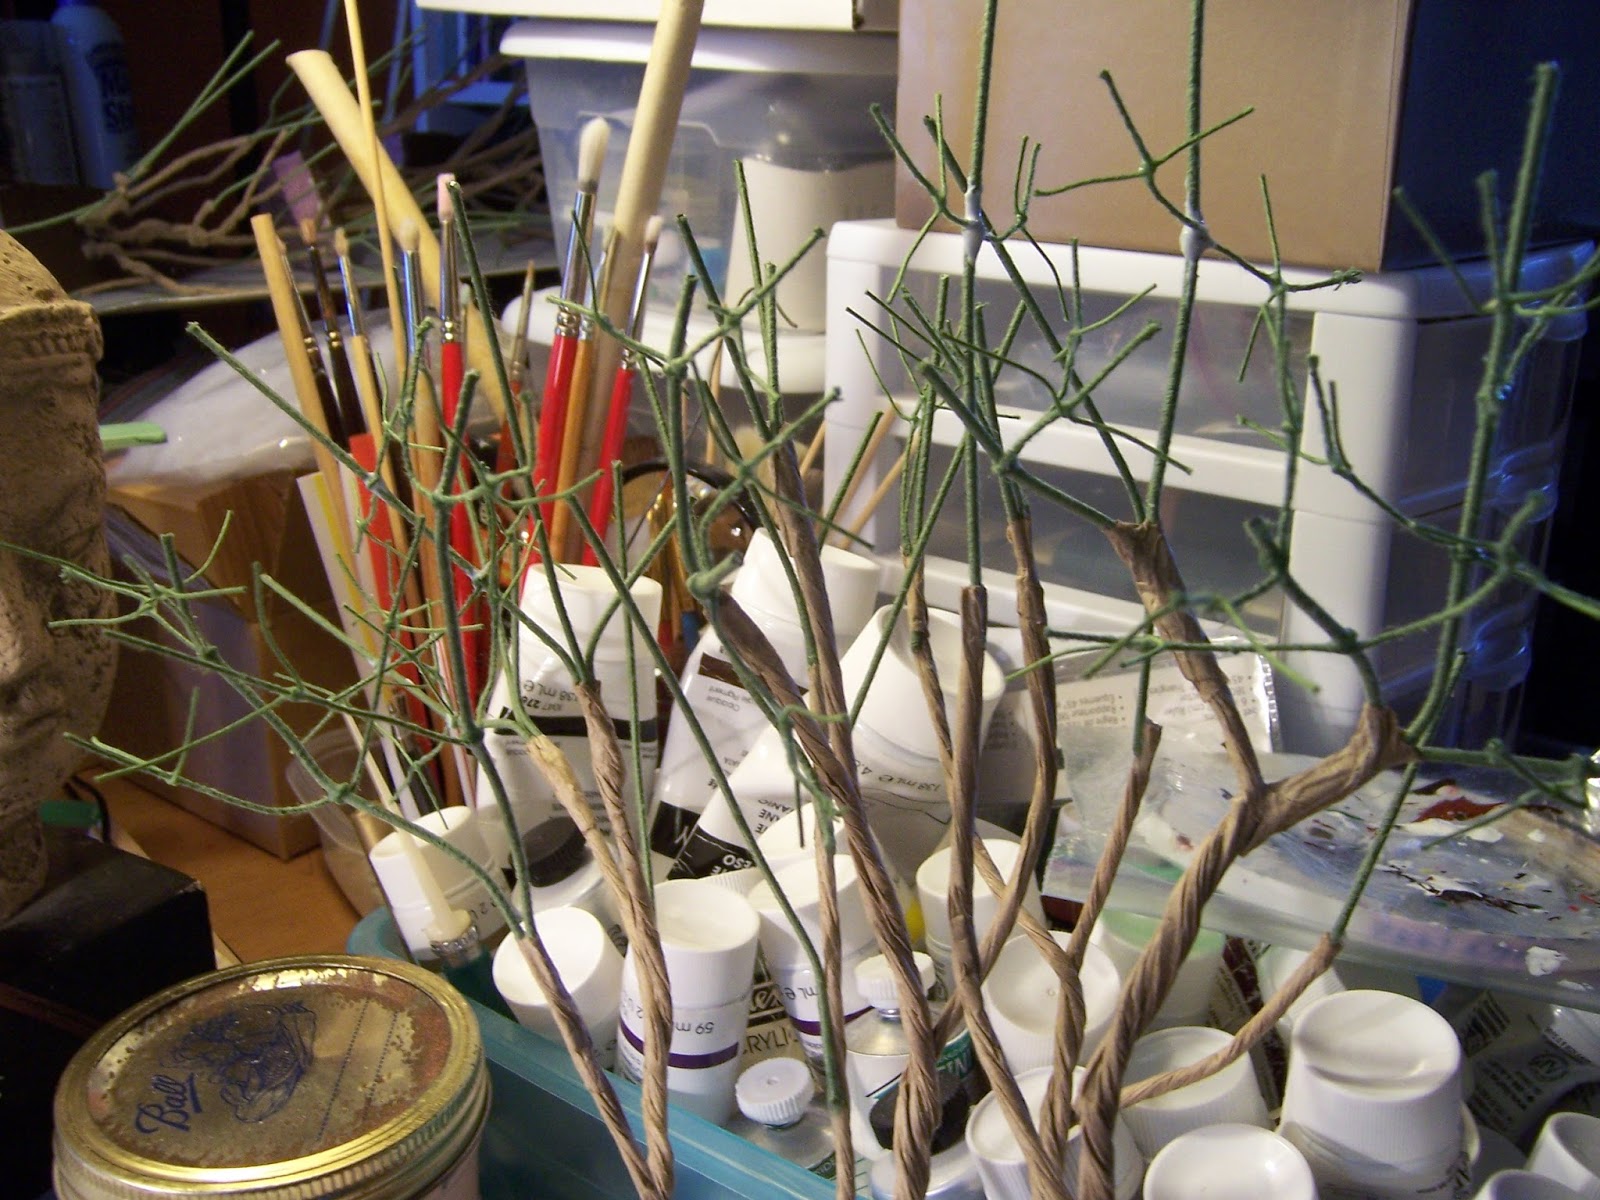
But now that I was finally working on the Shrub part of the Lilacs,
I decided it was Time to revisit the problem of the blossoms...
to see whether I could make them a little more realistic.
And so I started a whole new "batch" of blossoms...

The florets are made from paper...
each punched circle cut into thirds....

And then the edges of each section cut into four petals.....
(You might have to poke the pictures to see the details.....)

Each "floret" is then cupped and glued to a thread (green this time!)

After the stem is firmly attached, another drop of glue is added
and the "floret" is curled around the thread,
making sure the petals open flat.....

It just takes a very deft twist of the thumb and forefinger....
(practice makes perfect!)
and the tweezers to make sure the petals don't get glued closed.....!

And then the florets each get a coat of paint!
Lilac, of course!
And in case anyone wonders why I don't start with colored paper...
there are two reasons...
Colored paper is too uniform in color,
while paint can be varied a bit as it is in nature...
and also the cut edges of the paper remain white...
and are often a noticeable distraction!
So paint it is! (Besides, I love to paint!)
So now the really challenging part begins, Dear Readers.....
discovering whether a different method
of "assembling" the florets will work!
Way back in my initial efforts,
when I was examining the lone blossom cluster on my RL shrub...
I noticed that the florets made clusters before joining the main stem...
sort of "sub sets" of blossoms.... and they tended to cluster in fours....
So I decided to see whether that would work in mini....

So I began by gluing some of the stems together....
and then trimmed off the extra threads,
leaving only one long "stem" thread....

Here they have had the threads trimmed.....

And making more clusters......
(There is a lot of waiting for glue to dry in this stage....)

And here you can see the clusters slowly being added to the main stem.....
Which I forgot to mention has a bunch of "unopened buds" at the tip...
and several single florets surrounding them.... then the clustered florets....
The tail of the thread is trimmed close to the stem once the glue is dry.

Here you can see it is "growing" slowly!
But now I am running out of florets...
there are Thirty in this blossom so far....
perhaps it should be more like forty or fifty per blossom!

While we are still building the "prototype"
I will add florets until it looks right....!

Here you can see the "old" blossom along side the "new" blossom.....

I really think I have managed to get that "lacier" feel I was looking for!

The blossom still needs a few more clusters
of florets added to reach the ideal size...
But I think I have finally got it!
And if I can make one or two blossoms in a week-end.....
Making tiny florets Over and over again....
Who knows, Dear Readers,
maybe by this time next year...
the Lilac Shrub might be covered in blossoms!