Monday, August 8, 2016

Bricks And Other Things


Revisiting the Tree House.....

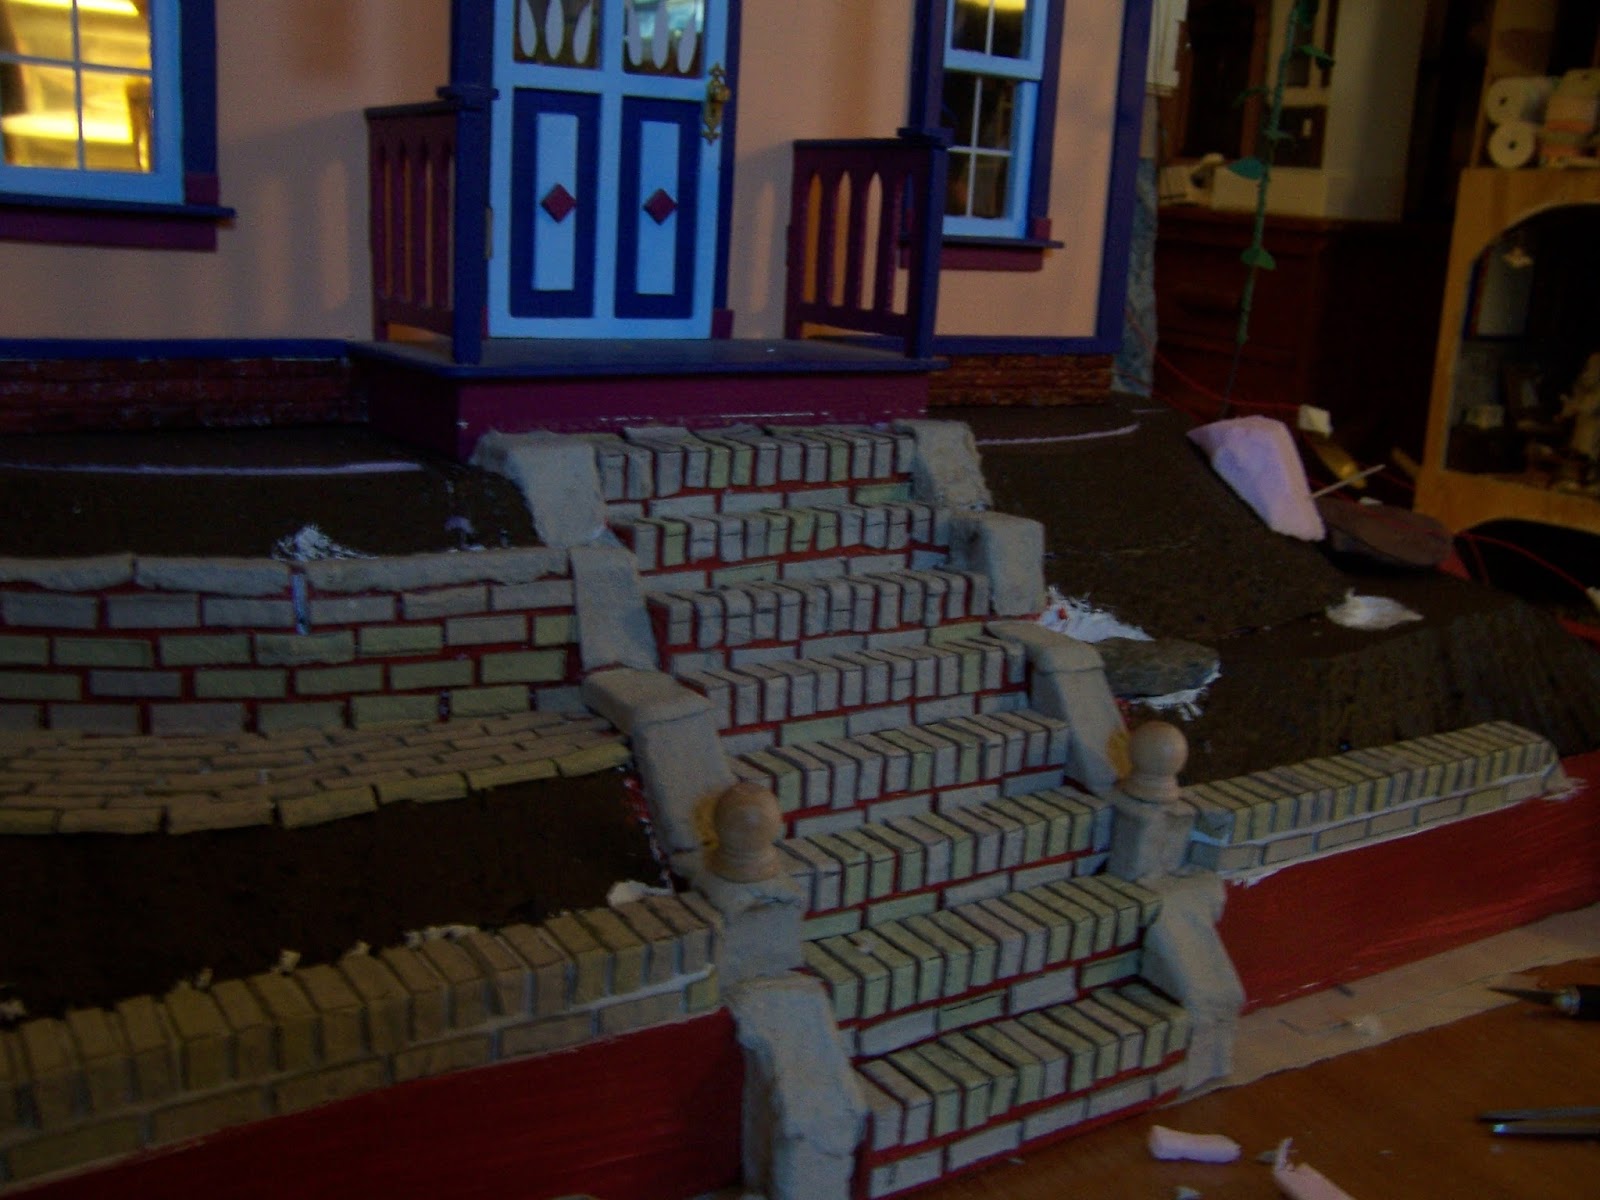
The problem with waiting for the Morning Light, Dear Readers, is that it is hard to catch enough of it! Already the sun is slipping back and rising later and further south.... it is a brief opportunity on a sunny morning! But here is a picture of the Newly bricked and grouted garden with enough light that you can almost judge the colors correctly. I think it always takes a while for my "expectations" to adjust after making such a big change in the character of the landscape.... it just doesn't look at all the same as it has for the past three... um four... or five years! This is to be expected, but it does take getting used to! I think I will like the bricks once I am more used to them! But no matter what the color, the grout is all too new looking!

There was no doubt in my mind that the grout would need to be "aged".

(I don't know why my camera has such a hard time with the focus on these steps....) 
but this shows the grout before the aging process. 
The stones themselves were already "aged" before the grouting was done.

Here is the "glass House" end of the Garden area.... new grout still too clean!

And the garden wall.... which I think looks pretty good, but the grout is too new.

The difficulty with "aging" the grout is that 
the minute it gets wet it Looks darker! 
So it is really  Really difficult to tell what color you are making it....
 until it is dry!
So I decided the best strategy was to go Slowly!
I didn't want to overdo it!
Here I have added a dark wash into the cracks of the stairs and the garden wall....

I really wanted to start by only darkening the grout 
where I was Sure I wanted it darker....
Like in the corners and along the base of the walls.

Because it was so hard to tell how much was the added color, 
and how much was the wet grout!

So I did the minimum I thought necessary, 
and then had to wait for it to dry.

And on the following morning during the brief burst of morning light....
try to judge if it is enough or too little or too much.....

Of course, the shadows don't help!

And I have to remind myself that Someday there will also be moss.... 
and plants..... and the Tree House finished.... 
all adding to the feeling of age...

I am sure I will want to darken more of the grout.... 
but I am going to do it slowly!
I think I need to build the Glass House before I will know
 jut how and where all the moss and old grout will look best...

And I will get used to the feel of the bricks and the look of this new space!

So I painted the edges of the "dirt" gardens brown.....
And of course, it is night again... and everything is dark.

But with The Folly sitting where it is, Dear Readers,
The Tree House is right beside my work space 
and catches my attention....

Do you even Remember the Tree House?
I cannot believe it has been several Years since I worked on it!
(Where does the Time go???)
In case you never saw the Tree House.....


Here is a view into the Kitchen at the lowest level with the door open...
Yes, it is too dark without extra light shining in...
(I think the LED Battery is getting old)

Here... this is a little better.
This is approximately 1:48 scale and is the home to my Rat Family....

The next level up is the Salon..... 
they are a very sophisticated Rat Family!
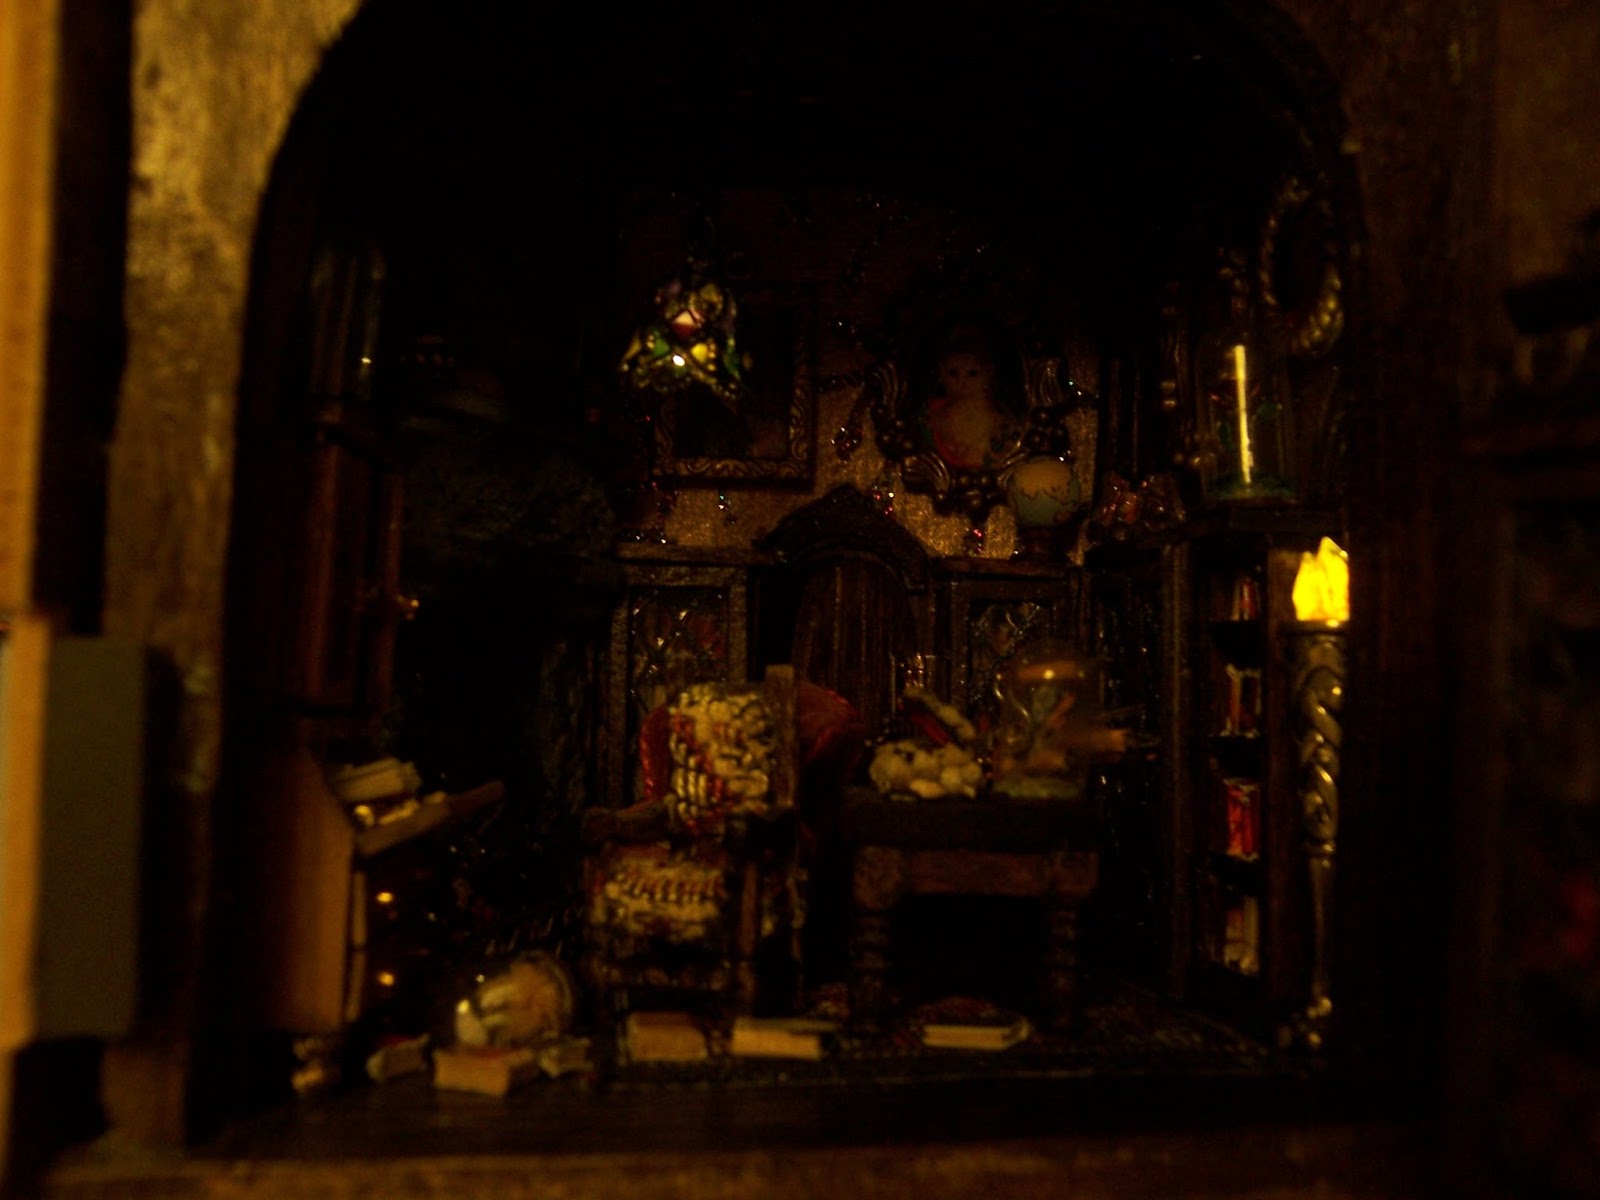
The next room up is the Library.... this is too dark.....

And with more light shining in you can see what a mess this room is!
Many of the items have fallen off the table and shelves 
with all the moving of the Tree House on and off the base!
I will have to tidy up....!

And the Chinoiserie Bedroom!
I hope you have seen it since I completed 
the stitching on the bed curtains!

And the shell-grotto Bathroom!
There are still a couple of details to add to this room....

And the Nursery.... still only just begun.....
with the alcove bed and the bead-tile stove!
The walls are still all unattached on this room!
So much still to do!

Well, Dear Readers, I hope you don't mind that
 when I get bored with the Bricks and the bases...
I just want to return to these other little worlds....
Perhaps it is Time to Revisit the Tree House!


Monday, August 1, 2016

Painting Bricks and Stone....


Do Not Panic.....!

There is only One Way, Dear Readers, to get all those egg-carton gray bricks to look like "real" bricks and that is by painting them. You can imagine how eager I was to get started with this transformation! To begin with I painted them all with a coat of primer and then with a coat of ordinary latex paint in the same red as the walls of the base. I forgot to take pictures of the bricks with only the primer, and I warn you that the red painted bricks look rather alarming! I was going on the assumption that the red undercoating for the bricks would allow me to save a little on the cost of the acrylic paint used for the final color of the bricks. And once the red paint was applied, there was no turning back!

Yes, I know.... it is rather shockingly red! 
I left the "stone" portions white.... and underpainted them with a tan color 
and then a layer of gray stippled over that....

But it is very difficult to get good pictures of the colors here....

I have started to darken the bricks with a more realistic brick color.....
But it is really hard to see the difference... 
partly because the red is so bright....
and also because the "grout" spaces are still the bright red....!
I kept trying to judge the color I was painting.... 
and it kept looking wrong!

Adding more light just makes it look... More Wrong!
So I placed the Folly on the base 
so I could try to match the brick colors I had already painted on the foundation.....

And on the side wall of the garden too.... 
trying to darken the bricks....
And the sheen of the paint doesn't help either! Too much Red!!!

So I decided to work on the "stone" portions for a while....
Trying to make them look like stone....
And adding age and dirt to the places that would be dirty....

Especially at the base of the door.....

And on the steps......
I spent Hours and Hours painting.....

And darkening bricks.... 
and trying to tell if they were dark enough.....
Because before I could start with the Grout, 
I would need to seal it all with a coat of polyurethane....!
This is so that all that grout won't scrape off all the paint.....
And because I was having a hard time trying to tell if my paint was the right color....
I decided to start doing the grout on the foundation of Hardwick Hall.....
(remember that is where this all started....!)

Because one thing to remember about the grout 
is that adding it makes the color you think you have painted the bricks 
appear to be lighter than before you added the grout.....!
And then I added the grout to The Folly Foundation too...

Here the grout is still wet, so it doesn't make the color look lighter...
Only when it dries it will turn white....

So now I took my courage in my hands, Dear Readers, 
and started to add the grout to the Folly garden walls!

And I have to tell you Dear Readers, I really thought it looked horrible!
I thought the red was Much Too Red! I thought I had completely ruined my bricks!

But I decided there was nothing I could do now except keep going with the grout....
I could always add layers of darker washes of dirt later...
So I kept working on the grout. 
As it dries you have to keep sponging away the excess...
without removing too much from all the cracks.
It is a slow and messy process!

With plenty of opportunities for seeing all the places you didn't paint right.....

And comparing the parts that don't match up right.....
Here you can see where The Folly still is separate from the base....
eventually when it is attached I will have to add a little bit more grout...
(These old foundations always need some "work" after all...)

I consoled myself that eventually most of the bricks would be 
covered with garden "stuff" and dirtied corners and moss between the cracks.
And then I realized that the grout was going to look much too "new" anyway. 
It would need several layers of aging 
to bring it up to the 150 years old it is supposed to be!

At least the "stone" was all looking quite convincing to me!

And I really couldn't judge it correctly until all the grout was dry.

And once again, it was getting late....

I was just going to have to be patient, Dear Readers, 
and let it all dry before I could tell what the bricks looked like.

Of course, taking pictures in the daylight would help...
except we had an uncommonly gloomy and rainy day!

But the grout has all dried.
And the bricks and stone are painted.
And the only thing I can say, Dear Readers,
is "Don't Panic"!
It will surely look better in the morning light!


Tuesday, July 26, 2016

So Many Steps ... And More Bricks.....


Slow But Steady.....

The Not Yet Finished bricks were waiting for me on the weekend, Dear Readers, and I must admit that I spent some time casting around for excuses Not to work on them! All those unfinished steps were a bit daunting! They would require those bent "corner bricks" that take longer to cut and even longer to stick to the surface on both sides... and really almost all of what was left to do was those corner bricks! But then I thought about what would happen if I was Not diligent... and leapt over to some other part of the project.... ( I Could start to primer and paint the bricks that were done, after all!....) (or even some other project entirely....!!!) and realized that I really would be happier to be Done with making ALL the brickwork for this landscape! So I decided I had better just start in and see how far I could get! So I started with the rest of the steps on the side entrance, because there were only three to do. I was pleasantly surprised at how quickly I got them done!

So then I started in on the long flight of extra wide front steps.....
as well as finishing the retaining wall on the side of the hill.

And more of the front steps..... yes, it is getting late!

We've reached the last step!
But it isn't the last "step" at all!

I have realized, Dear Readers, that the side steps were still incomplete..... 
they needed the "brackets" on the sides at the bottom.... so I added them!

And covered them with the egg-cartons to make them look like "stone"...
And started on the front retaining wall......

Which once again is mostly those "corner" bricks.... 
all along the top edge....

On both sides of the stairs!
But Look! It is done!

It is looking so Formal....
but then I realized that it still was lacking the "stone" 
at the sides of the top steps...... 
so I added those too!

Now That is looking more like it!

(Yes, it is nighttime again...!)

And testing the arbor in place...

And stepping back for a look.....
I do believe I've finished attaching all the bricks!
(The part of the base that is painted red on the outside
 is not going to be covered with egg carton bricks! 
I will probably just do a painted brickwork finish on those exterior walls)
And Yet, there are still all the "steps" 
of primer and paint and sealer 
and then the grout!
Yes, Slow and Steady might be Tedious, 
Dear Readers, but it does get you there in the end!