Monday, December 22, 2014

Christmas Cards


And A Gift .....

I have had no time for Making Minis lately, Dear Readers, because like so many of you, I am trying to get ready for Christmas in my RL World! For me this always means making my annual Christmas Card, which takes me a very long time and is rarely finished in Time for Christmas. I am still painting the picture.... well, at this moment I am trying to quickly update my blog...., but I really must get back to the drawing as soon as possible! Some year I hope to have the drawing done Ahead of time, so I may spend more time arranging the mini Christmas scenes. Alas, that is not happening this year. So instead of showing you My Christmas Card, I will show you a few of the tiny cards that were part of the printable gift boxes that Sarah so generously shared on her blog! Here you can see them on the mantel of The Folly. It seems Will has several old fashioned friends who still send out cards! There are no other Christmas decorations in The Folly this year, because Daphne is not here and Will is not feeling very festive.

He is not quite moping, 
because it is the busiest time of year in his shop, 
so he is too busy to think about it too much.
But he does spend a lot of time looking at an antique painting 
that reminds him a little bit of Daphne.
And he is not sure why he agreed to dog sit for his friends over Christmas. 
But it is nice to have some company. 
Otherwise the house would feel too empty!

And in the Lovely Old Dollhouse there are also a few cards on the mantel.
And the Same old Christmas tree has been put up in the same corner as every year....
but somehow, I never tire of seeing those magical little lights come on!

A few tiny new snowflake ornaments have been added this year....
perhaps you can spot them....?

And the creche has been set up in its usual place on the sideboard...

Although I am sure the figures are all in a different order!
I can never remember which place the camel goes...!

And as so many of us do at this time of year..... 
Helen has been shopping for gifts for her loved ones....

But she is not telling anyone what she bought!

And I have also been the recipient of a gift from overseas.....
which I am sure you will understand, I had to open right away!
Dear Birgit sent me one of her packages filled with tiny treasures and delicious treats....
I am only sorry she is still without an internet connection!

Amongst the many tiny treasures she sent me 
(Which are still in their wrappers here!)
was her famous Marzipan....
And lovely Christmas cards....
And a fantastic gift for Brother Beorn....

A Rare and Magical Rainbow Rose!!!

Brother Beorn is overjoyed to have such a 
Rare and Beautiful plant in his care!

He even checks on it in the long dark night....
He wants to be sure he gives it the right care!
Dear Birgit, Thank you for thinking of me!
You are so generous as well as Talented and Witty!
We miss you here in Blogland!

So I hope you will understand, Dear Readers, 
This short Post with so little news....
I have to go finish my Christmas Card!
It may be just a Christmas card.....
but it is also my Gift!

Tuesday, December 9, 2014

Christmas Tree Ornaments


Gone To The Dogs.....

Christmas Tree ornaments, Dear Readers, are one of my Favorite sources of miniatures for my dollhouses. And while they are often not true to 1:12 scale, the charm of the minis often makes up for the lack of accuracy in scale! And who could resist the charm of this group of furry friends? Not, I, as you can see! They are sold in my Supermarket at this time of year, as Christmas Tree Ornaments, and I confess, I can't resist bringing them home with me! I have no idea who they "belong" to, but I am sure I will find them a Family!
And while we are on the subject of Ornaments, I would like to thank Sarah of Amber's House blog, for sharing her printable ornament boxes and assortment of tiny cards! I have been wanting to make some for myself for Years now..... and didn't know where to start! Sarah made it incredibly easy for me to jump in! I quickly printed the sheet and started to make the boxes, only to realize that I had almost no beads the correct size to fit in the partitions of the boxes!


So I had to go shopping..... 
a dangerous thing at this time of year!
But I found some beads of the right size and colors...
at Michaels.


But I wanted them to look more like real ornaments with the little top hanger pieces....
so I started by adding a small gold bead and a wire loop to the top of each bead.
And then I decided that the top bead still looked too much like a bead....
so I added a tiny strip of silver metal foil around the bead....


Of course, this took Much longer than the time to assemble Sarah lovely little boxes!

But eventually I had one box of ornaments with little tops all done!

And another box with the larger glittery beads I had in my stash.
I think I will go back and make little toppers for these too!

And the box on the right also needs the top hangers added....
(it was the first box I completed and has an odd assortment of beads!)
This is just a fraction of the boxes and packaging material on Sarah's  printable assortment!
I will be making more pieces as time allows.
Thank you So much for sharing this Sarah!
It really is a Fantastic gift!
 
And while we are introducing new Dogs...
I have to confess, Dear Readers, 
these three are Not the only ones 
who have come home with me recently!

Helen was Very surprised to discover that Someone had brought 
two Large and Furry puppies home to the Lovely Old Dollhouse!

Surely, they are large enough that they must be
Bearnese Mountain Dog puppies!

Could You have resisted these sweet pups?
(Found in the ornaments section of Joann's Fabrics!)

Helen is thinking it is a good thing they will not "grow" any larger....
but will stay puppies forever!
She thinks they Must belong to Pollyanna and Arthur...
She hopes no-one will expect Her to walk them!

As for the other three.....

Who could resist?


You'll take us home with you, huh?.... Please?

They may just be Christmas Tree Ornaments, Dear Readers,
But lately I find I have definitely Gone to the dogs!

Monday, December 1, 2014

Christmas Preparations


Every Little Bit Counts.....

The days are Flying by, Dear Readers, and the Christmas Countdown has begun in earnest here in the States. I am sure you have heard of "Black Friday" when everybody goes Christmas shopping all at once.....well, not Everybody, as I absolutely avoid shopping on Black Friday! But that does not mean I have done No Christmas shopping. I was at Michaels two weeks ago and spotted the lovely miniatures shown in this picture! The cakes were separate from the cake stand.... but they all were begging to come home with me! I keep telling myself I will learn to make tiny food..... but I have yet to do it.... and the little people in my houses are at risk of Starving unless I give in and Buy the food!

In my defense, I will point out that I am Rather Busy trying to just get the Houses built..... 
(don't remind me that I keep adding to the list of unfinished ones.....)
And the Real Life decorating and Christmas shopping has to be done too!
So I grabbed the goodies and brought them home!

 
 And while the Conservatory is still Far from Finished.....
I have made some progress!
As you can see, the side wall on this end swings open....

I apologize for the Darkness of the photos.....
It is very difficult to catch the sun these days!
Here you can see the end that is nearly complete...

And here you can sort of see the entire structure, 
with Both sides open!

The roofs are not yet attached, 
but the walls are all completed and glued in place!
But the part I am the most excited about is the windows.....


Here you can see them (on a Sunny Saturday morning)
from the outside looking in.
Believe it or not,
I wanted at least Some of the windows to be able to open and close!
If you have ever been inside a conservatory on a sunny day 
you will know that it is essential that there be some means to Ventilate the room!
And with all the windows in this structure.... 
only the smaller ones would work to add hinges.

And even then, the way the walls joined at the corners 
did not allow room for the hinges.
But I was determined to try on the end wall!
I succeeded with the hinges once the corner "posts" were 
"strengthened" by adding strips of wood. 
This was necessary in order to build the framework 
that allows for the side to swing open.
And then, once the windows were successfully hinged, 
I was in need of a latching mechanism to keep them closed!
But they needed to be functional latches, not pretend ones!
So I decided to try using wire.....


Here you can see my latches in the open position.....

Here is a close-up view....
the wire pivots on a nail......


Here it is in the locked position.....
the "catch" is a piece of painted cardboard and a tiny bit of plastic 
from a clothing price tag (I am sorry I neglected to take a picture.)

And here is the window opening....!
The latches really work!

And the remaining door hardware has been attached too.
These are commercial lever-style door openers....
(but they don't really move or latch!)

Here you can see the completed end wall glued in place....
but the roof framework is still not finished.
There is a small amount of warping in the end wall 
that I need to solve before I can complete the roof framework.
It may not look like much, Dear Readers, 
but it is a Very Satisfying Little bit!

Oh, and just to reassure you that I have made a start 
on decorating the Real Life home....

The trees are up and have the lights on!
Here is the little tree in my upstairs studio...

And the bigger one in my downstairs "living room"....
really the corner of my "dining room"......
which is really my "Workroom"! 
So you can see, Dear Readers,
Christmas Preparations have begun in my Worlds,
Big and Small.....
And while not much has been done, 
Every little bit counts!


Tuesday, November 25, 2014

Moonlight And Maidens


Just a Little Bit of Light....

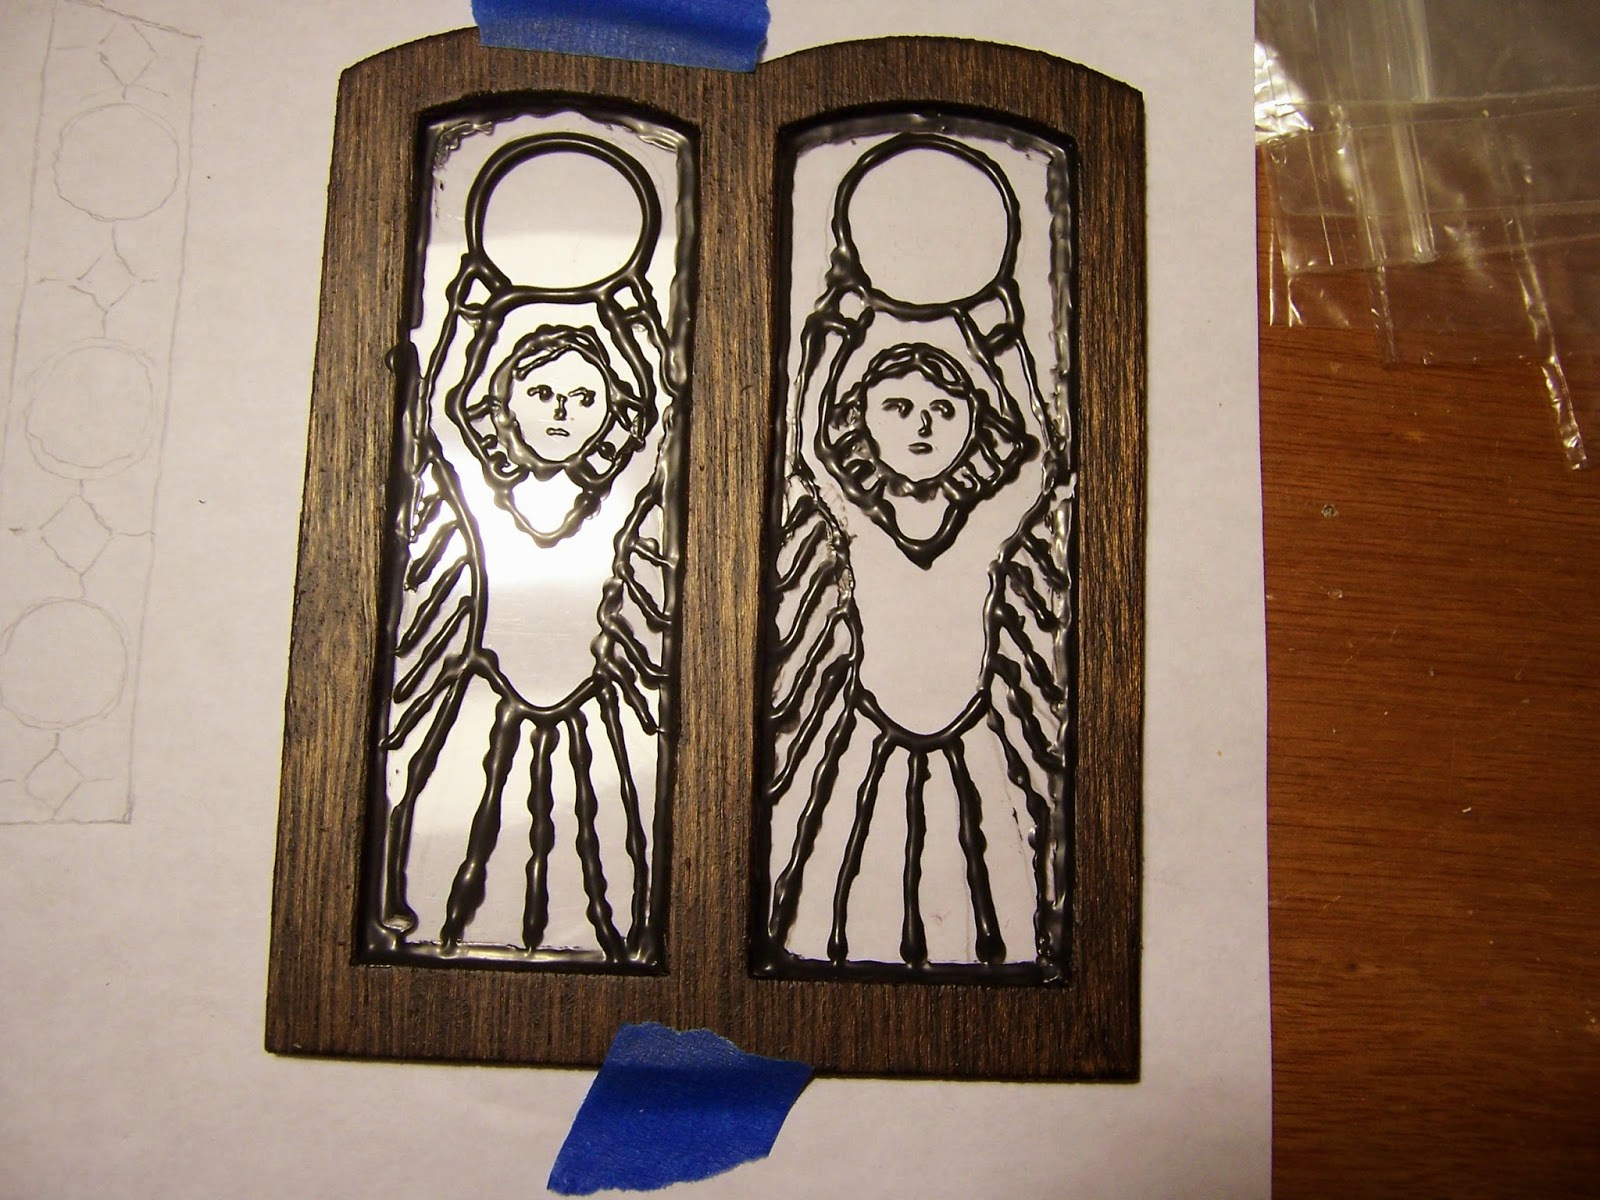
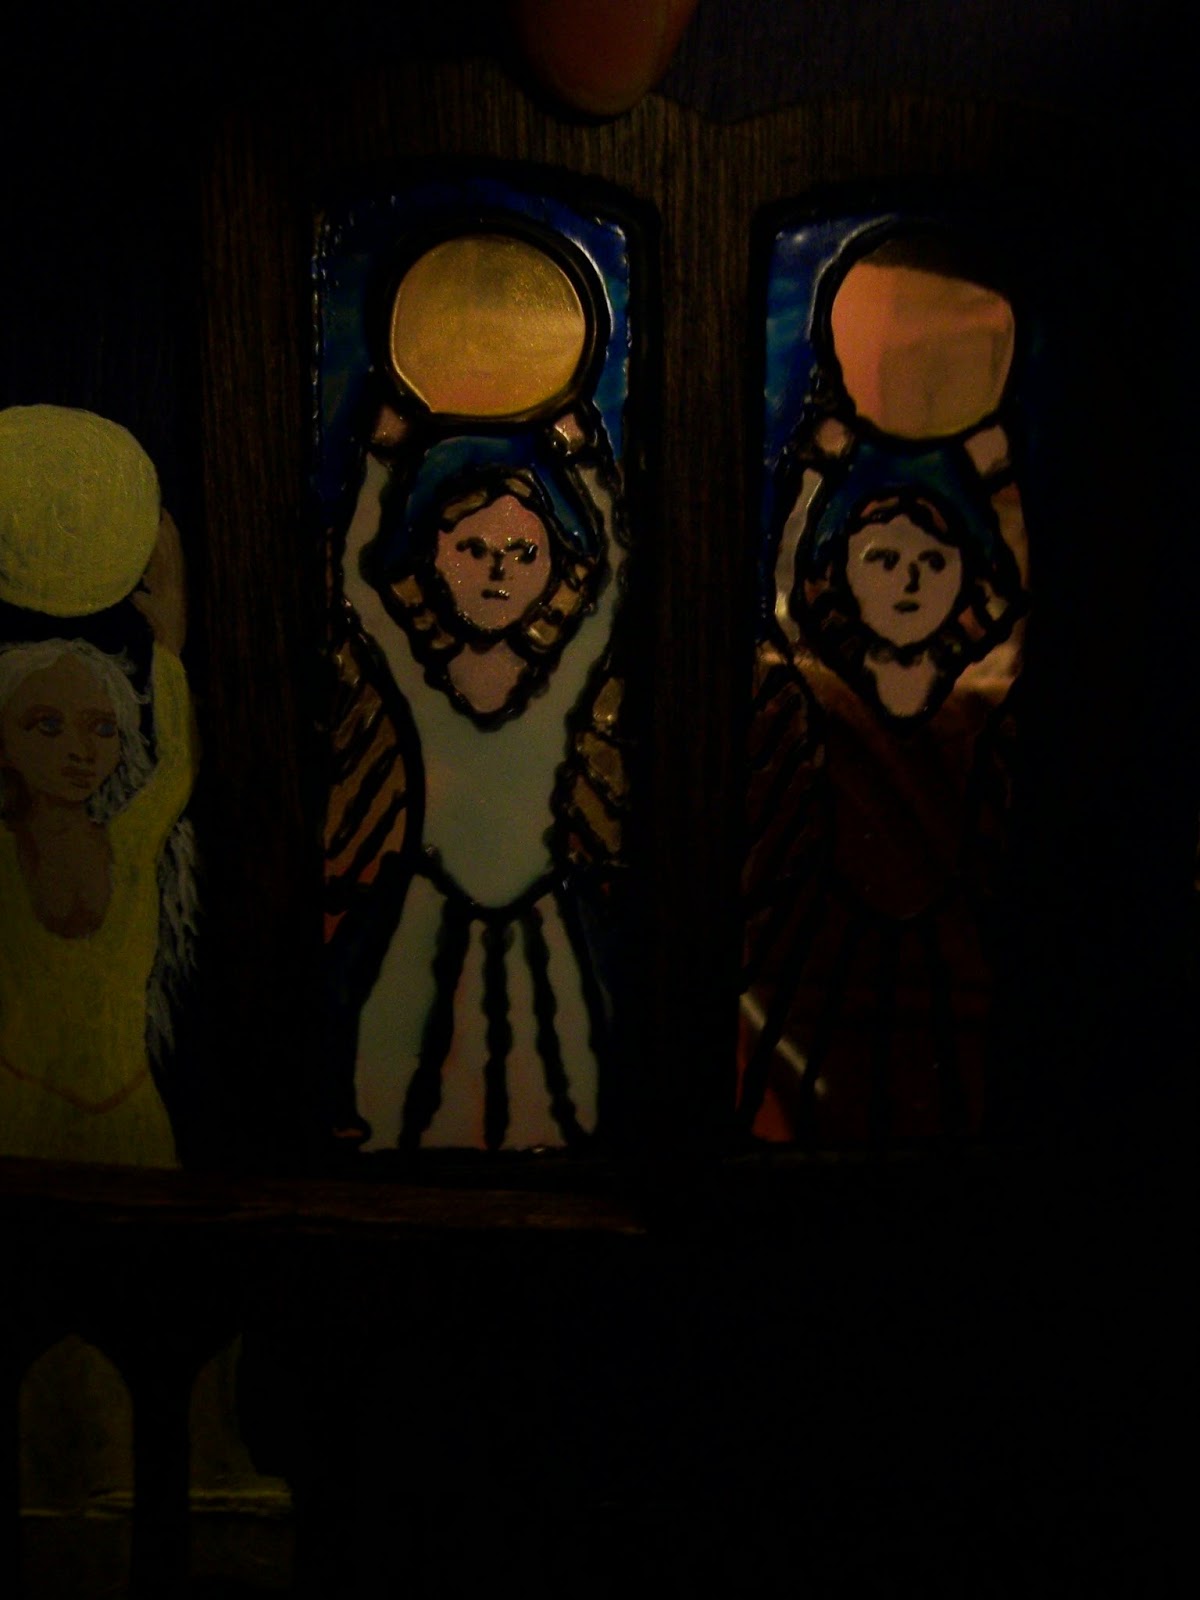
A Glimmer of Light in the Darkness, Dear Readers, is all I have to show you this week. Real Life is full of Holiday Schedules and obligations, making Time for Minis more scarce than usual. But I did manage to work on the "stained glass" windows for the upstairs hallway in the Willowcrest. I used the same method I had tried with the smaller window in the stairwell, and for lack of a better method, I will probably use it on many of the windows in this house! This method is to use the "lead lines" paint that is meant for painting glass to resemble stained glass, but in this case it is used on the plastic windows I am making to replace the ones provided by the kit. Because it is plastic, I cannot bake it, and thus I decided to use nail polish for the colors, rather than the glass paint. Above, you can see I have designed the windows to continue the Moon Maiden theme that began in the lower hall and marched up the stairs. These Maidens represent the full of the moon..... it is hard to tell which is the "fullest", and I will probably adjust one of the moons to have a slight dark shadow as it begins to wane.

Here you can see I have started to add the color.... 
I even went shopping for a few new colors.....
One of which is this brilliant blue!

And then a paler blue for the gown......
and a pink for the flesh tones....
(It is hard to see these colors here...)

And a glimmering Gold for the hair on the Maiden on the left....

And here you can see them with the light from behind....
I know, it fades the colors almost to nothing.....
And the Moons have been painted with a pale yellow, too.
And now, we just want to see how they will look in place in the hallway....
But there is So Little light at this time of year!

You can barely see them at all in my Dark house!
But I found an ingenious LED Light at Joanne's Fabrics....

These are LED battery "tea lights" 
that turn on with a twist....
and are waterproof!

I am not certain I will be using this permanently, 
as I need to have access to turn it on and off...
But it is very handy for testing.....

I suspended it with a wire over the hallway.....
where the Moon Maiden Window is temporarily taped in place...

Just so we can get a Glimmer of an idea how this will look....
from inside the hallway....
(the Maiden on the right is mostly unpainted so she is barely visible)

And from the outside.... with the light on inside.

And slightly further away... the outside view.

But then I realized that I wanted the Moon Maidens 
to all have slightly different coloring...
So I went back for More nail polish!

And painted the remaining Maiden in Pearly white
With Scintillating Silver for her hair!

With the light shining through, it is still difficult to tell the colors....
I might consider adding a layer.....
But first we need to test them in place again...
The view from the inside....


And from the outside too.
 

Alas, it is so Dark, Dear Readers,
we can barely see them.....
Where is that Moon Light?

 Of course, the polish is rather reflective....
But the Moon light sure makes a difference!
Inside....

And outside!
Well, Dear Readers, it doesn't seem like I did much,
Except shed a little Glimmer of Light
On the Moon Maidens.