Tuesday, January 13, 2015

Moon Maidens Continued...


And Other Hallway Details....

The Moon is Three Quarters gone, Dear Readers, a Waning Gibbous as I write, so I think it is only fitting that I spent the past weekend painting more on theWaning Moon Maidens in the Hallway of the Willowcrest House kit. I apologize for jumping to this project from the exciting topic of the Conservatory, but I am wrestling with Big Decisions about Landscaping with that one, so I turned instead to the simpler task of painting more Moon Maidens in the progression through the Hall. Some of you might remember that I had gotten as far as the Full Moon maidens at the top of the stairs when the Holiday Season distracted me from the project. The Two maidens at the top of the stairs are painted on the plastic windows and colored with nail polish. But I needed to complete their images below the window on the inside wall. It was not easy to match the color of their gowns to the clear glass paint, which changes with the changing light. As you can see in the closer picture below.

And while I am at it I should show you the exterior view of the windows,
where I have added the leading made from glofer's lead tape.

I decided that I wanted the outside of the windows to have 
the "leaded glass" texture and appearance
that could only be achieved with the lead tape. So I carefully applied it 
following the lines that were already painted... 
but on the other side of the window!
You can see one window done on the above picture, 
compared with the other window with only the paint.
I think I am supposed to paint over this with either 
clear "mod podge" or clear fingernail polish.
But not being sure which method to use, I have done neither.
But the tape part had to be done before the window was glued in place!
I also did the same for the Tree window....

Which you can see here before the outside frame is added....

And with the trim, which you can see here. 
I think it looks pretty good with the window trim, 
painted in that lovely Silver paint I have!
(This is a Witchy house, after all....)

And here you can see the window from the inside....

And you can see I have added stars to the wall mural amongst the tree branches.

And a view of the front door with the leading added to the glass...

You can really see what a difference it makes!

And I added the door knobs too.....
they now come in a lovely bronze look.....
they are very similar to the doorknobs on my real house!

And here are the doors in place with the Silver painted trim!
It only took me about fifty tries to get the doors correctly fitted!
I had to shave the inside edges so they could swing open....  
the kit wants you to glue them in place,
but I insist on my doors being able to open and close!
They would swing freely until they were screwed in place....
a very awkward and difficult job from the inside of the hallway....
and something about the way the screws tightened the frame made the doors bind!
But eventually I got them shaved enough to open and close!

I think they look Marvelously spooky!

And here you can see the front of the house 
with the Moon Maidens window in place....
(Sorry it is so dark!)
I have not yet painted the exterior window trims, 
the color scheme is going to be the dark gray with the shiny silver trim.

But we were talking about the Moon Maidens inside the Hall...
Where they needed to continue past the Full Moon window 
and on up the stairs to the attic.
And in order to do this, 
they needed to march across the doors to the bedroom...

And this requires you to use your Imaginations when viewing them 
from any angle other than straight on!
Because I insisted on my doors having the raised panel look,
so in painting on the doors, I have had to paint over the uneven surface,
and yet try to make them look as normal as possible!

Here you can see I have started the details of their faces.....

And if you look closely you can see what I mean 
about the odd appearance when you see them at an odd angle!

Here you can see how the "parade" goes around the hallway
viewed from above...

And viewed from the bedroom when the door to the hallway is open...
the shadows really emphasize the paneling of the door.

More details and the next Maiden going up the stairs begun....

And the view from the bedroom with both the doors open....

And from farther back....
It will be impossible to see these Maidens 
except when the doors are open....
Or a glimpse through the bathroom doorway....

Where the odd angle emphasizes the distorted features...

And the remaining Maidens march up the very Narrow
staircase to the third floor....
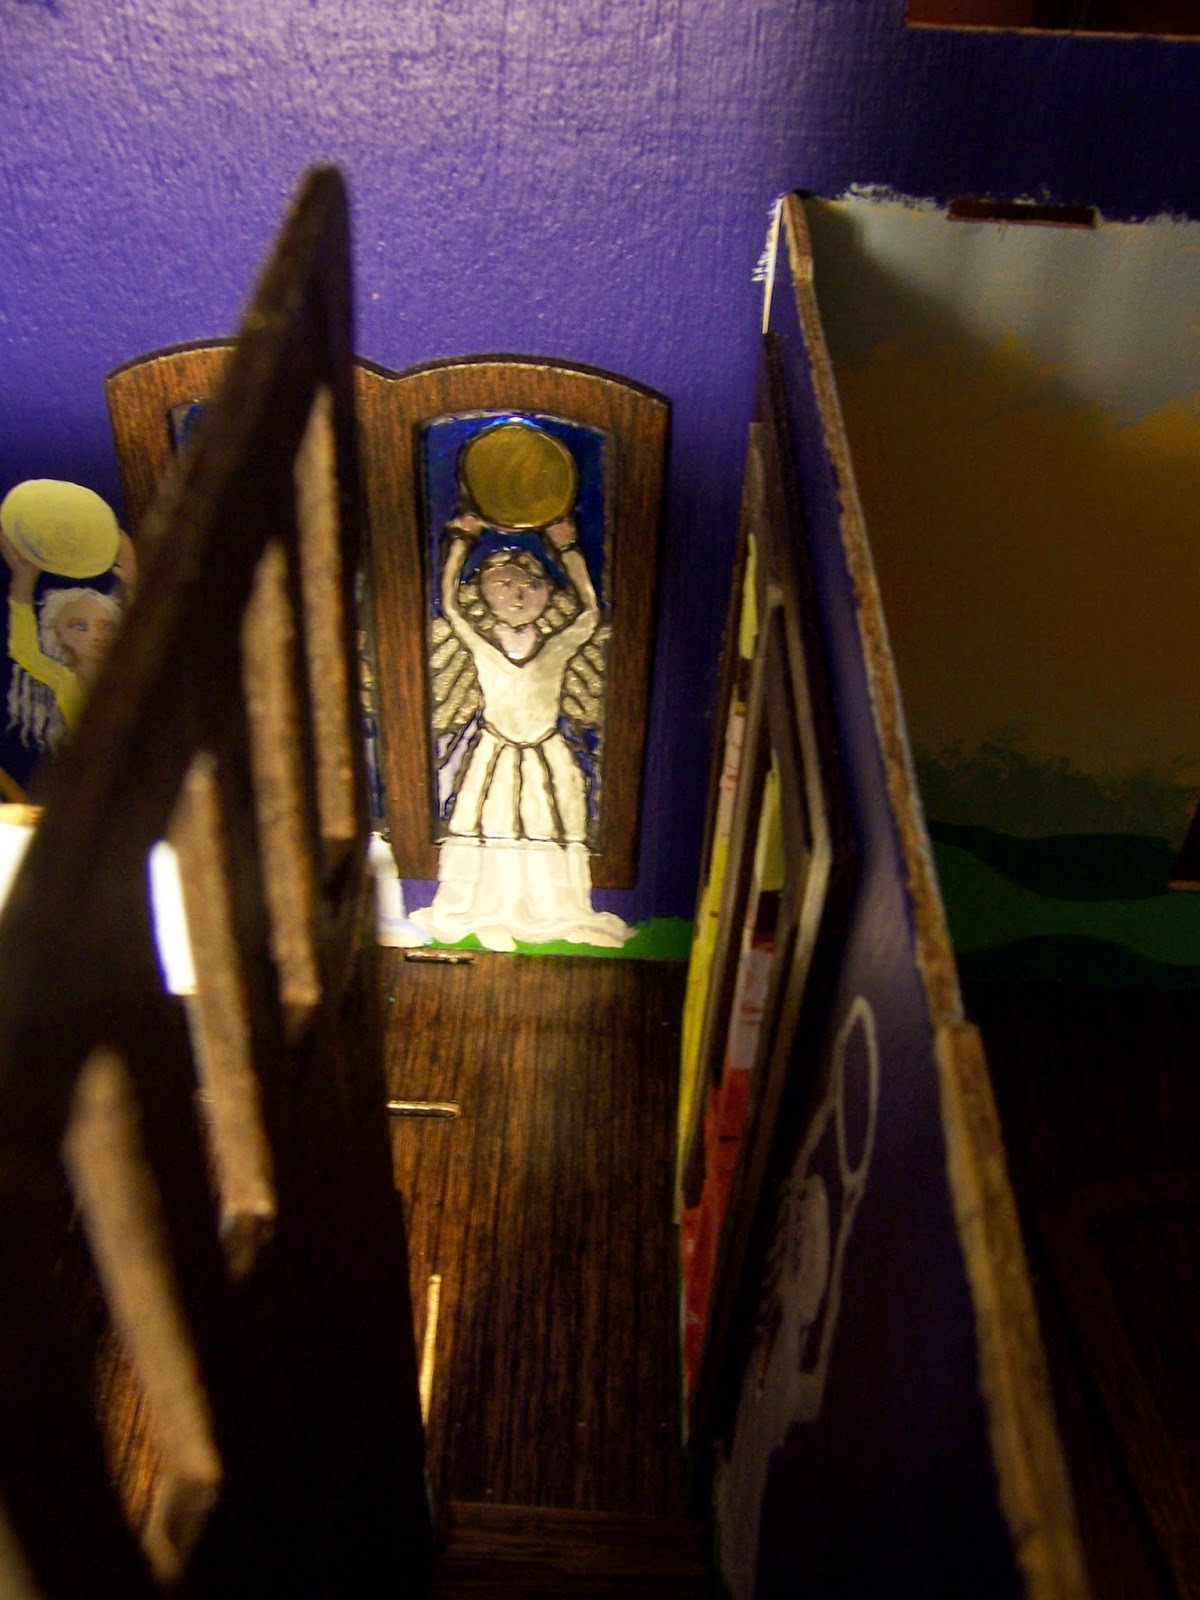
Where it is questionable how visible they will be at all!
But I will know they are there.....
Just like the Waning Moon, Dear Readers,
Gradually swallowed up by the Daytime sky....
hardly visible at all to the naked eye....
Until the Dark of the New Moon.
So the Moon Maidens will Continue, Dear Readers,
Marching through this Hallway, 
and once I have added all the details....
and all the walls are in place,
They will be hardly visible at all!
But I will know they are there!

Tuesday, January 6, 2015

The Conservatory Elevation


Taking the Next Steps.....

I was finally able to spend several days devoted to my mini projects, Dear Readers, and made considerable progress with the Conservatory! I managed to get the end walls aligned and held together with a serious 1 and 1/4 inch screw to counteract the warped wall section which you can almost see in the next picture. (I will apologize now for the poor lighting... my house is old and lacks overhead lights and it is the time of year when it is dark almost all the time!) I ended up drilling through the upper corner of the wall decoration bracket, and into the side wall, and using a screw to pull the sections together. You can see the screw if you look carefully. I will need to add a plug to cover the end of the screw head. After that I completed the new roof cornice sections on this end of the Conservatory, and except for attaching the roof sections, that pretty much completes the basic structure of this building! Hooray! I have succeeded in my original plan to make the building have opening sides! Now I could move on to the tile floor! Or so I thought.

It was about this time that I had an idea.... 
an idea that would actually make the Conservatory function better... 
and look better.... and I thought I better give it a test to see if I liked it.
The idea was to raise the conservatory up on an elevated "foundation" base!
This would be especially helpful when opening the side wall "doors".  
Because if the conservatory sits right at ground level, 
when the doors are opened they sweep all the things in front of them out of the way....
which basically means there could be no garden flowers 
or urns or fountains sitting along this whole side of the building. 
Whereas, if I raise it up on a foundation by two inches or so.... 
the ground at the base could be planted with flower beds 
and they would not be disturbed by the swing of the doors when you open the side walls!

So I bought some pink foam insulation panels 
and cut a piece the same size as the conservatory base. 
And set the Conservatory upon it like so.
I think it makes it look much more realistic, and impressive this way!
Of course, then you need to add steps up to the doors....!
Which requires a little bit more "landscape" around the Conservatory....
and I think you can guess where this is going!

I was planning all along to have a "small" amount of landscape 
surrounding the Conservatory.... 
because I cannot imagine a Conservatory without any Garden...!

But how much is a "small amount" of landscape?
Should the steps have a walkway at the bottom.... 
or dump the little people right off the base onto the floor?
And should there be a "small" amount of terrace at the end where the doors open....
a space where the citrus trees are wheeled out for the milder months.....
or where you can arrange a table and chairs.... 
or build another set of grander steps leading down into a sunken Garden.....
And if there is a Terrace, should there be a bit of a wall a the back....
to keep things from falling off.....?
Oh, why do I get so carried away? 
I do not have space in my house for a large garden around the Conservatory....
but I can maybe justify a small terrace.....
And at the very least.... 
I think the elevation is a good idea with the sides opening....

Because otherwise nothing can "grow" along the side of the conservatory!
So while I am wrestling with the practical aspects 
of increasing the Conservatory Landscape...
I have also started to work on the floor inside.
I originally wanted just to use up the tiles 
I had left over from the Castle Great Hall floor.
And I had arranged them in a "patterned" arrangement 
on a piece of cardboard so they could easily be 
moved out of the way and not be disarranged.


The idea is that they might look a little like a "rug" made of tiles.
So I began experimenting with different borders to surround the rug section...

And I made a lot more tiles in different colors, but undecorated, 
and tried them out as borders for the rug section.

And then tried some of the other patterned tiles....

With some other color tile borders.....
Oh, I really love that blue....!
This could take me a while to decide!
Meanwhile I do need to make a lot more tiles... 
even some of them with patterns.....

Because what I have doesn't quite cover half of the floor space!
And there will need to be another entire "rug" at this end.

And I will need to decide how much "terrace" to add at the end.....

And this new foundation is going to require 
a whole lot more bricks as well, Dear Readers!
I am going to be making Bricks and Tiles for quite a while!
I think it is gradually becoming clear that 
the Elevation of the Conservatory
 is going to require a whole lot more 
than just a few Next Steps!

Wednesday, December 31, 2014

New Year Wishes


And Surprise Gifts.....

I shouldn't be Surprised, Dear Readers, but I was utterly Floored by the gift my Sister sent me for Christmas! Several years ago I showed you a peek of a lovely quilt she was making for her little doll house, made from scraps of silk I had given her, scraps left over from the magic star wands I make and sell. Well, it turns out, she was also making one for Me!!! It is pieced together "Crazy Quilt" style, and then embroidered with the loveliest little details.....

I simply could Not believe my eyes when I opened 
the package which had arrived Christmas Eve!
We don't always exchange gifts.... 
it is more of a random thing, 
so I wasn't expecting to get anything at all!
The above picture is what I saw when I opened the box...
I can't tell you how much I Adore this quilt!
The only question in my mind was Which bed it should grace.
And the first bed I tried it on was the one in the
Chinoiserie bedroom of the Lovely Old Dollhouse....


I had only bought this bed a few weeks earlier and was 
planning for it to be the bed in the new Willowcrest house....
and only placed it Temporarily in the Lovely Old Dollhouse
while the Willowcrest is being worked on.
But now I think I have accidentally found the bed 
that always belonged in this room!
And with the new "Old" Quilt, 
I think it looks just the way this room should look...
Filled with beloved Old furnishings and 
"Great Grandmother's" heirloom quilt!

Thank You, my Dear Dear Sister!!!
It is unexpected Gifts like this 
that make the Dollhouse World
come alive for me!

And on a Similar note, I did receive other gifts that were
Unexpected this Christmas.....
My Mother sent a collection of little Treasures from her Thrift Shop...
Including the wreath  you can see here....

Which I think is supposed to be for a candle....
But really works Wonderfully in the Castle Great Hall....

Which Lately has been the setting for and Old Fashioned House Party....


And some of our Friends have gathered there by the fire....
Oh, the Stories I could tell....!

But there were also other little Trinkets from my Mother...
such as these two little Saint Nicholas figures...
Here you can see them on the Kitchen mantel  of the Lovely Old Dollhouse...

Where it seems there is Never Ending conversation
and good food around the Kitchen table!

And speaking of Good Food....
I also received other little Gifts from Dear Birgit 
of BiWuBaren Blog fame....

Don't these Gingerbread men and cookies look Delicious?
and that was not all she sent me, Dear Readers,
But all the little items on the table you see below....

 
Tiny animals, A Flying Reindeer and two beautiful 
Tiny laser-cut wood scenes!
(And many other tiny trinkets too!)
 But I can't forget the Marzipan....

WHO has been eating the marzipan, you ask?
Well, I think it looks like a Lovely little Buche de Noel...


Sliced up on a little platter......

And served with Tea.... or Coffee.... or Hot Cocoa!
Which is exactly what Blue and Sir Orion and Brother Beorn
are having for Supper on this New Year's Eve!
Thank You Birgit!
And I can't leave you there either, Dear Readers,
because I Finally finished drawing my Christmas Card...
And wanted to share it with All of you...
If you look closely you might recognize a scene or two!
(Be sure to poke the picture to see it larger.)

(And if you see it here before yours arrives, Dear Mom,
I hope it will not spoil it for you!)

So, I should not have been Surprised, Dear Readers,
by each and every one of these Gifts,
But I was Surprised, and Deeply Touched!
Thank you for thinking of me!
 
And I would like to Wish All of you,  my Dear Readers,
A Wonderful and Endlessly Rewarding New Year!


Wednesday, December 24, 2014

Last Minute Wishes.....


May You Have An Enchanting Christmas...

Time rushes on, Dear Readers, and ensnares us with the many Tasks and Traditions that make the Holidays so special. But even so, there is room for Last Minute Wishes, Ideas, Inspirations.... and even perhaps a Dream or Two! So it happens that Blue, The Blue Fairy Beary, had been sitting alone in the Cloud Palace as the Days grew shorter and the Nights Longer.... (and I am sure you can understand that at This Time of Year, her Task of Fulfilling Wishes can become rather challenging...) and she realized that Something was Missing from the Cloud Palace! She had forgotten to get a Christmas Tree! And as she sat there Dreaming of a Lovely Christmas Tree.... she thought it would be Wonderful to have a Silver Tinsel Spruce Tree......

And no sooner had she thought of the idea, 
then there the tree stood!


A Beautiful Rare Silver Tinsel Spruce Tree!
(Well, I think you can guess that 
she has been so busy making Wishes come True, 
that she had forgotten her own Power....!)
And what is even more Special about this Tree...
It is decorated with little Golden Wishing Stars!


 If you come up Really close, perhaps you can see them.......!


 When Brother Beorn and Sir Orion came home that evening 
they were completely enchanted with the Tree!


Brother Beorn could Not believe his eyes!
Another Magical and Rare plant here at the cloud Palace!
And Sir Orion could not help thinking 
he might take one of those stars and make a wish himself...!

I don't know about You, Dear Readers, 
but I still have to finish some Last Minute Tasks 
before I am ready for Christmas....
But I am going to take one of those stars Now and 
Wish You All A Very Enchanting Christmas!