Monday, April 20, 2020

Waiting For Supplies....


Lacking Focus....

I Thought I would be starting on grouting the Castle floor, Dear Readers, but when I looked at my grout supplies, I began to worry that one package of the material would not quite be enough for the entire floor! And what if I got most of the way done and ran out? I didn't even want to think of that, so I decided to order more and while I was ordering some grout, I could get a few other little things too! So I made up a little list and called in my order to Hobby Builders Supply. But imagine my dismay when I discovered that of all the things on my list, the Grout was on back-order...! Time of arrival unknown! It was to come from China as so many things do. So I have to wait. And while casting around for what to focus on instead, I realized that I also needed a small project that I could work on during my regular "commuting hours"... my drive is normally about 45 minutes each way which adds up to a lot every day. I was finding myself turning on the computer and "getting to work" too early and wasting time. So I pulled out the many kits I have for petit-point... and chose another one by Janet Granger, and started the design. At this point in the project it doesn't look like much! And then I remembered that I never showed you the completed Santa Stocking I was stitching in the Winter....

I don't recall exactly what I showed you last, 
but I was working on the background.
The kit design would have you stitch the
 entire background with the blue....
But I thought Santa needed to be 
a little more "Grounded" than that!

I wanted him walking through the cold snow... 
not drifting in the sky!
So I made the bottom of the stocking white
 with pale blue shadows...

And here it is with the stitching done.
Of course, I have not stitched it
 to the back of the stocking yet!
 
 
Just for reference, here is the stocking next to the design chart.
But that was already months ago!
 
And I am sure some of you are wondering
 what has happened with The Dollmaker's Studio Project 
while I have been busy in the Castle Council Chamber....
 Well, not much! 
 
I spent a good bit of time testing out different pieces of furniture...
 to get a feel for what would Fit in this small space... 
you will recognize some of the "visiting" pieces... 
just being borrowed to test the ideas.
The idea is that this little building is a converted carriage house... 
or a "sleigh house" if we are to think of it as a "Northern Themed" project.
(See how I got around using the "C"word?!)
The ground floor was made into living space
 with sleeping space upstairs.
 The stairs will be in the tower.
And now that it is a "Workshop" or "Studio"... 
the living space has to have a worktable
 as well as the minimal cooking facilities...

This is not the stove that will be here... 
but just here for size and position....
There has to be seating by the big door 
so needlework can be done in good lighting.

The upstairs will also have worktables and sewing supplies...
The original purpose of this project was an expansion
 on the "Atelier de Poupee" kit from
 Sandra Morris of Tower House Dolls.
The beginnings of her kit are tucked into 
the alcove at the back of the upstairs room.
And the attic... not shown here 
will have a sleeping nook for weary creative types.

A Smaller table fits better... but doesn't allow much surface space...

A Larger table dominates the space....

And some carpeting samples.... 
old ragged pieces.... nothing fancy....
But setting the tone...
So where is the problem? I hear you ask..?
The problem is that I never expected to
 keep the paneling that sienna color!
I was intending to paint it a rich dark green... 
in keeping with an over-all red and green color scheme....

Like this.....!
But I am having a terrible time giving up the paneling as it is!
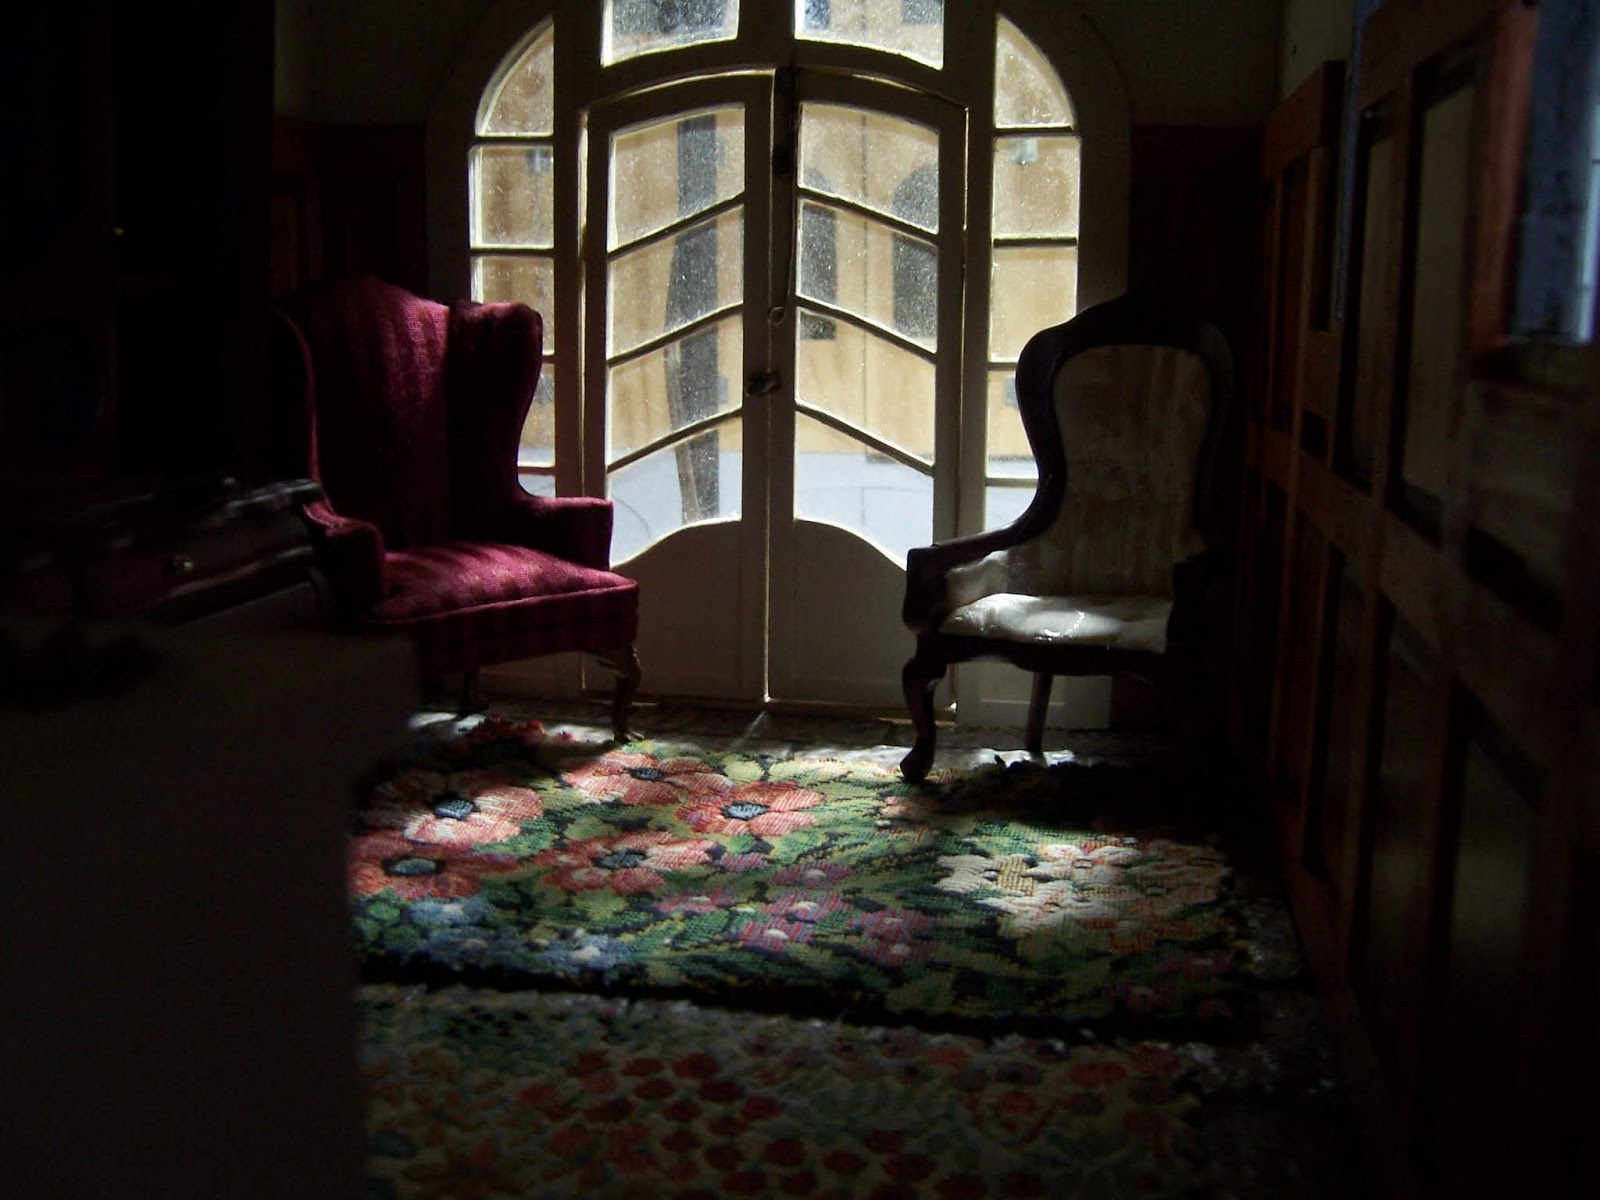
Even the door frame is supposed to be painted!
I just can't decide....

So I wandered off to the Attic of Hardwick Hall... 
because you will remember I had "borrowed" the fire
from the unfinished fireplace to use it in 
testing the fire in the Castle Council Chamber...


The fireplace needs to be fit very snugly beside the Spiral Stairs...
And there is a "Tree" growing up the stairs... 
it's branches supporting the stairs...
 I was just getting going on this when 
the Lilac Mania took over... two years ago!

I had to clear everything out of the attic....
There is so much that is unfinished in this House...
  and most of it is waiting for the electrical work in the attic to be finished....

And a closer view of one of my favorite reading nooks....
(Sorry... the lighting is poor...)

I spent some time wrestling with the tree and the stairs
 and carving off pieces of the chimney...
Because until we get the fire wired in place... 
all the rooms below must remain unfinished...


And the stairs have to end up landing at the cupola....

Which also is not part of the original kit structure... 
and has to be constructed from scratch...!

 So, There you have it, Dear Readers, 
I am not sure I accomplished anything at all....
While waiting for supplies....
and Lacking Focus!

I hope you all are keeping well and staying safe!
And making minis too!


Tuesday, April 14, 2020

A Few More Details....


Where There's Fire....

You might not Think, Dear Readers, that this is the same room as that dark and gloomy one I was showing you last week, but such is the power of a Sunny Morning that it chases away all confusing shadows! And by the bright light of morning, I am reminded that I need to paint those bright brass hinges on those shutters before I attach them for good! Oh, and make the hinge straps too. This is another of those methods I devised long ago and therefore must continue to use whether it is a good method or not! The brass hinges are sturdy but too shiny so I simply paint them black to imitate forged iron work. And then I make the "strap" part of the hinges out of sculpey and glue them on.

I made a bunch because who knows how soon
 I will be making more shutters for the rest
 of all those windows on the Castle facade.

From a distance it is not too obvious that
 the hinges are not made entirely of metal!

And once the hinges were attached....
 all those little bright brass screw heads needed painting too!

There.... is that better?
Are we done with the Window?
Can I glue the fireplace in now?
Ummm..... No....
 I have remembered another detail...
Because you might or might not have noticed over the years,
 that I tend to like to add "smoke" to my mini fires.....!
And I have a particular effect that I like....
that requires a piece of the "smoky gauze cloth"
 to hang above the fire.
Which reminded me that I better add the pot hanging hook
 in case I ever wanted to suspend something over the fire......

So I added a strip of wood inside the flue.... 
with a hook in the middle....
Just in case!

And then had to test my "smoky gauze cloth effect"....

To see if the gauze was hung right...
(Eventually I will add more "flames and wood" to this fire!)

Here I am gluing the gauze to the wall...
 
And threading the wires out through the back wall...!
(Yes, once again it is late and dark...)

And gluing the fireplace in!
And the lights still work!
Hooray!!!

And the sparks from the fire are flying up the flue...!
Can you see them?

Come a little closer... can you see them now?
Well, never mind, Dear Readers,
 it is my little fantasy...
Because where there is Fire...
Shouldn't there be smoke too?


Tuesday, April 7, 2020

Castle Windows...


Shedding A Little Light...

It has Shocked me, Dear Readers, to realize that I started to build The Castle Dollhouse ten years ago in February. If you study the earliest posts on this blog, which I began Ten Years ago this week, you will find that I was eagerly and diligently focused on this project. Well, this and the Lovely Old Dollhouse too, and The Folly... but I was making very steady progress on the Castle. I never would have thought it would still be so far from finished after Ten Years! But so it is. I will not waste time lamenting a process that has been so much fun over so many years, but will get on with showing you the process I developed for the windows, oh so many years ago. You must understand that I knew very little about building dollhouses back then, and had barely discovered blogs and the internet... so there were many shortcuts and techniques that I knew nothing about. To begin with this is a completely self-built Dollhouse. I drew up the plans, cut up the plywood and drilled and glued the pieces together. I owe a great deal to the Inspiration of a former blogger whose blog "the Tudor Medieval Jacobean Queen Anne's Dollhouse" started me on many of the methods I chose, in particular the tiles for the Great Hall Floor were a direct inspiration from Nina's work. But when it came to the windows I wanted real glass. And there are no ready built kits for real glass Medieval windows. So I was on my own! The method I came up with is time consuming, but it allows for the unforgiving nature of glass and the results are relatively convincing. The theory is that I build a "glass sandwich" with the pane of glass between two layers of thin basswood or plywood cut to fit the window opening. Remember that because I cut all these openings myself... they are highly irregular!
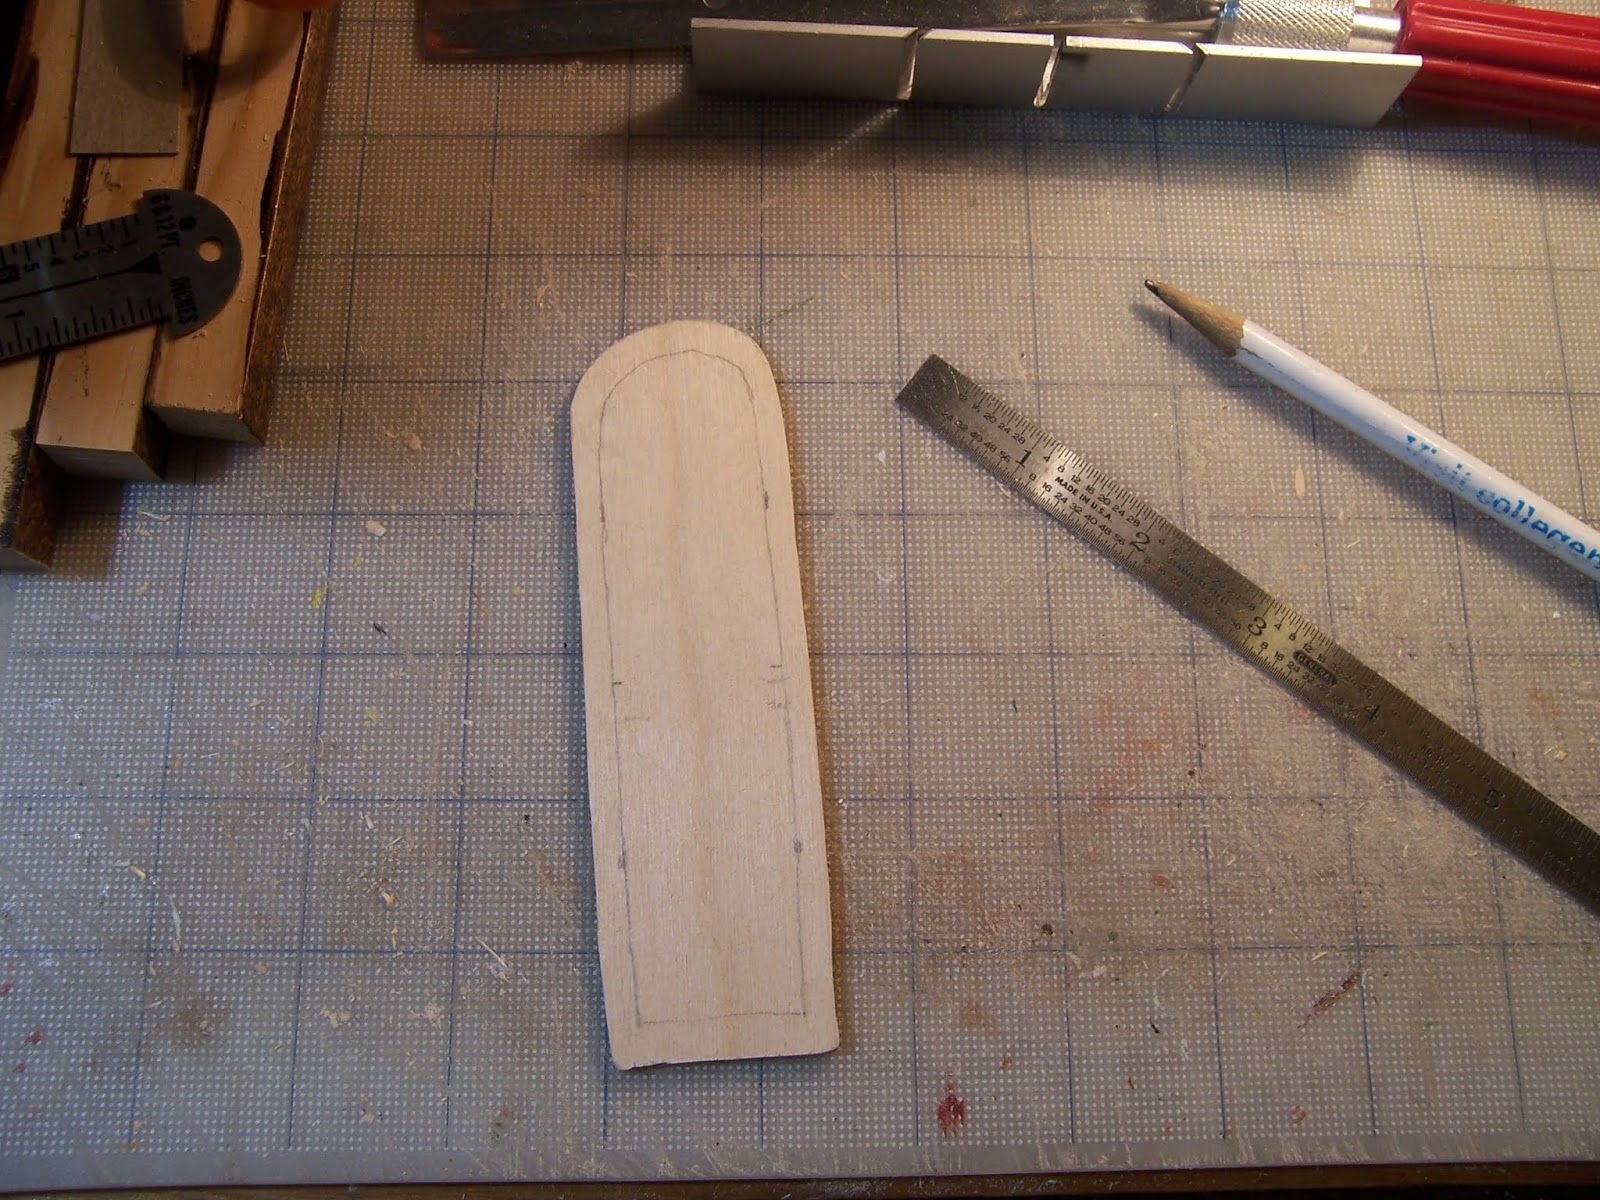
In the above picture you can see the Council Chamber window with the back layer of the 1/8 inch thick plywood cut to fit snugly inside the window opening.


I cut two of these and sanded them to fit as closely as I could.... 
the light shining through the gaps magnifies them!
And you can see how irregular the shape really is.
(My theory is that the builders of this Castle 
had to make do with some inexperienced stone cutters!)
Once I had the two panels fitted, 
I needed to cut away the center to leave
 a thin framework of plywood. 

This was easier in theory than in practice... 
the plywood I had was splintering terribly
 and the layers were not holding together..... 
I was really not sure it would work!
But with careful planning the splintered side of the wood
 could be toward the glass and therefore not visible...
Above you can see the test fit for the back side of the frame.

Meanwhile, because we are Staying Home
 and NOT going out unnecessarily to shop....
 I needed to use some of my old scrap off-cuts of glass
 that had not broken cleanly on earlier glass projects...
 specifically The Glass House at the Folly.
There were a few little pieces that
 just might work if trimmed a little more...
And then I had to dig out the Old Bottle
 of Faux Lead Line for Glass painting...
 and by some miracle it was still unopened
 and was still perfectly good!
But my ability to make good clean lines
 with it was sadly out of shape....
I left it to dry and went out to work in the RL Garden...
Therapy for the Soul at this time of year!
I was not sure I would get anywhere with this window!
But here you can see the test fit for the painted back section of the frame.
Yes, it has gotten very late... and dark...
 
 
 And I was also fitting a thick wooden shutter to cover the entire window...

Made from the cut-out piece of one of the other windows.

And in the open position..... just look at all those Hinges!
(You do know how much I Love hinges!)

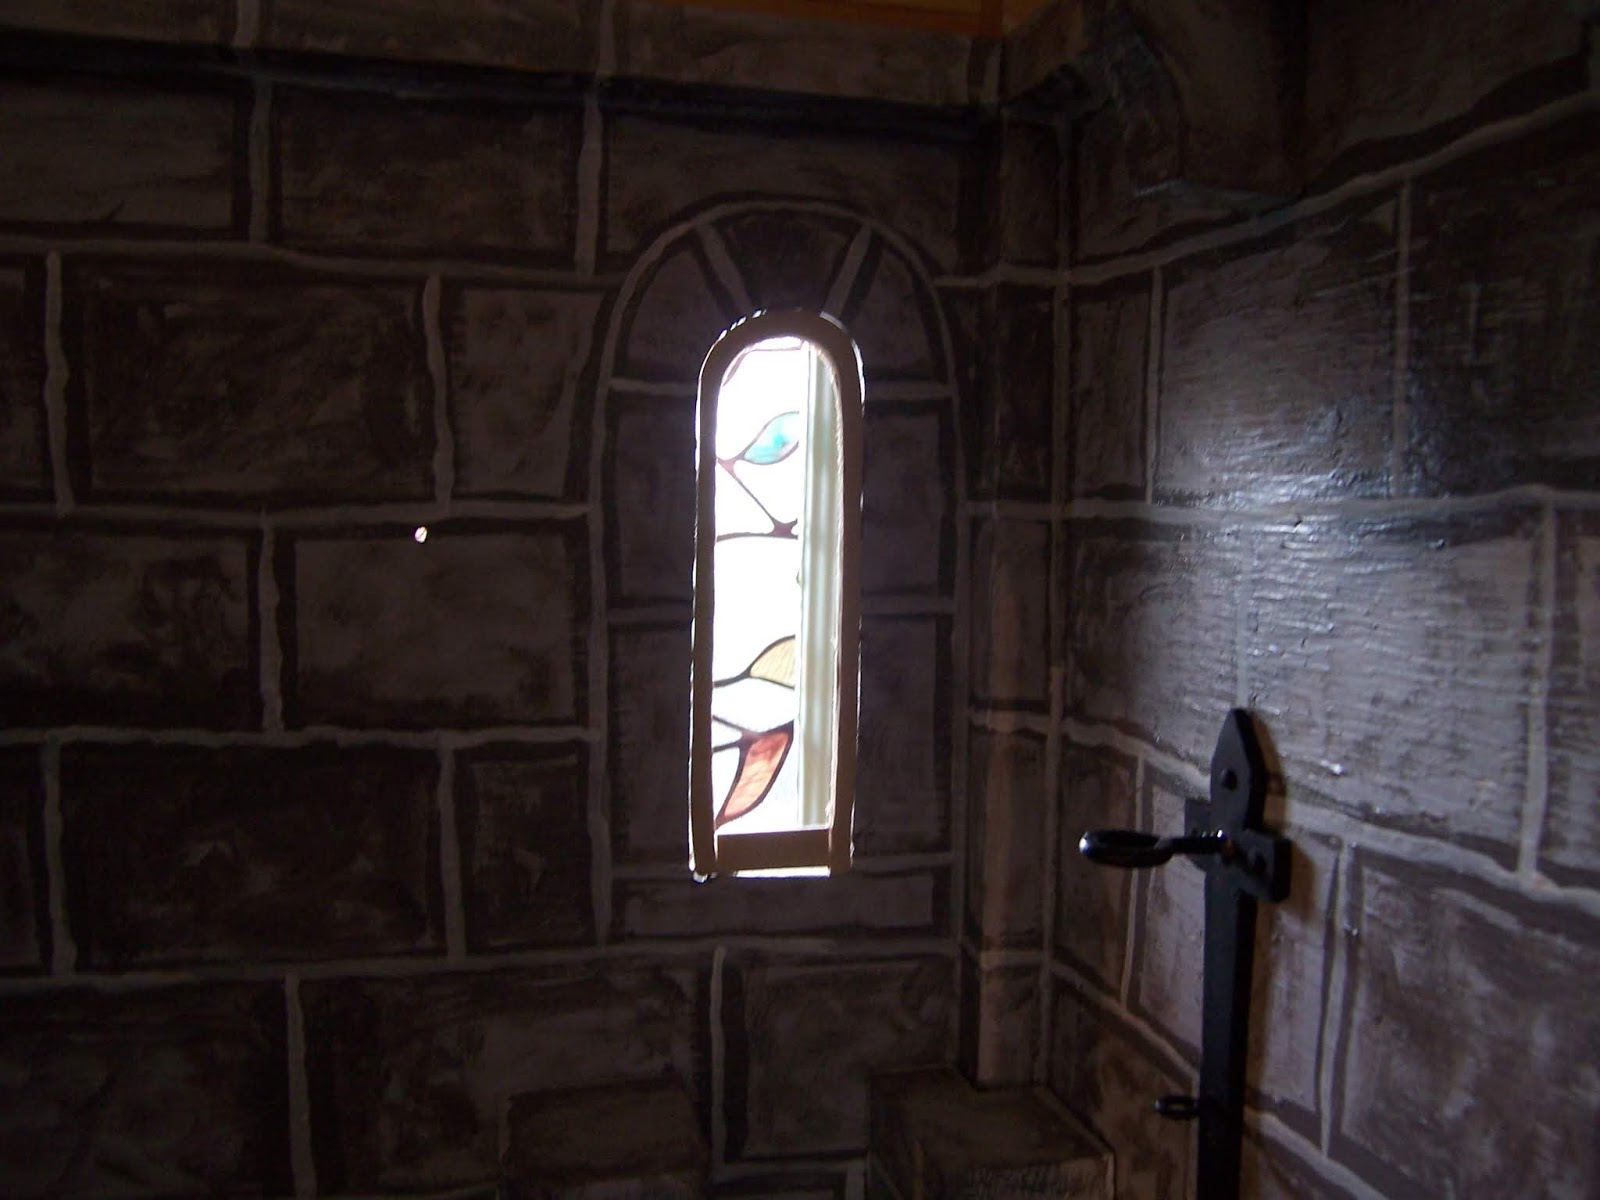
The following morning once the "lead" paint was dry enough
 I had to test it to see how it would fit in the window...
 
For the first test fit it doesn't look too bad!
(I am feeling encouraged!)
But we still have a long way to go.

The lead lines are Way too blobby... 
and the outline is not close enough to the edge of the frame.

But I learned that with care and an exacto knife
 I could trim up the edges of those messy lines.
The more I trimmed the more I saw that needed trimming...

And it needed to be tested to see how it looked.... 
not quite there yet....

And here I'm testing to see if the frame should be a darker color....
But it is getting late again and hard to tell.
 
In the bright light of the following day 
I painted black around the outside edges
 of the "lead" framing... to fill in the gaps.
And tested it again....

The light coming in the window behind is too bright...!

So I blocked the light, the better to see
 the frame and the leading...
I think the darker frame is not right...
but want to test it with the Fireplace in place...


Definitely too dark. But the lead lines look okay,
 and not too many gaps are showing!

So I repainted the frame... 
to resemble a stone framework....

And testing with the Not-yet-finished shutters...

Split so only half can open at a time.....
Just the lower.....

Or just the Upper....

Or Both!
(See why I Love hinges?!)

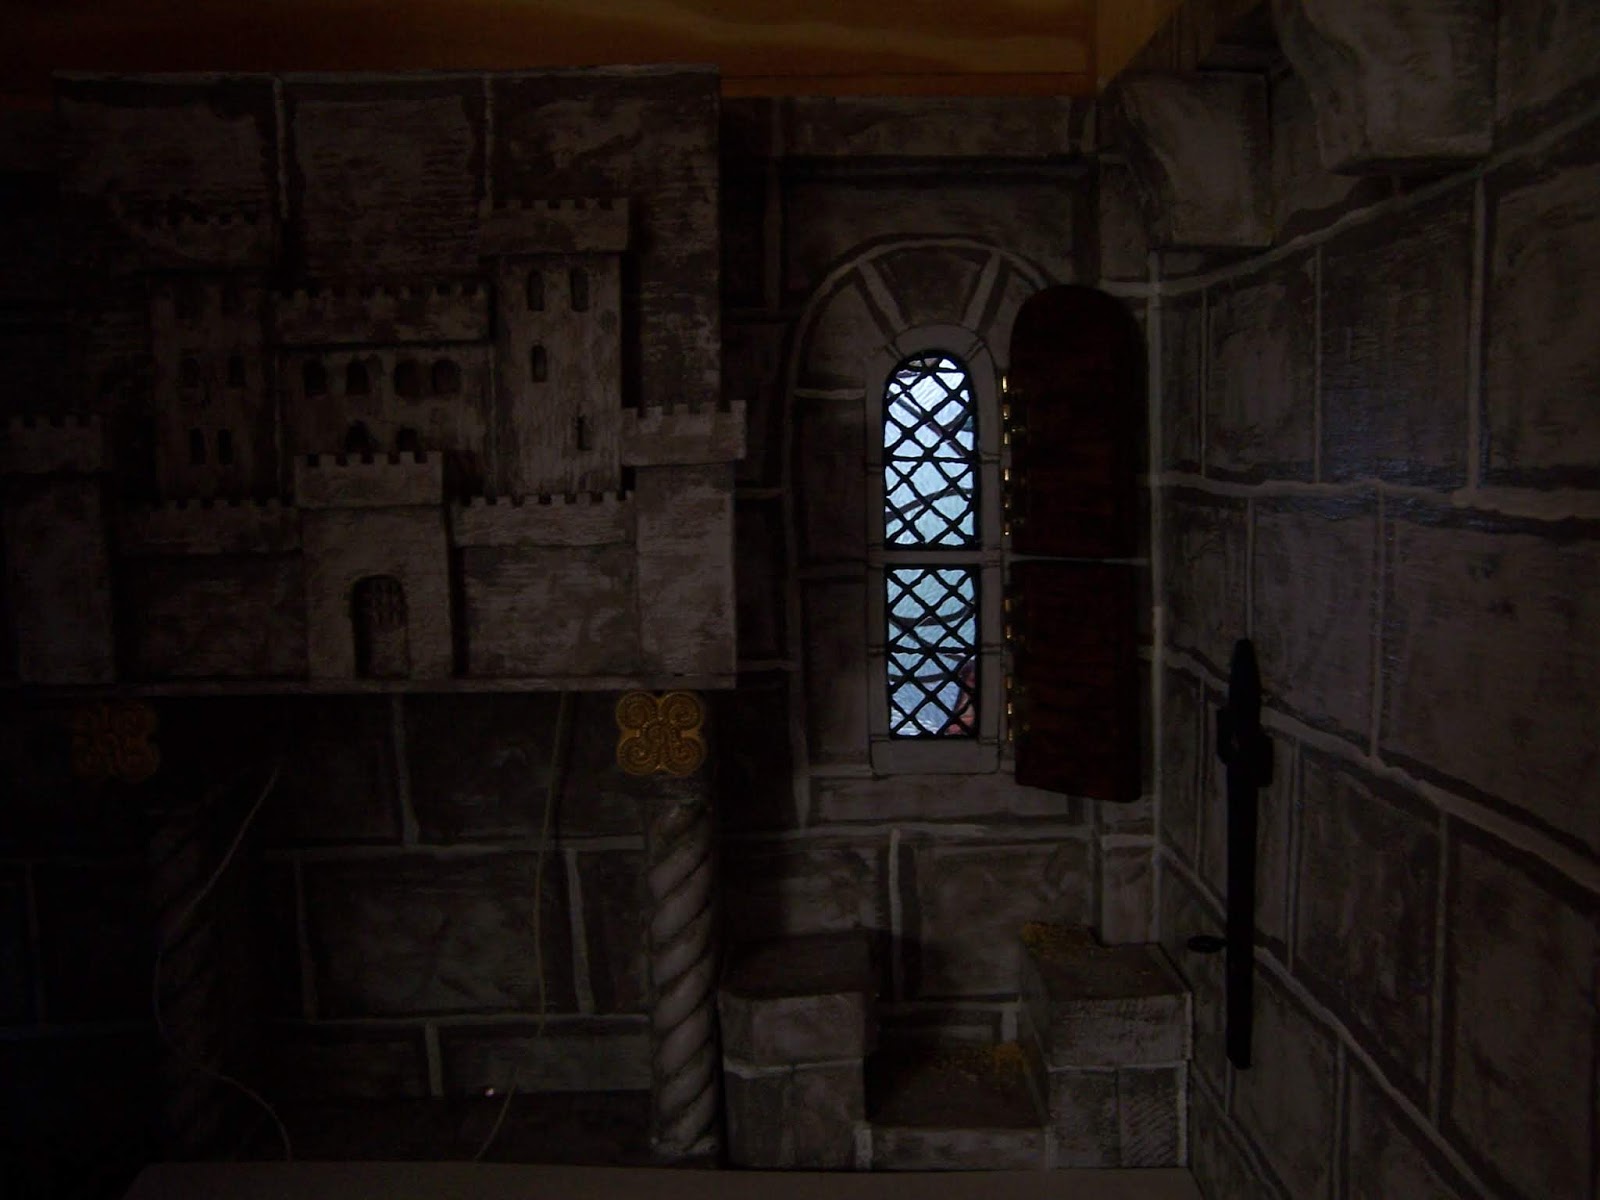
But we really need to see it with the Light coming through.....
I think it's getting there!
(Although the pattern is confused by the
 fake stained glass of my RL window behind it!)

So there you can see, Dear Readers,
 how I build the Real glass windows for my Castle,
Just shedding a Little Light!


Tuesday, March 31, 2020

Lighting The Night.....


Why Things Take Longer....

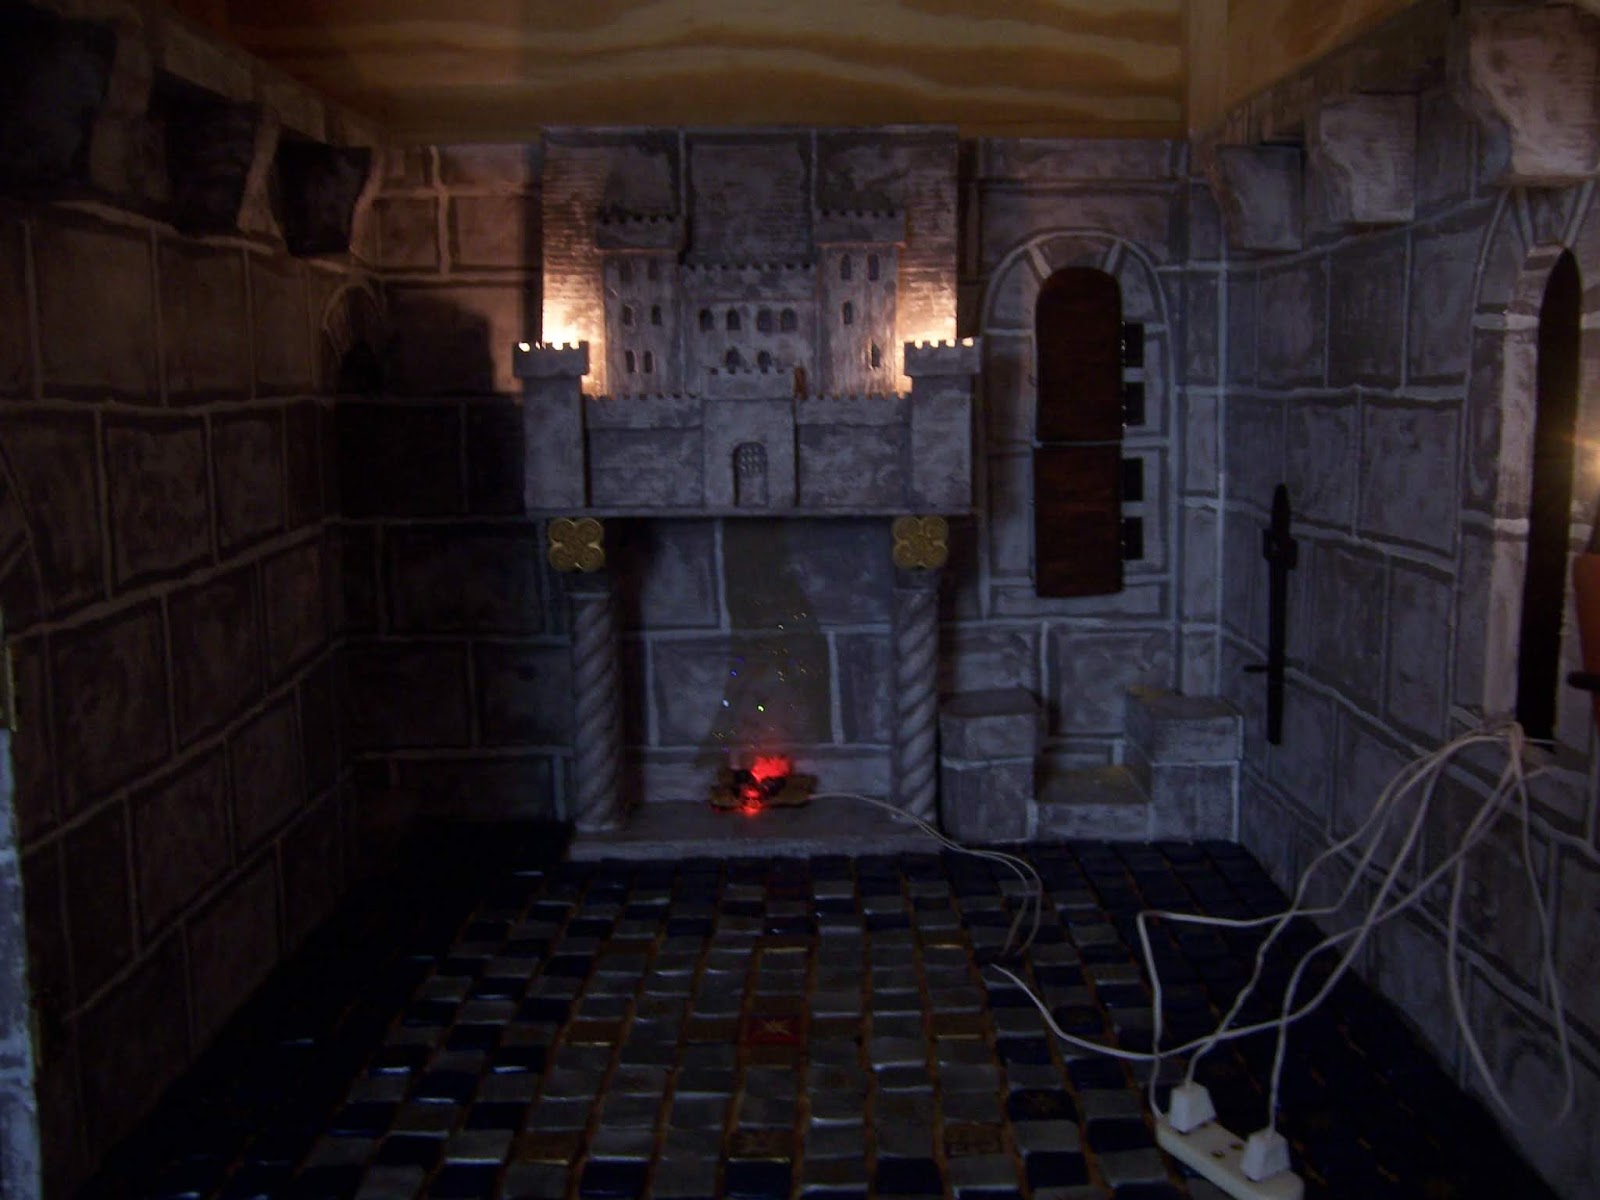
It Was a Beautiful sunny morning on Saturday, Dear Readers, and I had high hopes of installing the Council Chamber fireplace and getting on with the floor grouting. There were just a few tiny details of the fireplace to finish first. Or so I thought. I had even put the first coats of blue (yes, my favorite Blue!) paint on the ceiling and was testing how it looked. Then I remembered that I had dreamed of lights on that castle Mantelpiece, and knew that I was going to have to test this idea before I attached anything! A few weeks ago (you might have noticed) I had attached the "iron" torch brackets to the chamber wall. These were made many years back when I was working on the lighting of the Great Hall... so long ago I am Sure it was the Dark Ages! And there was even one partly constructed "torch light" to try out.....

It was mid afternoon and the day had turned gloomy
 with the threat of rain
 before I had time to test the torch.... 
which was just as well, because it needed gloom
 to be able to see the effect at all.

I needed to find the mini "extension cords" 
to be able to reach the "candle" wires to the
 power strip on the back of the castle....
But as soon as I had one in place
 I could tell I liked this effect!

But is it too "Theatrical"?
It wasn't dark enough to really tell....

So I waited until it was night out.
And late.
I had spent the afternoon in the garden
 uncovering tiny bulbs and was too tired to think straight.
So the following day I realized that I should try
 all the lights that would be in the room before deciding anything.

It was a rainy day, which helped give a feeling
 of how the lights would look on an ordinary day.
(Forgetting that the Castle folk of long ago 
would not have wasted lights in the daytime...)

But they would have lit a fire on a cold damp day... 
so I had to "borrow" the fire from Hardwick Hall's
 unfinished Attic fireplace to test the fire....

And then had to rig up a second "torch" for the other bracket...
 to see if it cast too much light into the room... 
or lit the fireplace well enough that
 the candles on the mantle would be redundant....
But I couldn't really tell... 
because it was still daylight outside.

But if I unplugged the "candles".... 
I could maybe see how it would look if I decided not to use them....
Ahhh... clearly they would be missed!
Just the fire and the two torch lights would not 
be enough light for the Lord's Council Chamber!
 
 
So I baked the candle sockets into some sculpey "candles"
 and glued them into the Mantelpiece.

And a closer shot.
I wanted them tucked behind the Castle Towers 
so they did not glare too brightly... 
pretend they are mostly burnt down!

By now it was night again...
I have spliced extensions on all those wires....
But it was too late to even think of gluing anything in place!

Which was a good thing...
 because by then I had realized that I was going to have to
 build that rear window frame, tucked into that far corner... 
and wouldn't it be a whole lot easier to do 
Before I had glued the fireplace in the way?

So perhaps you can see, Dear Readers, 
while I am lighting the Night
with the meager light of Medieval candles,
Why things just take longer...!