Monday, August 7, 2023

The Castle Door Continued....


 Chip, Chipping Away....

As I Mentioned last week, Dear Readers, a big part of the complicated Castle Entry Construction has to do with the Electrical wiring box location and the attachment of all the wires for this Castle Tower. As I know I mentioned the last time I was cutting wiring channels into this old plywood... a year or two ago?... the wood has hardened with age and is very difficult to carve! The darker wood grain is harder than the lighter sections, but the irregular nature of the ply layering makes it challenging no matter which way you want to go. You can see on the back side (the painted wall) where I have carved the channels for some of the wires but not yet glued the wires in. There are reasons for this! Many of my "lights" are already "antique" (constructed years ago and a bit beat up in construction!) so they need repairs and or revising. And as I was contemplating actually gluing some of the wires in place, I began to think about the inevitable switch to LED lighting that seems to be overtaking the world, both big and small! What to do? Glue in all my old incandescent fixtures knowing I will eventually have to redo them with LED wiring? Or start over now with an entirely new wiring plan? Or plan to be a "hybrid" castle and gradually replace failed incandescents with battery LED fixtures as time goes on? The questions stumped me for a moment or two! But I reasoned that no matter what, wiring channels needed to be cut and whatever wiring I used would run through the same channels. So I pulled out the exacto knives and chipped away (literally!) at it.

This is a first thing in the morning sunny day shot...
These are the wires from the top Tower room... 
The Lord's Bed Chamber candles and fireplace.
As each wire joins a channel, 
the channel has to be cut wider.
 

Here you can see where the wires for the next room down, 
The Lord's Council Chamber, join the rest.
They are draped over the window frame
 to keep them out of the way of the blade.
These ones are the Hearth lights and the fireplace fire.
The channel has not yet been cut for the lights
 I want to add that will be along the side wall.


And for the torches in the Guard room at the entrance,
 there is no path for the wires but over the door!
Lots and lots of carving needed!
And because it was so challenging to carve,
 I tackled it in little spurts.
And in between, I worked on the stairs framework structure.


Testing the size of the Electrical box to be sure
 I can access all the outlets once the strip is glued in place.


Adding glue to the already "constructed and tested" 
part of the stairs framework. 


And gluing it to the base of the Castle Tower!


And the very next morning deciding
 I had maybe been a tiny bit hasty with the glue...
 because I decided there needed to be
 an additional attachment point for the framework!
Yep, retro fitting already!
Better now than later....
So I drilled glued and screwed that extra framework
 to both the castle and the base from the outside.
It would have been too difficult to get the drill
 into that part of the stables anyway.


Then the stairs were glued and screwed in place as well!
You can see all those counter-sunk screw heads
 which will be spackled over soon!


I know some of this is boring details,
 but if I need to figure out later what I did
 (when those screw holes are all hidden),
 I will have the record here!


The basic frame work is now attached! 
The side wall and the buttress wall are still only temporarily screwed in.
 I need to be sure the wiring part is done before I make those permanent.

But I promised you hinges, Dear Readers!


I know, it doesn't look like much.
These are my favorite 3/4 inch brass hinges.
They are large for dollhouse standards,
 but for crude Medieval construction
 they are not unreasonably large.
They will be altered to resemble iron
 and I will add the usual decorative straps.
The challenging ones were the ones for the Electrical box....


Sorry, my picture is dark... it was a thunder stormy day...
And I neglected to take any pictures of the carved insets
 I had to Chip away at to embed the hinges into the crack....
not the conventional placement for these hinges.
But I wanted them to be mostly invisible..... 
to conceal the box as much as possible.


When I get it all painted, the box will be hardly noticeable.


Meanwhile... the wire channel chipping....
Thank heavens a fair amount of it was working with the grain!
Straight, quick and clean!


These are the Guard Room torches' wires.
It took a lot of patience to cut over the door...


Slowly but surely....

And working on the rest .....


Drilling a ton of screw holes to attach the outer wall to the framework!
Because the doors take up so much of this wall,
 the structural rigidity is compromised, 
so I have compensated with a lot of screws!
You could say it is over-built...
I just call it sturdy!


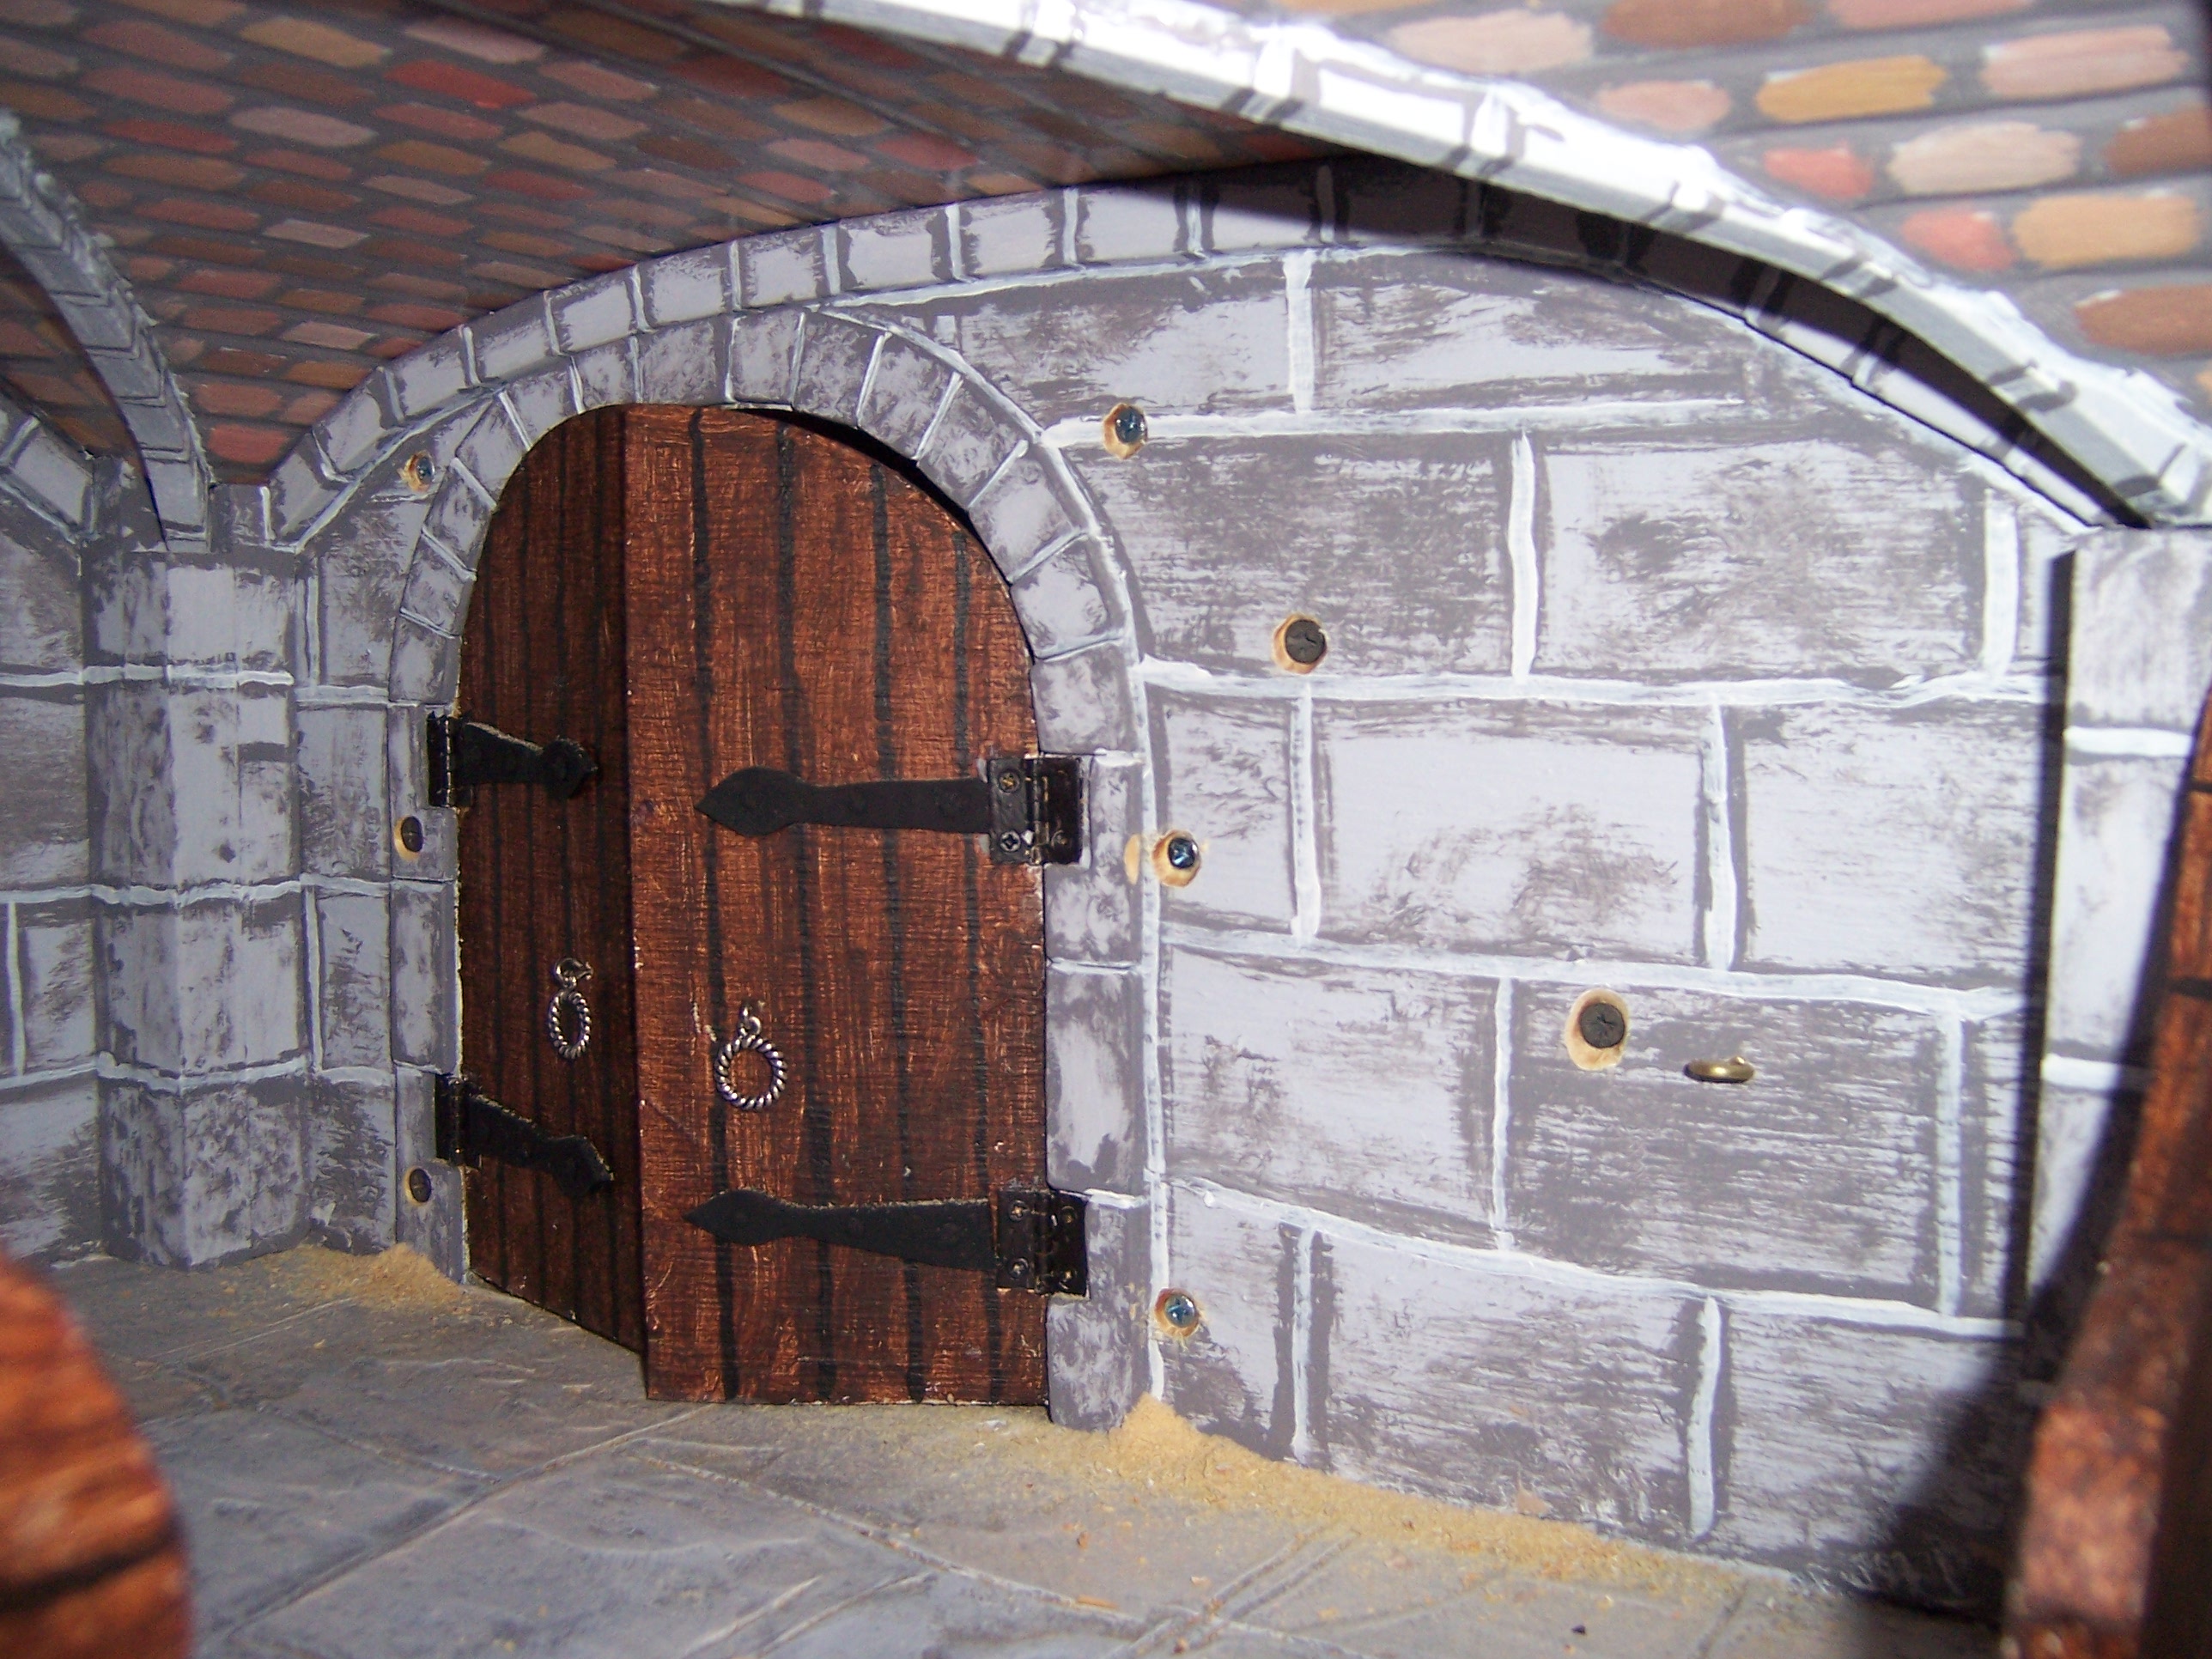
Here you can see the double layer of doors to the Stables...
I will be constructing a way to bar the doors as well!


And the top slanted section of the buttress has been temporarily attached.
I need to be sure the wires all fit and can travel down behind the buttress.
Thankfully, I will not need to bury them in the wall for this part!


Here you can see the slanted top to the buttress sections.
The wire channels are all cut now too.
But before I can glue them in.... 
I will need to make repairs to all those castle torches and lamps....
some of those wires have been hanging off
 the back of this castle for more than twelve years!
 
Finally, some real progress, Dear Readers,
All from a lot of Chipping away!


Monday, July 31, 2023

Complicated....


Castle Construction... 

As I am Sure you know, Dear Readers, I Love my Castle, even though it is not much more than half finished! I spend a great deal of time pondering the challenging parts that hinder completion, and one of the longest pondered is the steps to the Castle entrance. Ancient Castle builders did not want it to be easy to enter, (it was a fortress, after all!) so they made the steps narrow and steep, and sometimes just used a ladder that could be pulled inside from above. The entrance was rarely on the first floor (ground floor to you foreigners) but usually at the second floor level (you folks not from the USA would call this the first floor), and while it might have a fancier elegant door frame, there was no grand entrance the way later palaces would have. This is the model my Castle has for it's entrance, and I built the basic door and steps a long long time ago! But the steps have never been attached and fall down all the time. And the fact that they stick out on the outside of the Tower with no base to sit on makes them vulnerable to damage if they are not attached strongly enough to the main structure. The method of that strong attachment is the challenging part!

Here you can see the beginnings of the process of
 trying to design a sturdy stair-base unit
 to attach to the side of the Tower.
I had started on this way back in the Spring before I hurt my arm....
and I am finally getting back to work on it!
 

The idea is to build a framework attached to a separate narrow base
 which the stairs sit upon, and the framework screws into the Tower walls. 
 
 
This also creates a nice box in the bottom right corner
 that can house the electrical outlets for this part of the castle.
So far, the pieces you can see are temporary just to help get an idea of space.
 
And because this is squeezed into a really tight corner in my workroom,
 I decided I would need to turn the whole Tower so I could get better access.
 

As you can see, this side of the Tower has been left unpainted....
all the wiring needs to travel down this wall to the electrical box.
And all the windows still need their trims... 
and the stairs need to be finally constructed!

Here you can see the basic parts. 
The stairs are a glued together unit but not attached.
The landing outside the main door has been there 
(slightly uneven) for ages.
I am adding the base strip and the tall wall on the right
 which will form a "buttress" to the Tower.


Here I am testing sturdier vertical frame sections
 which will screw into the wall from inside the stables.
Figuring out which piece attaches to what
 and in what order is part of the complications!
I want this "extension" on the side of the Castle to be very sturdy!
 

 Here you can see I have cut part of the outer wall to the stairs.
This will all be "stonework" and arches over the entry to the Stables.
I have also cut the "door panel" for the "Electrical box" 
which will be hidden in the right corner.

There will be Hinges!
But that will be later.
First we need to actually construct this frame work.
 

It starts with drilling the screw-holes for the vertical post attachment,
after very very careful measurement (and testing again and again)
from the underside of the new narrow base plate.
 The screws need to be countersunk because they will sit under the base.
Here you can see I am screwing the pieces one at a time
 and testing the fit at the Castle wall to make sure
 it sits square and flush with the wall. 
(The wall is uneven in places!)
At this stage I am screwing together without glue.


Meanwhile I had marked where the vertical frame sits along the wall 
(The flash is too bright to see the pencil well)
This is so I could drill the holes for the attachment
 from the outside so they are positioned correctly.


Here you can see from the inside of the Stables 
where the screw holes have been countersunk.
This will be filled and repainted after the construction is complete.
Because I drilled first from the outside,
 I could be sure the holes are located exactly right.
 

But before I get carried away, Dear Readers,
 and start screwing this together,
 I need to assess the rest of the "buttress structure!
It rises on the right corner to above the door level,
 and needs to be able to "channel a whole lot 
of electrical wires down to the wires box!
 

As you can see from this shot, the "landing" by the door
 doesn't even go as far as the decorative framework.
 This will need to be extended.
And there will need to be another wall....


Here I am trying to hold the test wall in place
 and photograph at the same time!
The wires have room to channel through this buttress
 down to the outlet strip (still not shown).
 

Here I have screwed this wall in place (I will add glue later).
I have also extended the landing.... 
it needs one more piece glued in to reach the wall.


Here I am testing the look of the buttress... 
it will have a steeply slanted roof
 the better to hide all those wires!


And then I needed to test the screws for the vertical framework.... 
that go in from inside the Stable...
(Unbelievably challenging to reach in there with the screwdriver!)
The diagonal row of three screws at the front
 will go into the stairs themselves... later!


All that work, and this section is now screwed in place (temporarily!).
I gave it a good hefting test and it is very sturdy! Yay!
 

Still a long way to go, Dear Readers,
but, Oh my goodness it's progress at last
with this Complicated Castle Construction!


Thursday, July 20, 2023

Little Progress....


Trims, Blossoms & Borders....

Well, Dear Readers, I really have not got a lot to show you this week, but I have been chipping away at the usual myriad projects. The Gypsy Wagon bed chamber doors, for instance, needed the trims for the door on the side facing the main compartment. I dug around and found the piece of trim I had already stained quite a while ago (years!) just waiting to be cut, fitted and glued in place! You can see above, that the side pieces need to have their undersides cut away where they fit over the hinges (oh, look at all those glorious hinges!) so they can glue securely to the wall surface. It does not matter that this covers the screws on one side... if the doors ever need to be removed (why would that ever happen?) they can be unscrewed from the other side instead.

It did not take very long to carve away the undersides for the hinges. 
It took only slightly longer to fit the sections for the arched top.


I know my sections are not even or "properly" mitered....
It is easier for me to just measure cut and trim....
(and who but me is going to notice this uneven spacing?)
 

The doors still need their "air holes" drilled... 
but I left that for another day while the glue was drying.

As for the Rhododendron Blossom assembly line...
I am still not getting it very organized!
I have made quite a few "clusters", 
and even more blossoms...
 

I am making the blossoms in batches of ten. 
It seems an ideal amount for a cluster
 (I counted when the bush was blooming!)
And I have made seventeen "batches" so far.... 
and started the eighteenth!
 

Here the stamen clusters are glued and the blossoms cut and shaped.
Next they get painted and assembled.
 

But I have only glued together ten batches into "clusters".
And I am way, way behind on making the leaves. 
I really think I need to make a batch of leaves for every cluster.
This is totally different from the process of making the lilacs!
I need to get the leaf making and attaching figured out!
But still, seventeen blossom clusters is not too bad
 for a couple of months occasional work! 

And I know it has been ages, Dear Readers,
 since I showed you any progress on the petit-point carpet...
 

Here you can see I have made quite a bit of progress stitching the outer borders. 
(I think you have to look back to February to see the last update!)
 

It is very slow going!
But you can see, Dear Readers,
 there is a Little Progress
 in some of my many projects!