
One Step at a Time.....
Another Day, Another painted Ceiling in my Mini Worlds, Dear Readers! I hope you do not think it is too boring to have the same cloudy sky repeated on the ceiling of the other room on the ground floor of this little house. This room is supposed to be the "Parlor", but I think I will call it the "Salon" as that sounds a little more ornamental! In any case, I wanted it to have the same elegant feeling as the library, although in this room I left a border of "plaster" around the edge of the ceiling with the "open sky" in the center. The walls in this room have a lovely pink and white stripe pattern paper with decorative pink "losenge" panels on several of the walls. There are many gold accents in the picture frames too, so I planned to add the gold trims at the cornices as with the Library. But I didn't get that far! I thought it would be a good idea to figure out when the window panes should be attached before I went too far with the decor! And along with that step, there was also the window trims for the outside of the building which needed assembling and primer painting.

These pieces are Sooooo Tiny and fragile.....
it feels absolutely amazing that they are as elaborate as they are!
The exterior window frames all are made up of two pieces....
a base and a trim section.
Here you can see I have assembled a couple of them.

It is interesting to note how much sturdier they feel
with two layers than with one alone!

The door is very elaborate and is composed of two layers
plus two trims across the top!

(And no.... I am NOT going to attempt to make hinges for this door!)
So while I was trying to construct all these frames, Dear Readers,
I was also figuring out that I needed to glue the windows in
before adding the paper on the outside walls of the house.

The plexiglass is inset into the walls and once the paper is added,
it covers over the window pane a tiny bit.
And then the Outer Frames are glued over the paper edges,
holding the pane firmly in place.
Here I have glued the windows into the end wall
of the removable portion of the house but not the front.
I wanted to test the glue before gluing them all!
I am using Aleene's Quick Dry Tacky Glue.

And here I have painted primer very carefully
on a couple of the frames.....
Although it is really hard to tell!
It is Not easy to get the primer onto
all the crossbars and muntins!

Here I am testing the window frame before the paper is glued in place.

And the view from the inside....
which is where I realize I have a problem!
This is the one window, Dear Readers,
where I should have left the edge of the window opening
dark brown to match the frame! But it is white,
so I should probably paint the reverse side
of all the crossbars and muntins white like the front.
All the other rooms will have white trim
so this will not matter with those windows.
And while I am painting ceilings, I decided to add
the embellishment of a "gilded plaster rosette"
to the ceiling of the room above the "Salon",
which is supposed to be the "Dining Room"

But first I had to paint the edge for the gilded cornice trim in this room too.
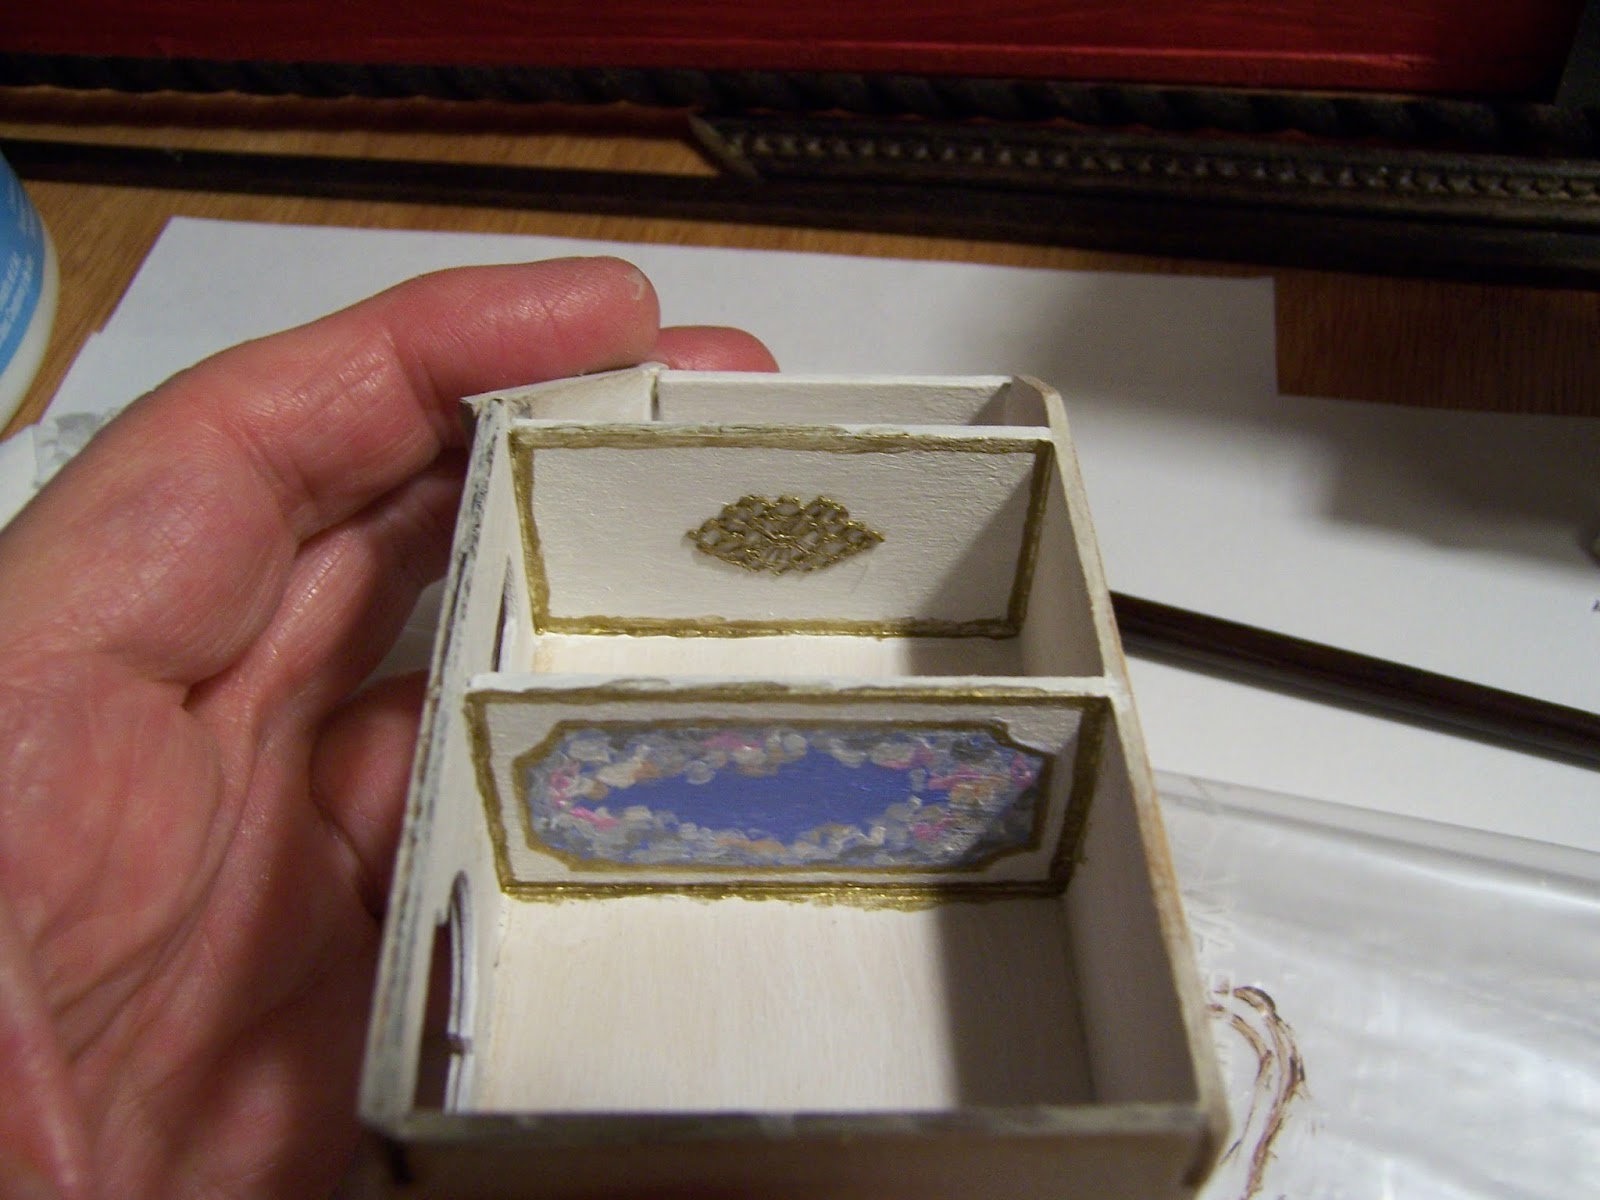
Here you can see the gilded "rosette" has been added.
It is a tiny bit asymmetrical.....
But you are not supposed to notice that!
Well, Dear Readers, that is as far as I managed to progress
last weekend, in spite of the extra days off for the Holiday!
At this rate the house Might be done by Next Christmas!
But I am making Teeny Tiny Progress....
One step at a Time!
Yikes, I'm the first to comment. I was impressing Dara with the technical complexity of your blog. The little house is amazingly detailed, isn't it? Those lucky dolls..
ReplyDeletexox
Mom
Hi Mom! The details on this little kit are amazing! I am only trying to make the interior live up to the exterior! LOL!
DeleteHi Betsy! I don't think that your progress is teeny tiny: you've painted a COMPLETE MURAL on the ceiling ;D!! It's a delicate and precious work, it looks fabulous. But I think that is no surprising, you're so very good when it comes to painting! In another way your progress isn't teeny tiny either, because this house is little, so your progress never can be big. Well, I still hope you're still with me, because of my poor English ;)? Your dollies are the luckiest dolls in the whole miniature universe, because they'll get a house with lots of splendor. In short, I love to follow all of your progress on this little house.
ReplyDeleteI read the above comment and yes, it is awfully quiet in the blog world, just a hand full of bloggers are still active on their blogs....it's no fun anymore :(!
Warm hugs, Ilona
Hi Ilona! Yes, I am understanding your very good English! :) The work is Tiny... but not little! :)
DeleteI am enjoying adding all these tiny details. And if there are tiny people for these tiny houses, they will want the house to be "real" for them! LOL!
(I get carried away by these tiny worlds!)
Yes, it does seem quiet lately... but I am not giving up! I am glad you are still blogging Ilona! :)
too cute !
ReplyDeleteThank you Claude! :)
DeleteAmazing! Love that ceiling and the dark wood of the door looks wonderful against the bookshelves in the library. Can't wait to see more.
ReplyDeleteThank you Sheila! I love libraries... and dark wood! LOL! There is lots more to come! :)
DeleteWow, so tiny indeed! I can't imagine painting something so small. I think everything is looking absolutely wonderfuL!
ReplyDeleteHi Farrah Lily! It is very small! I am having a lot of fun with this scale! Thank you for commenting!
DeleteHi, Betsy - No, those beautiful cloudy sky ceilings will never be boring! I'm very happy that you decided to paint the "salon" ceiling with clouds as well - it just extends the elegance. This is an absolutely charming Teeny Tiny house, and the (many) windows are going to add even more charm. I love it already; can't wait to see the completed house. (Even if I have to wait until NEXT Christmas!)
ReplyDeleteMarjorie
Hi Marjorie! Yes, I am already extending the "deadline" lol! I am having fun with the tiny details... and once I get going... I don't want to skimp! :)
DeleteYour painting of the salon ceiling is very beautiful. It's amazing how tiny the house. Your tiny dolls are going to have a gorgeous home.
ReplyDeleteHugs, Drora
Hi Drora! I am having fun adding the extra touches of realism! And a blank ceiling is just irresistible to me! LOL! Thank you for commenting!
Delete*BAM!!!* So this is how it sounds when you can't rely on anything anymore and everything you trusted goes down the drain... NO HINGES!!! *sound-of-heavy-organ-music* Oh my... everything will be different from now on... *shiver* But wait a minute... one thing is still true: Ceilings with wonderfully painted skies can never be boring! ;O) - Wonderful work... and a lot of progress having in mind that working in this tiny scale is very time consuming. I'm in awe how well this kit is made... and even more that you're giving this teeny tiny house still so much of your special touch. And although your tiny ladies may be impatiently waiting for you to finish this splendid project I will have any patience to wait until you get it done - whatever Christmas it may be! *LOL*
ReplyDeleteHugs
Birgit
Oooohhh, I am so Sorry to destroy your faith in my Hinges ability!!! I was truly starting to fantasize... to see if maybe... but NO it was too big a change to the kit at this point.... I would have had to plan it from the start and cut that doorway before the walls were assembled.... (See how NUTS I really am????) LOL! But I have some hinges that might be small enough.... :):)
DeleteAnd no ceiling is ever too small for a painted sky! :) And just think, every time there is a fluffy cloud ceiling painted...... there just might be a Cloud Palace floating up above! :)!!!
I LOVE the look of the installed window, Betsy, not to mention the ceiling paper and the rosette in the room above. It is all of the accumulated details that make your tiny dwellings so EXTRA SPECIAL. One Step at a Time! :D
ReplyDeleteelizabeth
Hi Elizabeth! I am glad you like the ceilings! (But I didn't paint them on paper.... just right on the ceiling itself!) And the windows for this kit are Amazing! I am trying to do them justice... it is tricky to paint them carefully enough! Stay tuned.... there is a lot more to come! LOL!
DeleteThe tiny house is amazing. Your dolls are lucky!
ReplyDeleteThank you Faby! I am glad you like it! I am having fun with the tiny kit! :)
DeleteWow those Tiny windows and doors are gorgeous. I love the ceiling details magic :)
ReplyDeleteHugs Maria
Hi Maria! The window details on this kit and the door too, are amazingly detailed and perfect! It is hard to paint them carefully enough! And I do love to paint the ceilings! LOL!
DeleteHi Betsy, finally catching up :D. That is such a lovely teeny-tiny house you are making! I'm always amazed by what is possible these days. That must have been tedious, the ceiling, but you've done a great job! And everything about it is fiddly of course, but it's much fun I'm sure. Reminds me of my 1:144scale house, mmmm.. (because that one is a closed house, last year I had thought of making an insertable room from the bottom, which is similar to what your house has with the side-inserts. I look forward to see the progress on it!
ReplyDeleteHi Monique! it is always wonderful to see your comments here! I am having so much fun with this teeny tiny scale kit! And I can imagine you would want to add an "inside" to your little house! I think it would work to have the "lift off" version! I hope you do try it someday! :)
DeleteYour blog was absolutely fantastic!
ReplyDeleteGreat deal of great information & this can be useful some or maybe the other way.
Keep updating your blog,anticipating to get more detailed contents thanks for sharing.
หนังดราม่า