And a Few Rocks And Roses...
Did You think you would not see the Blooming Lilac this year, Dear Readers? We have been having a late and colder than usual Spring in this part of the World, and my RL Lilac has finally bloomed this week! I thought we would never get here! And the blossoms on the RL shrubs all of a sudden everywhere in the neighborhood, reminded me that I needed to make the seasons change in my mini world too! Above you can see the blossoming lilac tucked into its protective box (a huge box, really!) where it hides in the eleven other months of the year (I do allow it to feature in The Folly Garden for a full month each year!) But in order to see it properly, it requires that I rearrange the dollhouses in my workroom so that The Folly can be in full view.
I imagine that You can imagine what a process it is
to juggle all the parts while moving just two
of my too many mini houses!
The Dollmakers Studio has retreated to the back corner,
but rest assured, I have been working on it too!
Meanwhile it is a gloomy afternoon and the flash was required
to show you the studio as it now is....
you will have to wait for morning for
a better view of the lilacs with the sun shining in.
And if we catch it early, you can see
the slender beam of sun that sneaks into the studio...
And if we wait a few minutes...
Ahhh.... the morning sun
illuminates the shrub and The Folly Garden!
There is nothing quite like it!
But it doesn't last.
Only a short while later you will have to make do
with artificial lighting.
Oh, I Do Love to look at this blooming lilac!
It is a Dream come true!
And Dear Readers, I am sure you will not be surprised
that while I was rearranging the Studio,
I was still making a few more "Rocks"
for the Lord's Bed Chamber.
I had happened, quite by accident,
to discover that I was overlooking some
crucial pieces of "rock for the Tower Structure!
My method of constructing the Castle Towers from the bottom up,
thus allowing the ceiling of each room to be removable
until the room is completed,
means that I leave the top couple of "steps" unattached
on each stairway where it goes up inside the walls.
This is because the ceiling of the room below
(which is the floor of this one) is removable until the last step.
This is so the steps will fit right against the floor when it is finally attached.
Well, I attached this floor (the ceiling of The Lord's Council Chamber)
way last fall and completely forgot that the top steps were not attached!
I don't think they were ever built at all... if they were, I couldn't find them!
So I built them from scratch... (not a difficult task)
And glued them in place!
Ta Da!!
(I was really shocked when I discovered
that I had nearly overlooked this gap entirely!)
And speaking of other overlooked details....
Just to the other side of the door by those steps...
the front corner of the Tower needed its Corner Post added!
Remember I had neglected to build these
when I started the Castle Oh so many years ago!
Can you see it there now...? To The left of the door?
It does sort of disappear once it is in place!
It's a lot easier to attach before the stair wall is in place!
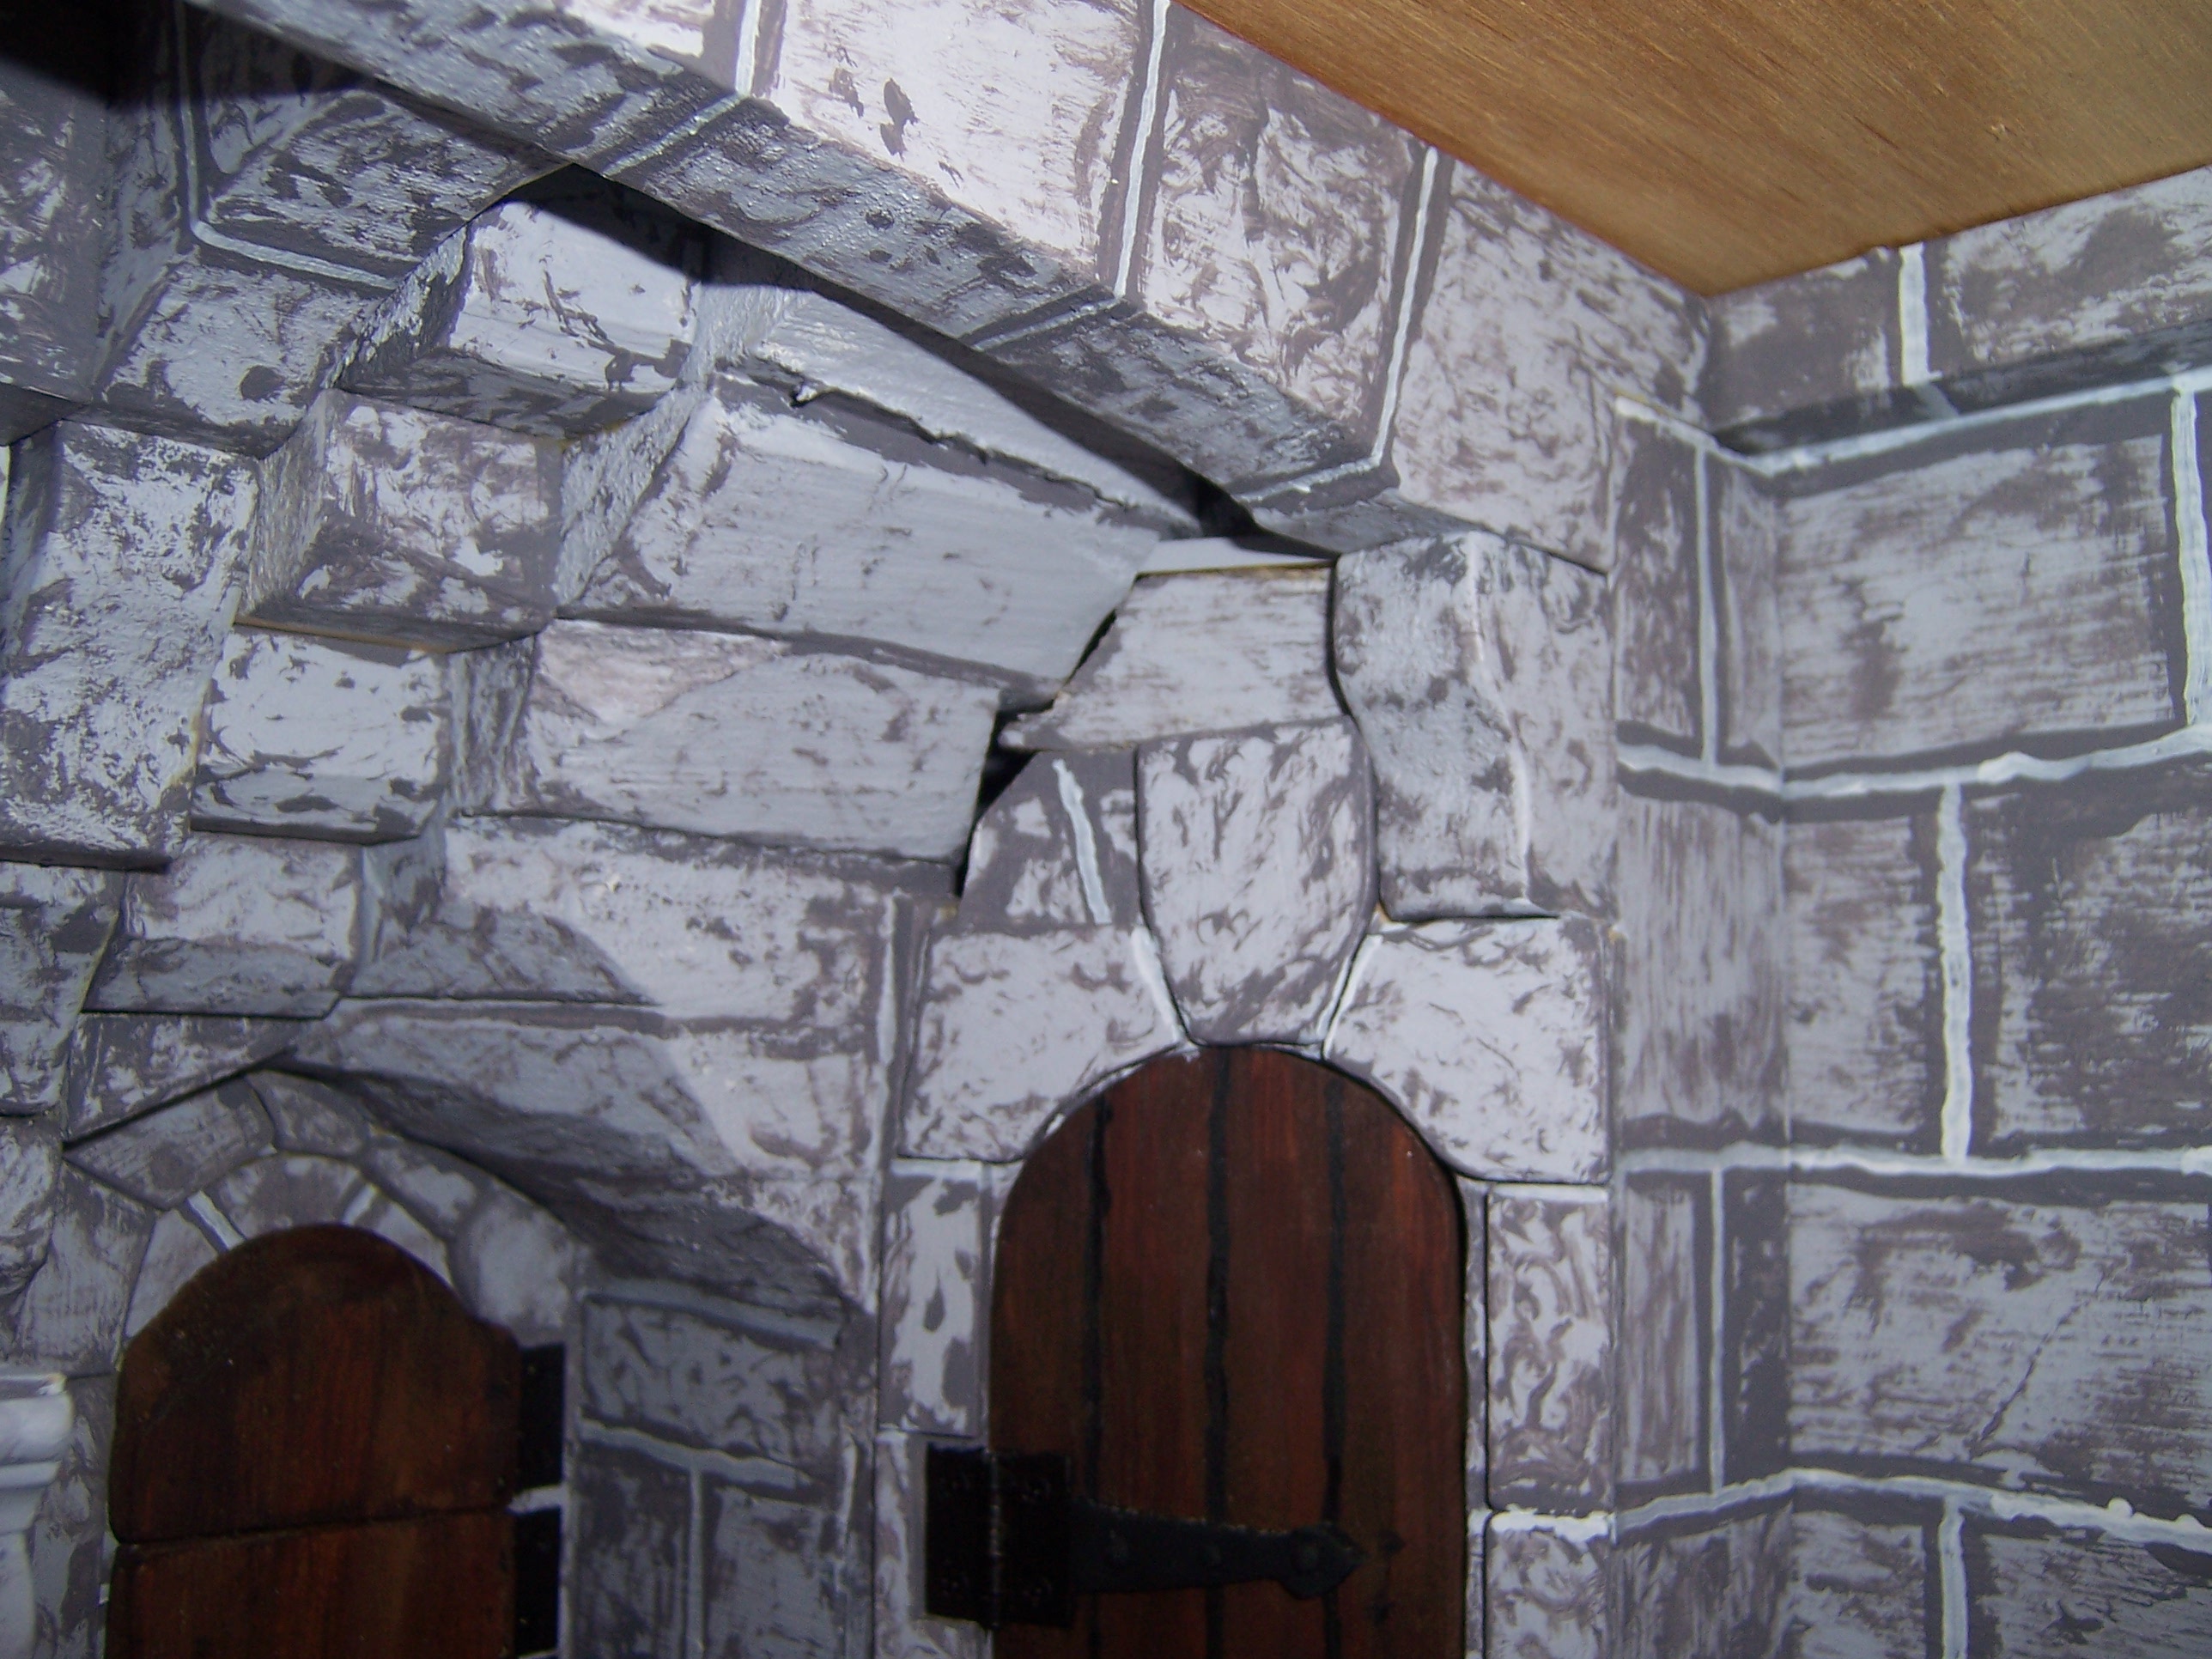
And speaking of other holes and missing rocks....
I had not finished making the "rocks"
that surround the Doorway to the Spiral Stairs.
Here you can see I have cut and fitted them.
And the flash makes it obvious that there are a few "gaps"
where the door wall meets the stairs.
Here the door surround "rocks" have been painted and attached.
And a couple more "rocks" have been fitted to cover the gaps!
One more still needed for the top step space.
(Fitting these "rocks" is not easy!)
And Did I mention Roses too?
Well, they are not yet blooming in my RL garden,
but I have been making more of those gilded swags
for the ceiling cornice of The Dollmaker's Studio.
They are composed mostly of Roses!
Here they are being glued together, plastic, metal, resin....
attached to a metallic mesh ribbon...
and then glued to the wooden cornice trim.
This is the section which spans the front opening side of the Dollhouse,
and will thus be only visible when looking in through windows...
when it is all constructed I will paint it with primer and then the gold paint.
There are three primary swags along each side of the room.
The shorter sections at each end have unique treatments.
(But more about them another time!)
It is a slow process with LOTS of waiting for glue to dry!
Hence the many other projects in tandem...!
Here they are getting a test fit along with all the other sides.
The painted ceiling is removed and lying flat on the work surface...
so you have to imagine you are looking up at the ceiling....
Progress is being made!
So there you can see, Dear Readers,
the many pieces I have been juggling...
But Mostly I hope you have enjoyed seeing the Lilac blooming...
Even if it is a Cloudy Day!


Oh Betsy how wonderful it is to see the blooming lilac bush once again! It always takes my breath away, and I still find it hard to believe the level of realism and detail you put into creating it! It is a shame that we can only enjoy it for one month out of the year, but it's something I always look forward to!
ReplyDeleteAfter exploring the photos in this post, I found myself wondering what the inside of The Folly looked like. I needed a reminder, and because I only found your blog in 2016 or 2017, I found I had missed so much about it's inception and your ideas for it. I had a grand time last night reading a lot of the posts from when you first constructed the kit, right up through the landscaping and inspiration for the treehouse. It will be so exciting to see your ideas come to life for the garden and the brook when inspiration puts it back into the queue again! So many amazing ideas, so little time!
the blooming lilac bush is amazing and so real. I really like the scene in the garden.
ReplyDeleteYeah, the lilac at last - you can bet on me to be happy about that! And "the lilac" is of course just the short form for "the most stunning, awesome, gorgeous, amazing, beautiful and at the same time realistic lilac shrub ever been made in miniature". I loved to see it again, it's annual showtime is always a highlight... and it made me smile that Will and Gabrielle did not miss it too. Okay, it's easy for them and the best places are theirs... however, not everybody is able to see and enjoy beauty right before the own door because they always expect things to be better somewhere else.
ReplyDeleteYou've made once more stunning photos of the blooming lilac this year and I'm not surprised that sunlight was coming along to have a look at this piece of miniature art. But learning about your storing box made me smile, very clever...
Ah, and all the progress you made with all those time consuming details. More rock details - and so much progress with the beautiful cherub ceiling. Btw... did I ever tell you before that your attention to every detail never stops to amaze me? *LOL*
Hugs
Birgit
Hi Betsy. The lilac really is beautiful and looks so special with the sunlight coming in on it. One of our real life ones died this last year (possibly too wet as a number of things died from too much rain) which is a shame, they’re so pretty. And great to see more progress on the doll workshop and castle! Have a great weekend!
ReplyDelete¡Que bonitos son los lilos cuando están en flor y que bien huelen! El tuyo ha quedado genial.
ReplyDeleteHas dado un buen avance con todos esos detalles. Muy original la guirnalda del techo .