Floor and Ceiling...
I had left you, Dear Readers, with my bold additions of Cartouches with Roses along the sides of the carpet I am enlarging, but did not show you the many attempts I have made to design the rest of the expanded carpet. I quickly decided that the more I could make use of the designs already "charted" in the kit, the better it would be in the end. The simplest addition would be to reverse the scrolls that were already the framework of the design. This decision was aided by the happy coincidence that there was just enough room for a second set of scrolls in the added carpet width! You can see above that I started right in with that plan and really liked the results. One of my chief concerns with this expansion of the original kit design, was the quantity of threads I would need. I had calculated the square inches of extra stitching and believed there would be enough thread overall to complete the extra designs... but only if I stayed carefully within the "proportions" of the colors of thread included in the carpet. So far I think we are going to make it! But it is a close thing with the threads for the pink roses... I have more than doubled the original number of roses!

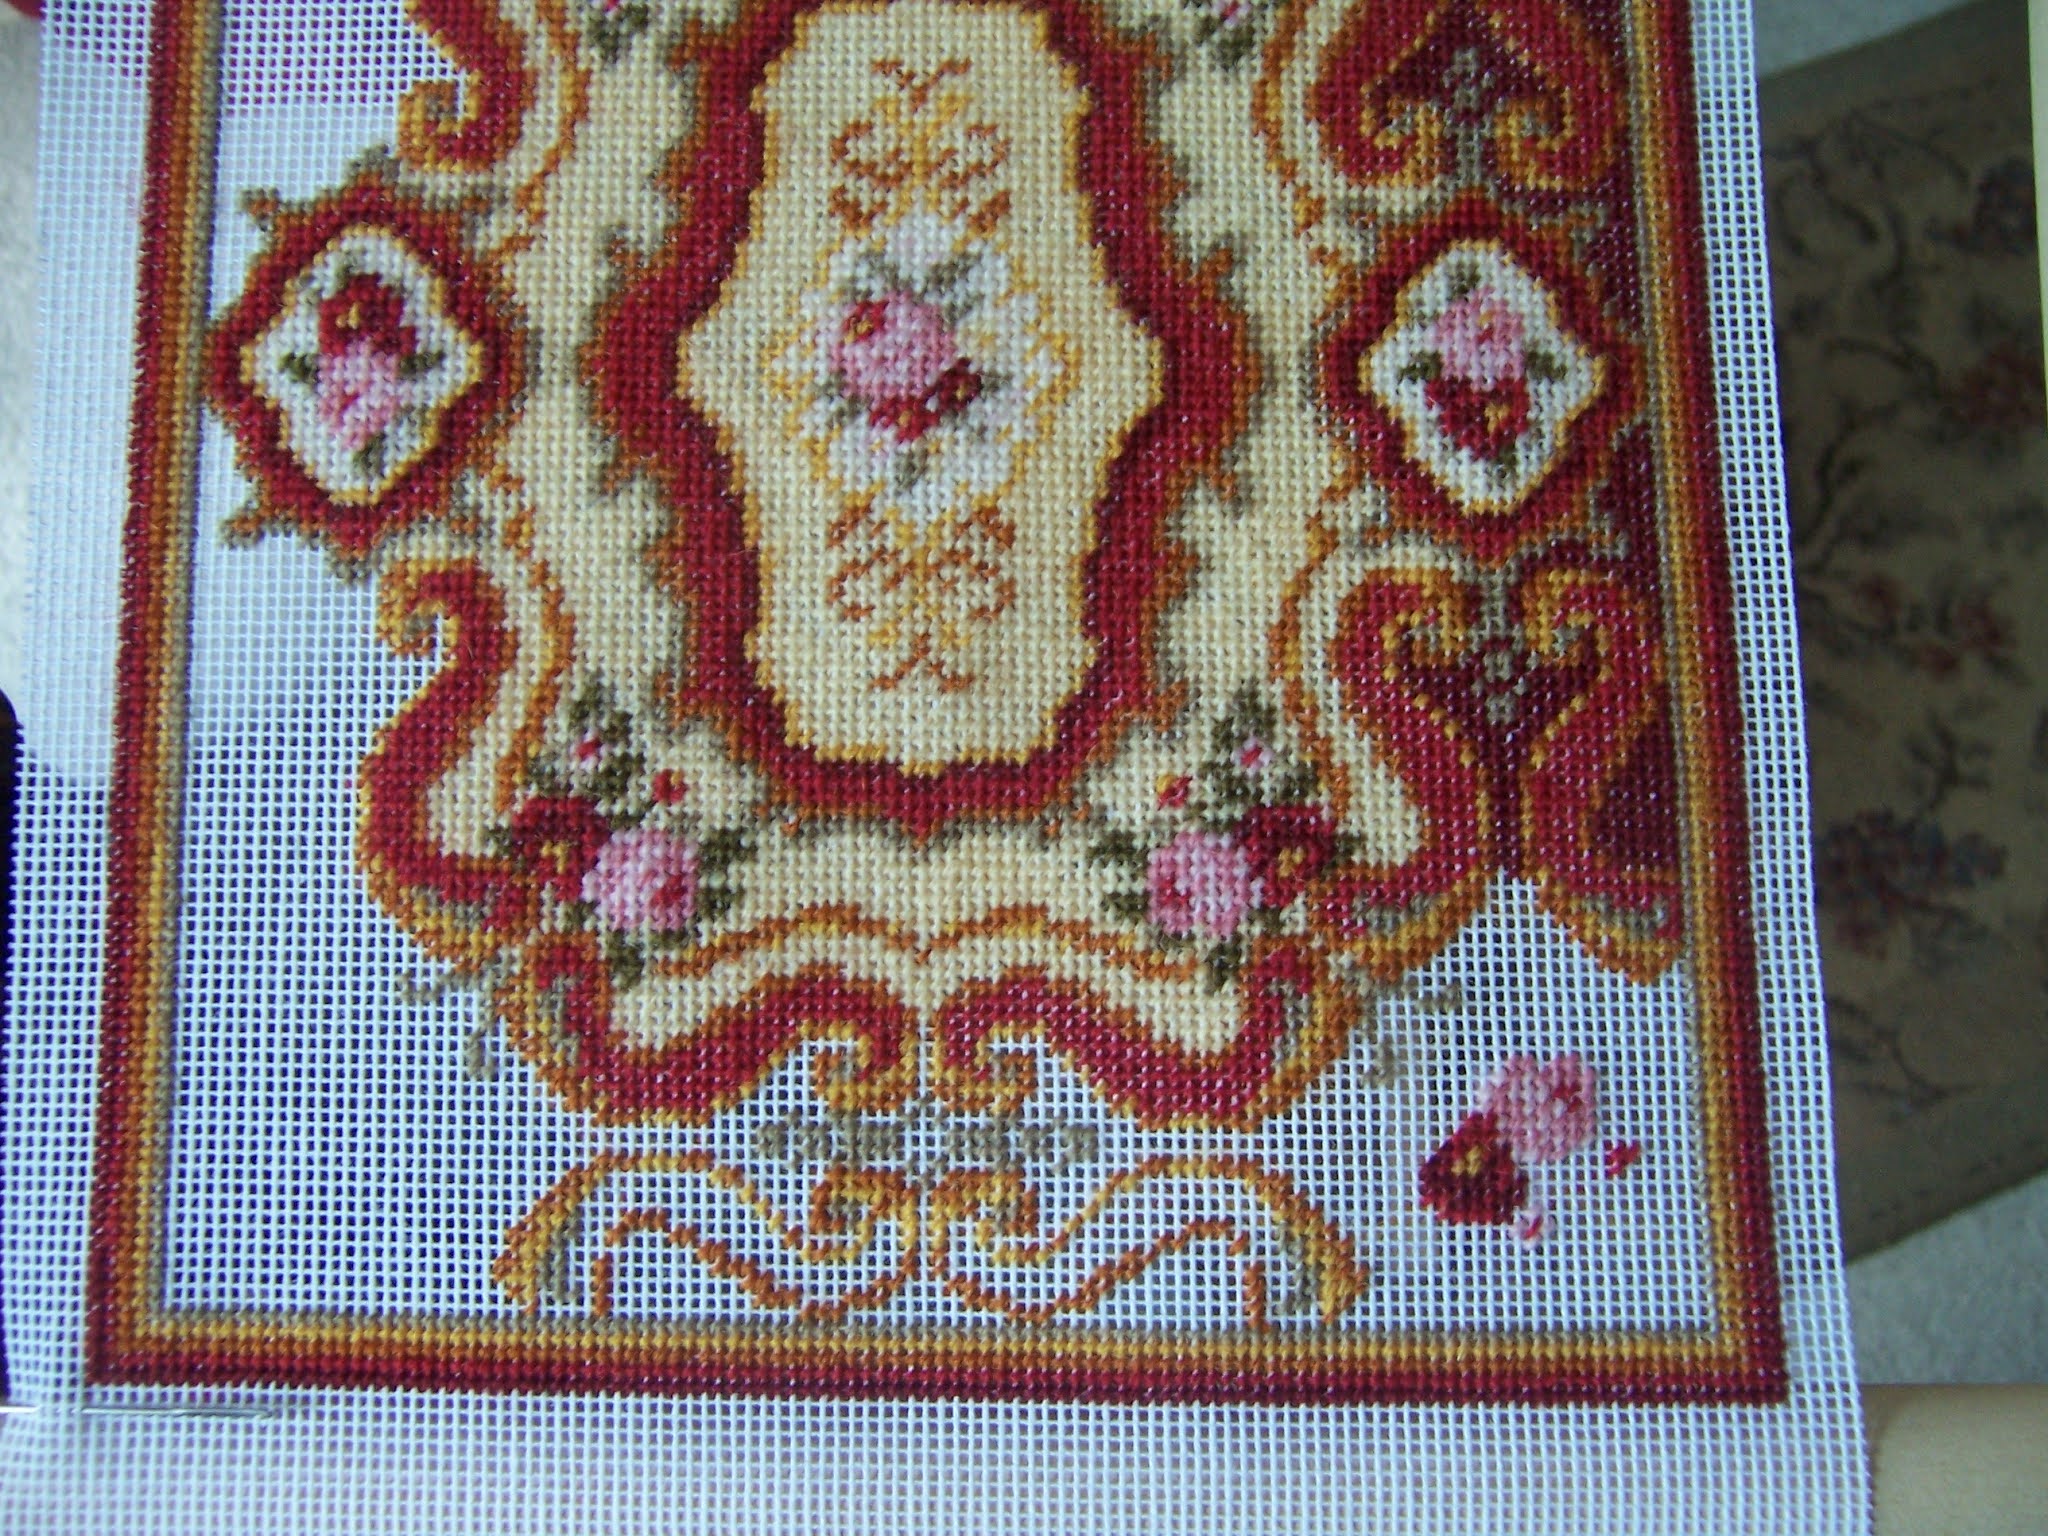
I knew I wanted roses in the corners
and I wanted them to sort of mimic the other roses
that were already in the corners,
but they would need to be in "cartouches"
like the other ones I had added.
I jumped right in, sort of copying the design from the kit,
but the space required that I adjust their "angle"a little bit.
They needed to fit in this sort of square space.
Getting the "framework for the "cartouche" to fit the space
was much more challenging than I had thought it would be!
After many tries...
I am getting really good at un-stitching the threads...
I have settled on the not really square shape you see above.
It needed to meet up with the side and end borders
and with the tips of the "scrolls" which
extended from the corner rose clusters.
And I wanted it to end up being a "cartouche"
sort of like the ones I had added at the sides.
But there wasn't enough room for as many rows of color all around...
So I had to compromise with the red and gray rows...
So this is what I came up with....
The framework is not as bold as the ones at the sides...
But I think it ends up with enough of a soft "floral" shape
while still fitting in the space.
It is going to have to suffice because
it is way too late to un-stitch it again...!
As for the Complicated corners for the ceiling trim, Dear Readers,
this was just as difficult and just as much trial and error!
To begin with, I had to make a "template
that I could glue the pieces to
that would fit into the inside corner of the ceiling trim
when it was completed and in place.
And because it is a tight corner,
and nothing stays put at an angle,
I can only glue one piece at a time...
wait for it to dry, and then add another...
and after a while see if it looks okay....
(And it is also really tricky to photograph!)
And then try to hold the pieces in place
to see if the angles fit in the corner correctly...
So hard to tell!
And so much waiting for glue to dry...!
But there would need to be more corners.....
so I started more...
And trying to get a sense of how they will look...
So hard to tell...!
But I had to keep going anyway...
Each corner will need to be a little different to fit the space...
And adding primer to the first bunch....
because maybe that will make it easier to tell if it looks right...
And that's as far as I got, Dear Readers,
with the Complicated Corners
of the carpet and the ceiling trim!
Nowhere near finished,
But at least it is progress!


Un bonito progreso.
ReplyDeleteOh, Betsy, I so hope you will have enough embroidery/silk threads to complete the rug, because it's going to be so beautiful! It will be quite challenging but the effort will be worthed.
ReplyDeleteThose edge trims for the ceiling look very complicated to me, I hope you can manage to make them. It would be so wonderful to see them up there.
Stay well, Betsy, have a nice week.
Hugs, Ilona
The carpet looks so pretty...I think you've adjusted the pattern wonderfully.
ReplyDeleteCorners can be so frustrating and you're making yours so elaborate and wonderful... it'll all be worth it in the end!
Ese detalle que has creado es maravilloso. Todo un lujo.
ReplyDeleteMe encanta.
Un saludo
All my fingers are crossed for your threads to be enough to finish this wonderful changed design of yours! And regarding that you say you're an expert meanwhile in un-stitching it's amazing how much you've accomplished in the meantime. The carpet looks beautiful!
ReplyDeleteYour corners turned out awesome too! I amdire your patience (and I bet you needed a lot patience) waiting for all the pieces being attached in different steps to dry why your creativity was itching to see them in place and to find out if they would work. Well, I'm going to be patient until you're going to show next of this wonderful trim... or that beautiful carpet... or whatever wonder you're going to work next. ;O)
Hugs
Birgit
I love the emerging carpet.
ReplyDeleteI won't even try to figure out what you're doing with those corners in the ceiling...
But what is a cartouche?
Much love,
Mom
Espero que tus hilos sean suficientes para terminar la alfombra, ya que se ve maravillosa!
ReplyDeleteMe encanta la pieza que has creado para las esquinas, es muy original y bonita!!
Besos.
The carpet is amazing.
ReplyDeleteYour additions to the original design are amazing. This carpet will truly be one of a kind! I look forward to the end result me hope that you have enough material of every colour.
ReplyDeleteGood luck with completion of this project.
The intricate cornice is also quite project, slowly but surely you will get there.
Huibrecht